Introduction
Malnote started as my personal project for taking notes. After continuously adding new features, I’ve decided to release a version for everyone to use.
Initially, I tried many note-taking software solutions:
- Yuque (very good software; this software’s design references Yuque)
- Typora (renders slowly and lags when exceeding 10,000 characters)
- Hexo (while Yuque is good, its data mainly resides in the cloud. I prefer local storage – though I used it for a long time. However, Hexo itself is bulky, and viewing Markdown content requires starting a service or other methods. Note: It might be better not to use Hexo at all)
Later, while learning Next.js, I came across the TipTap editor and wrote the first version of Malnote as a Next.js project. It couldn’t package into an executable file and required starting up each time. What if a new computer didn’t have Node.js installed? So, I later developed a Tauri version of Malnote, continuously improving local functionality by storing documents locally. Non-localizable functions (like file uploads) were handled with a Go-written API backend.
This note-taking software is completely free. If you want to support me, you can click on the ads on the webpage, which will bring me $0.01 per click (though even if I earn it, I probably can’t withdraw funds within China).
Download link:
malnote-v1
Basic Functionality
Due to issues with the tauri-sql plugin, my defined migration scripts don’t seem to execute automatically. You’ll need to download this DB file:
malnote.db
Then copy it to C:\Users\[YourUsername]\AppData\Roaming\org.malred.malnote
Download the note’s backend API:
malnote-api.exe
Homepage
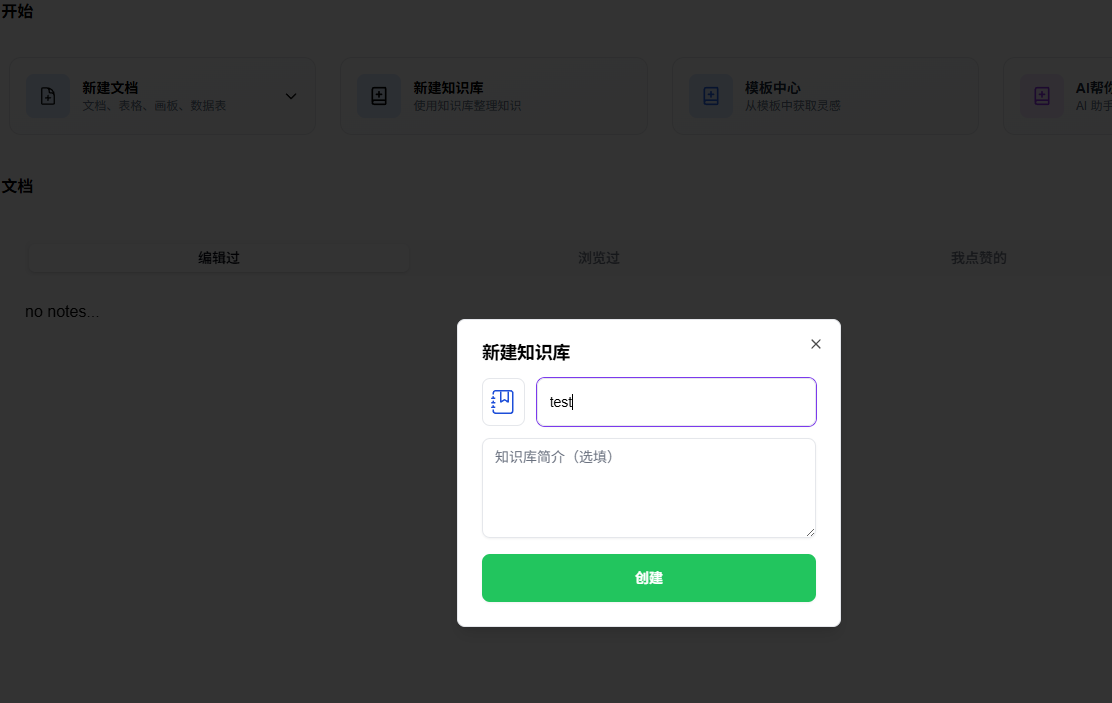
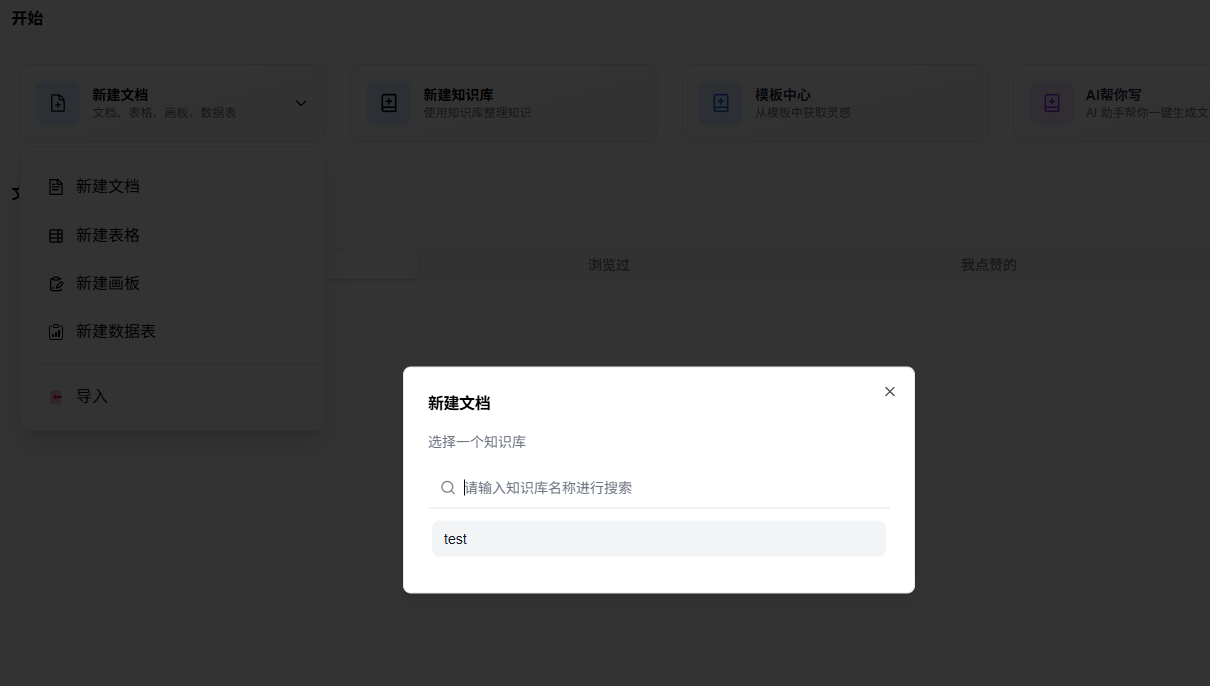
Create new knowledge bases and documents: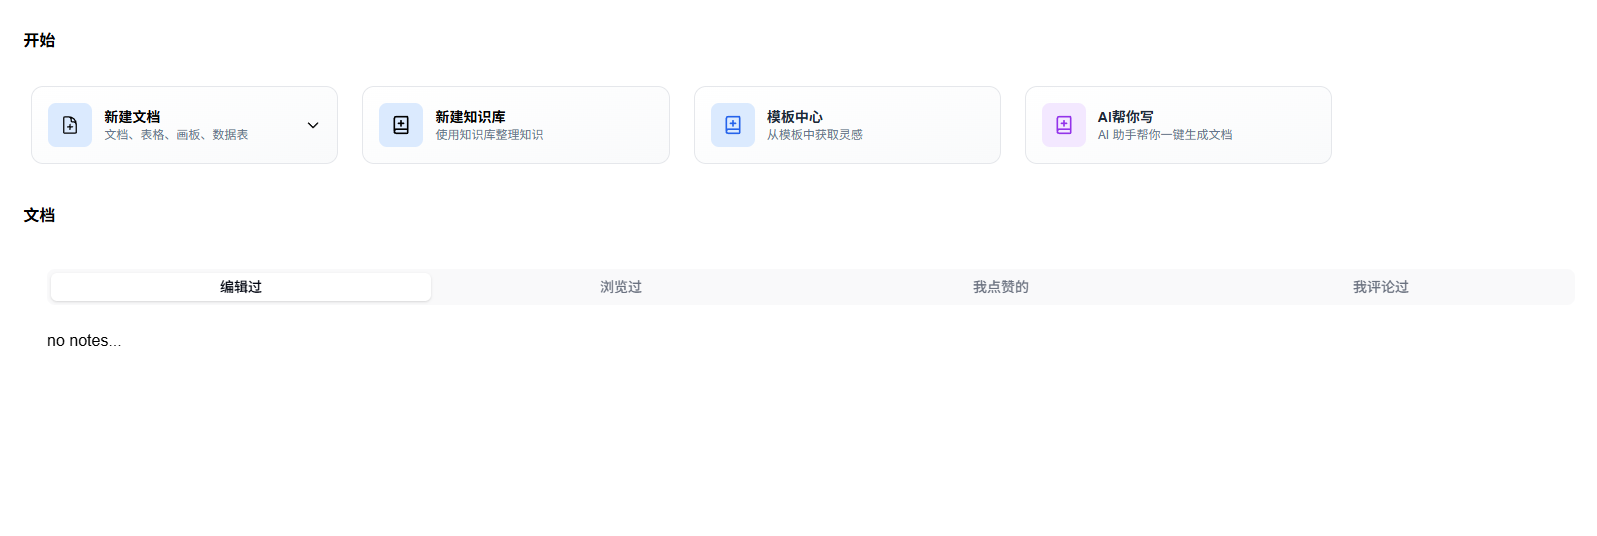
Headless Rich Text Editor (TipTap Integration)
Supports partial Markdown syntax editing (this seems to be an issue with TipTap itself), along with various styling options.
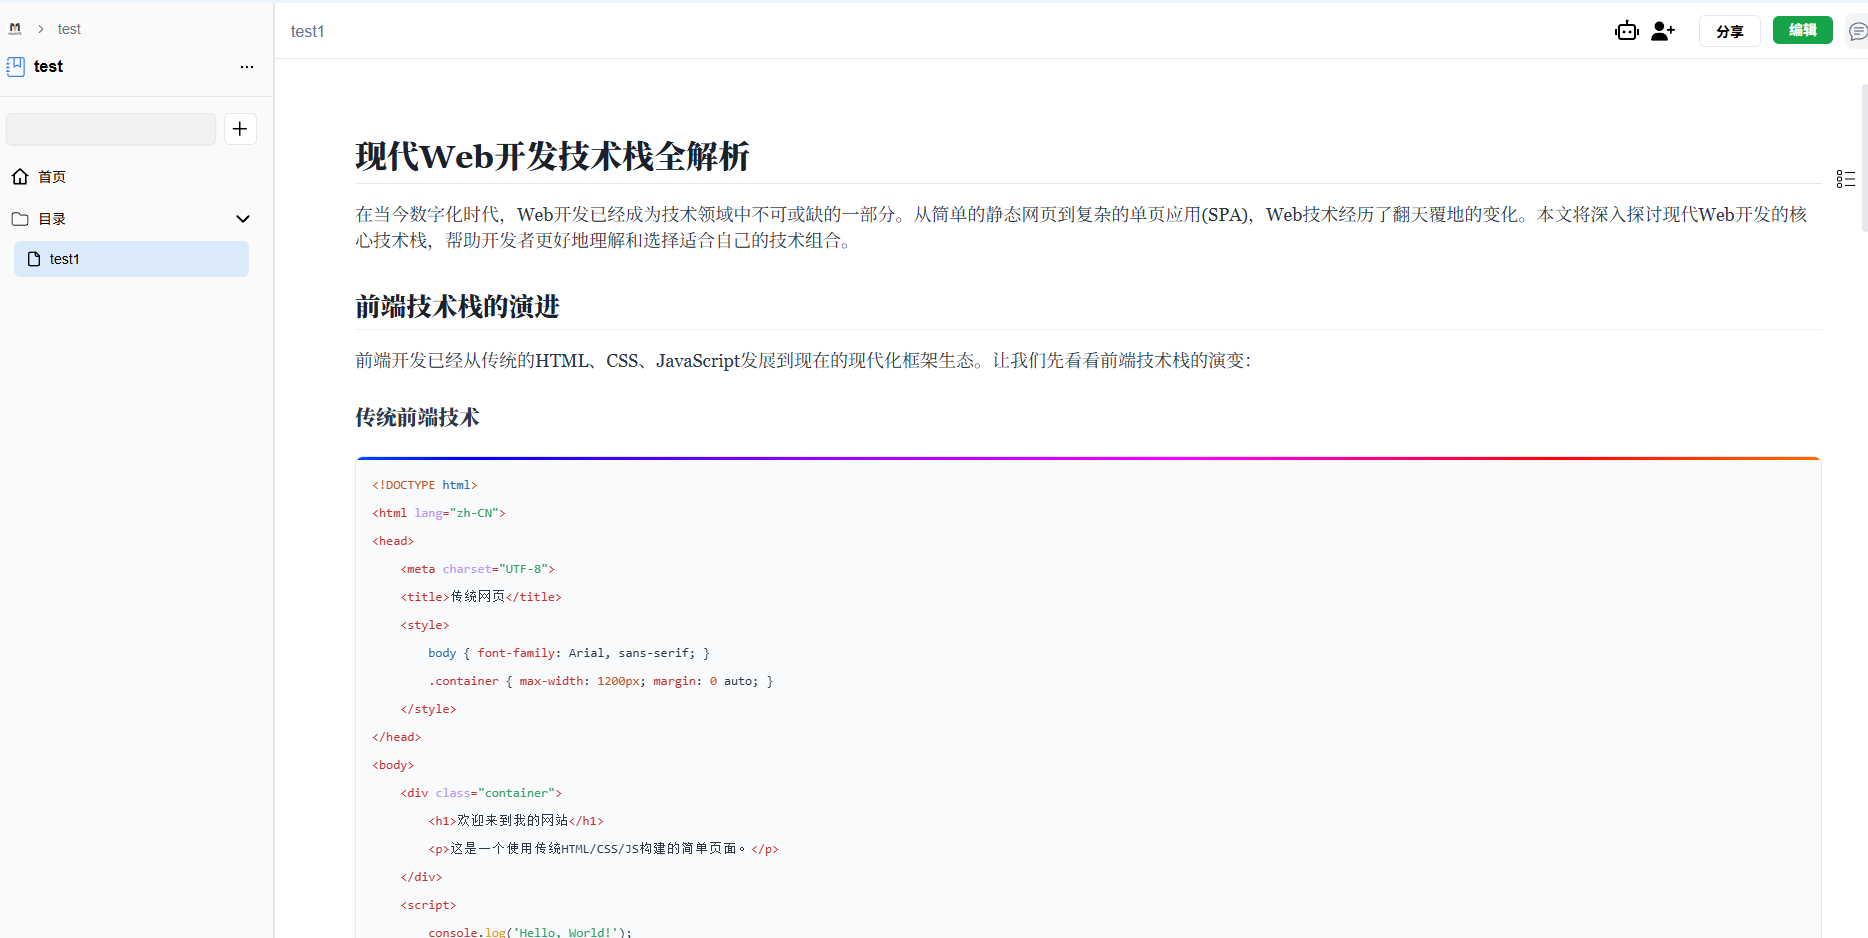
Note Rendering
Page Structure
Outline (Generated from Headings)
Click the floating three-bar button in the upper right corner to open the outline view.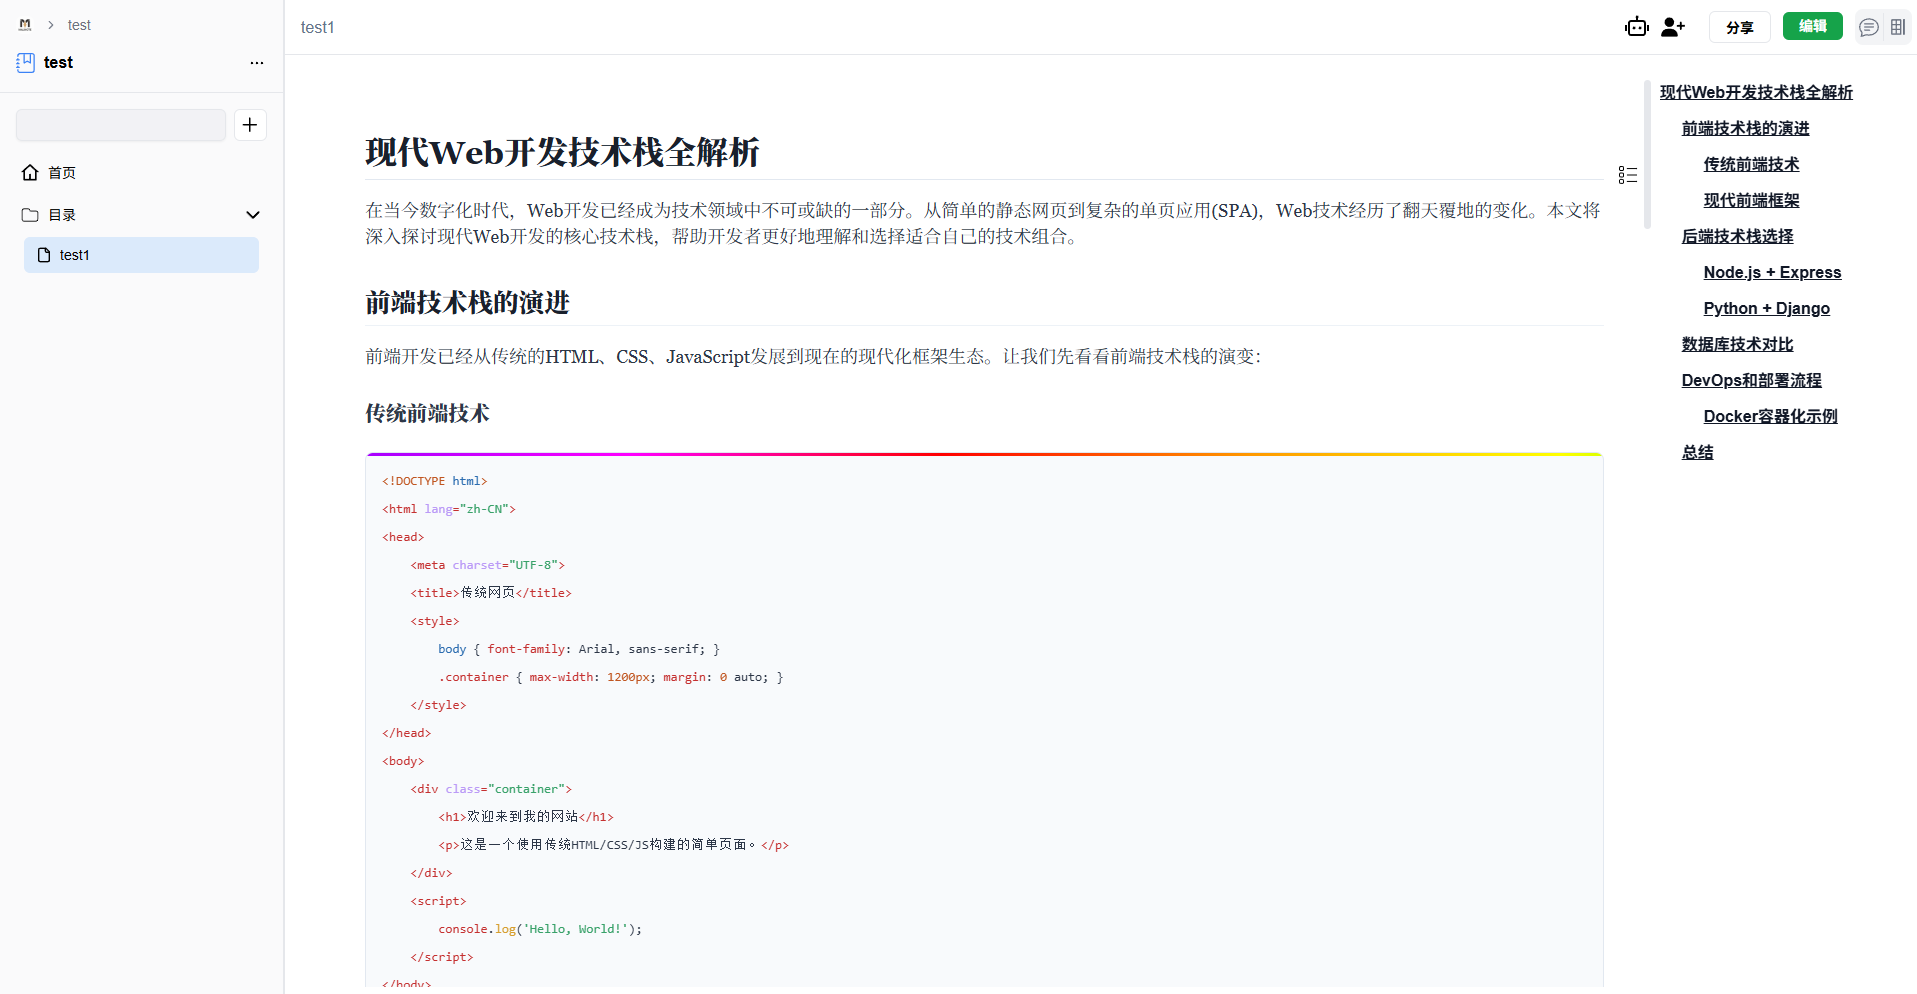
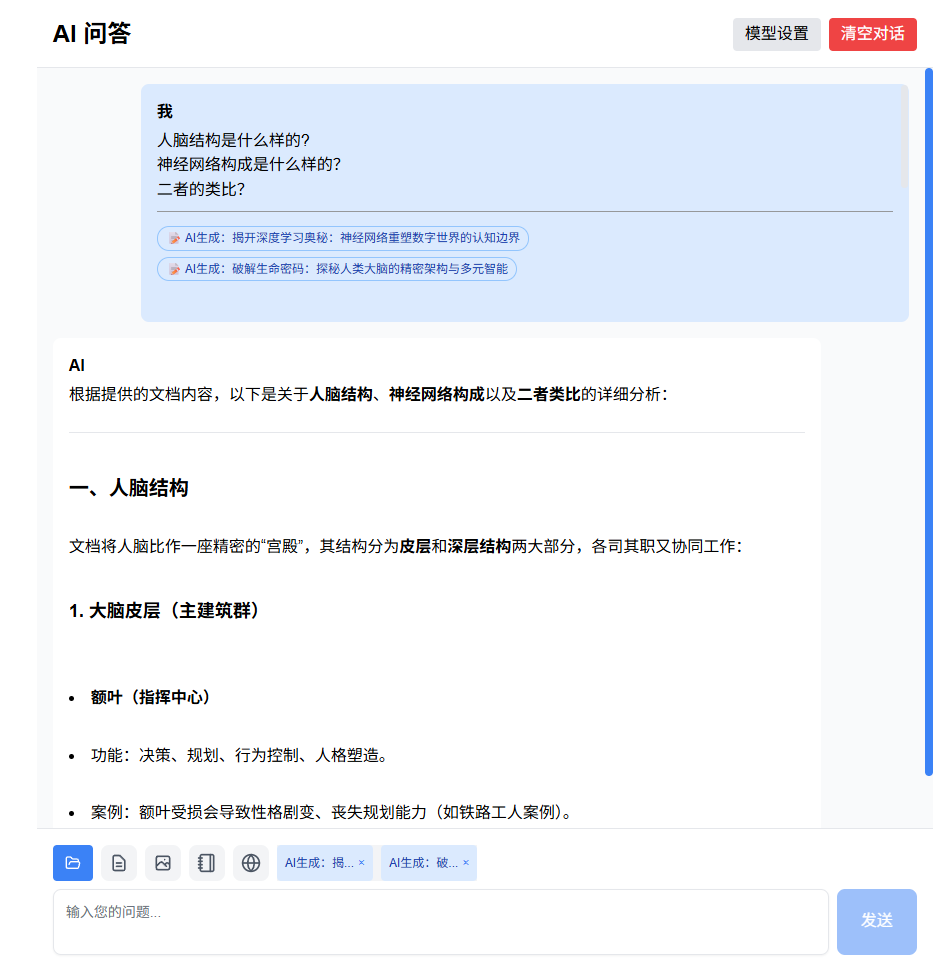
AI Q&A (Based on Document Content)
Click the robot icon in the top bar to open the AI Q&A section.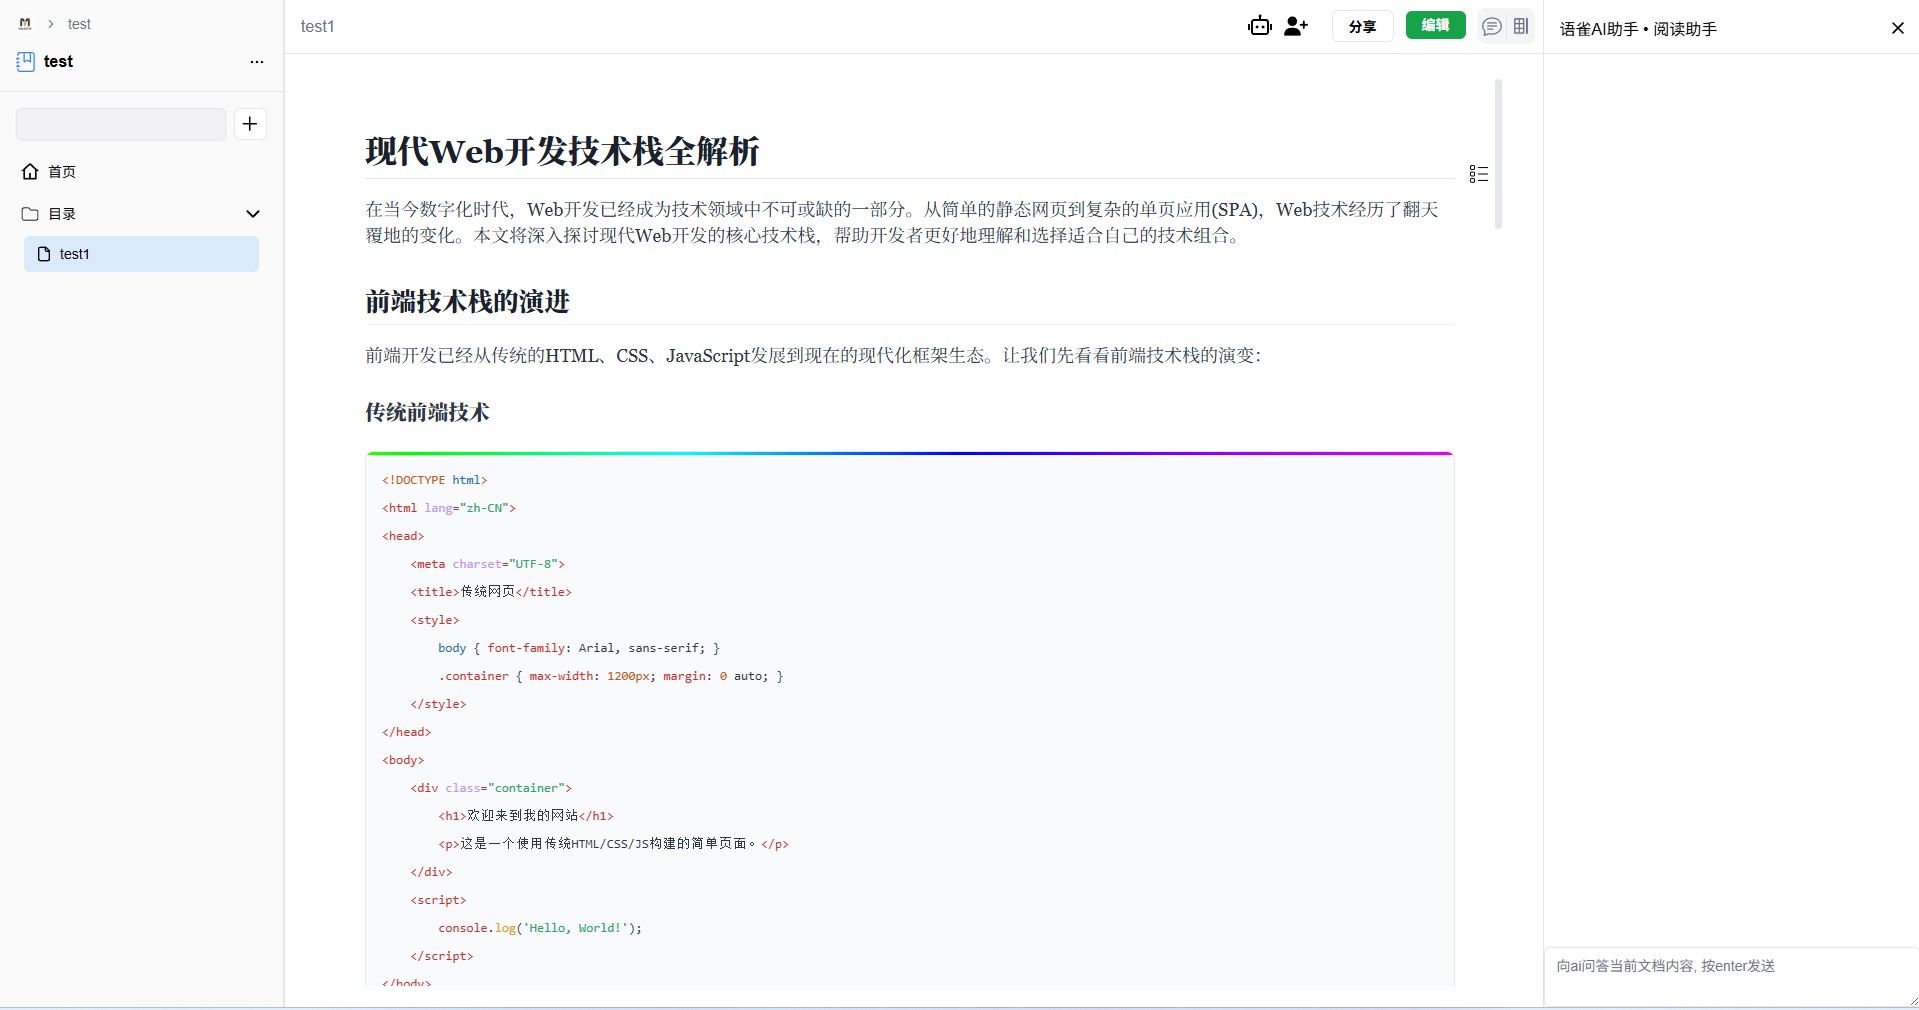
Basic Note Editing
While editing notes, you can directly copy and paste images, which will automatically upload to the server and display in the note (images copied from file managers cannot be pasted).
You can also copy web page content and paste it into the editor, partially preserving formatting.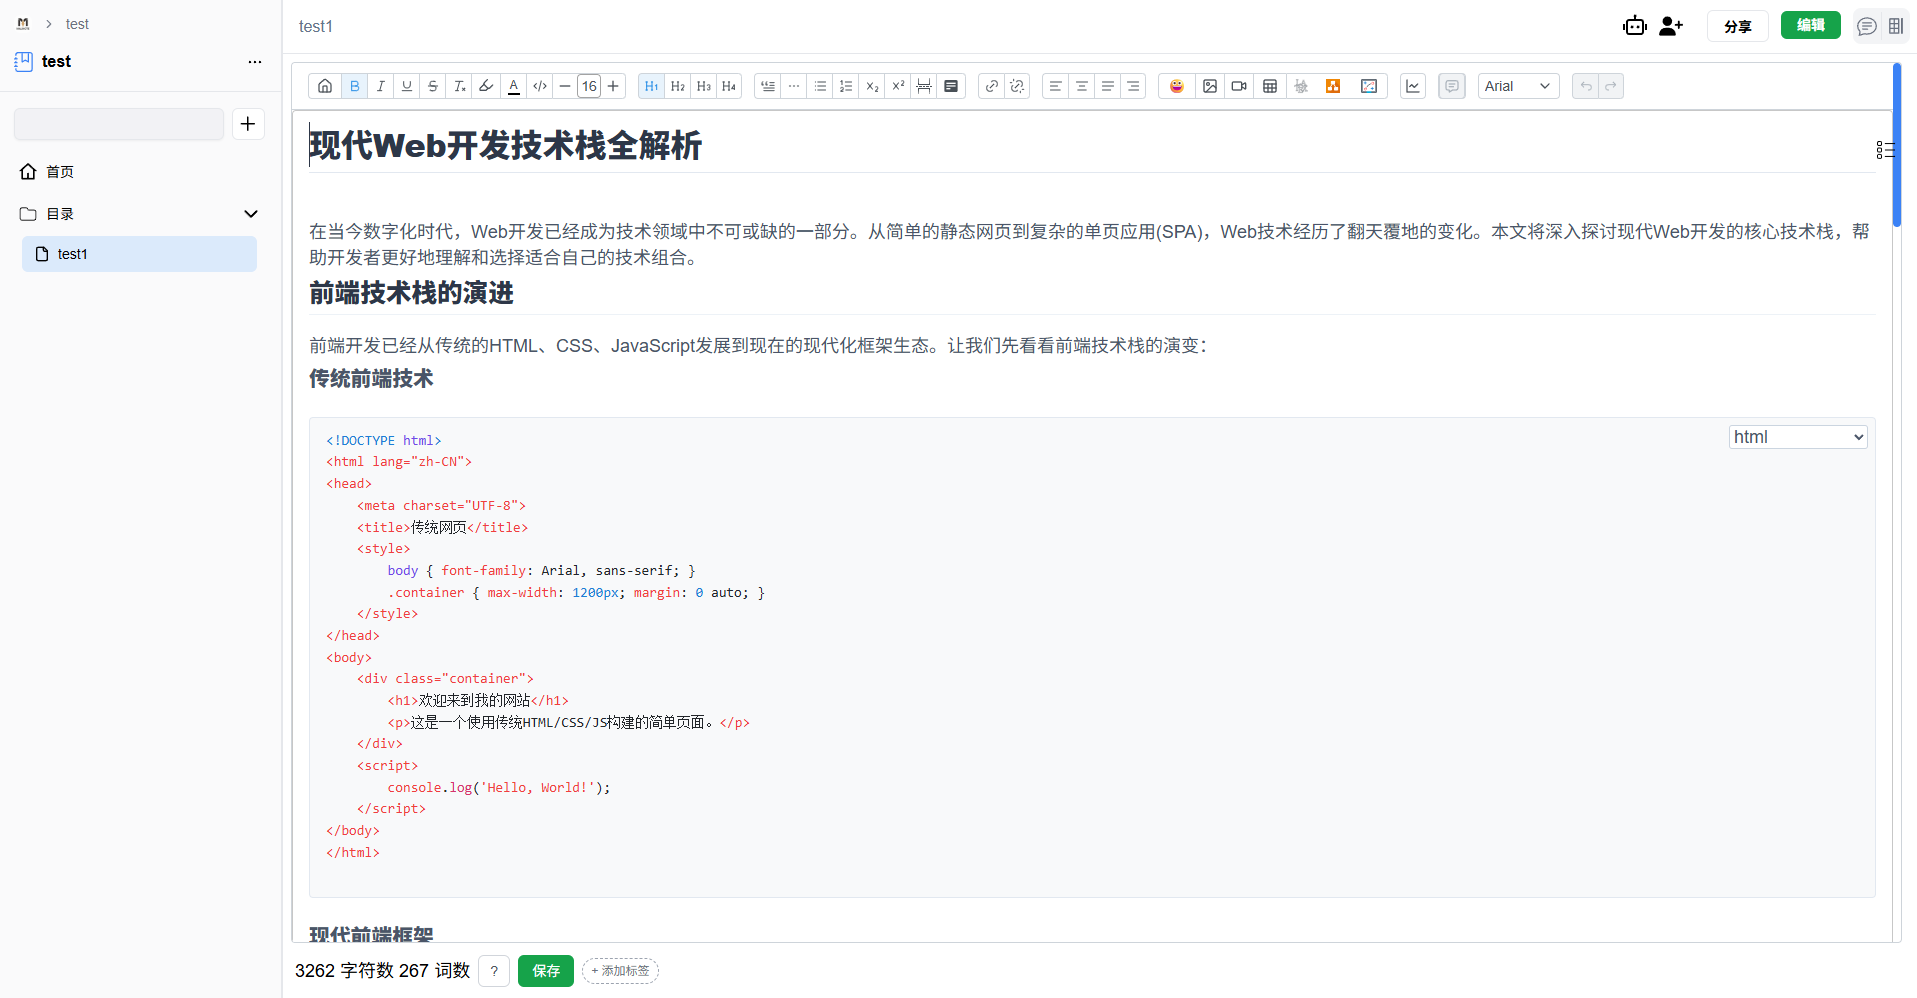
Toolbar (Bar)
Selected text will pop up a bubble toolbar.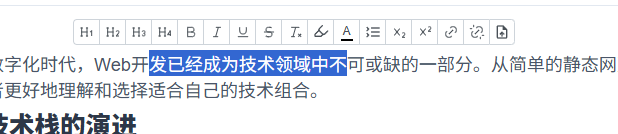
Moving the cursor to a blank line displays a float toolbar.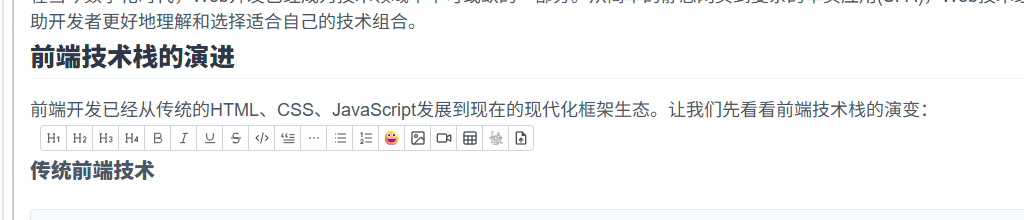
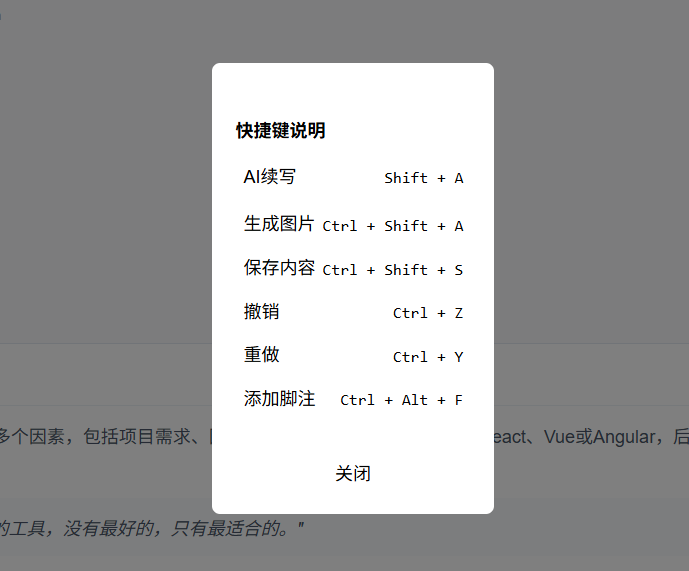
Shortcut Keys
Code Blocks
Integrated with highlight.js, code blocks will be highlighted.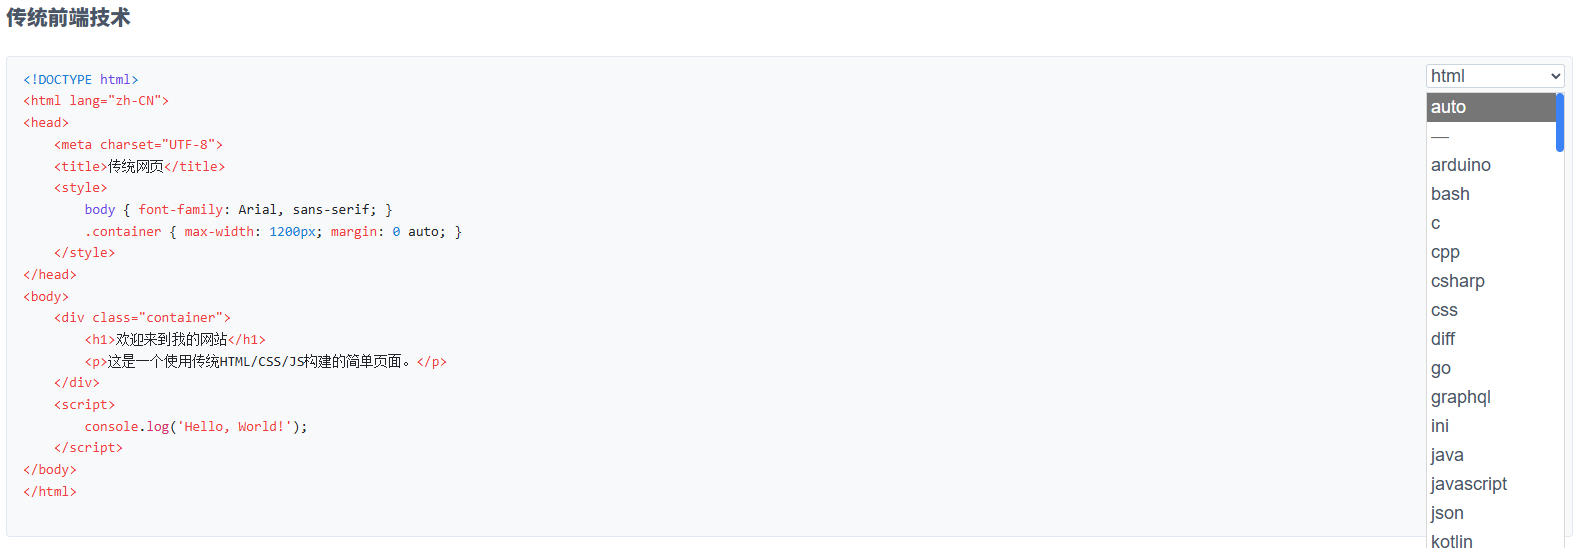
Mermaid Diagrams
Click this icon in the top bar to insert a Mermaid block.
Effect:
Editable: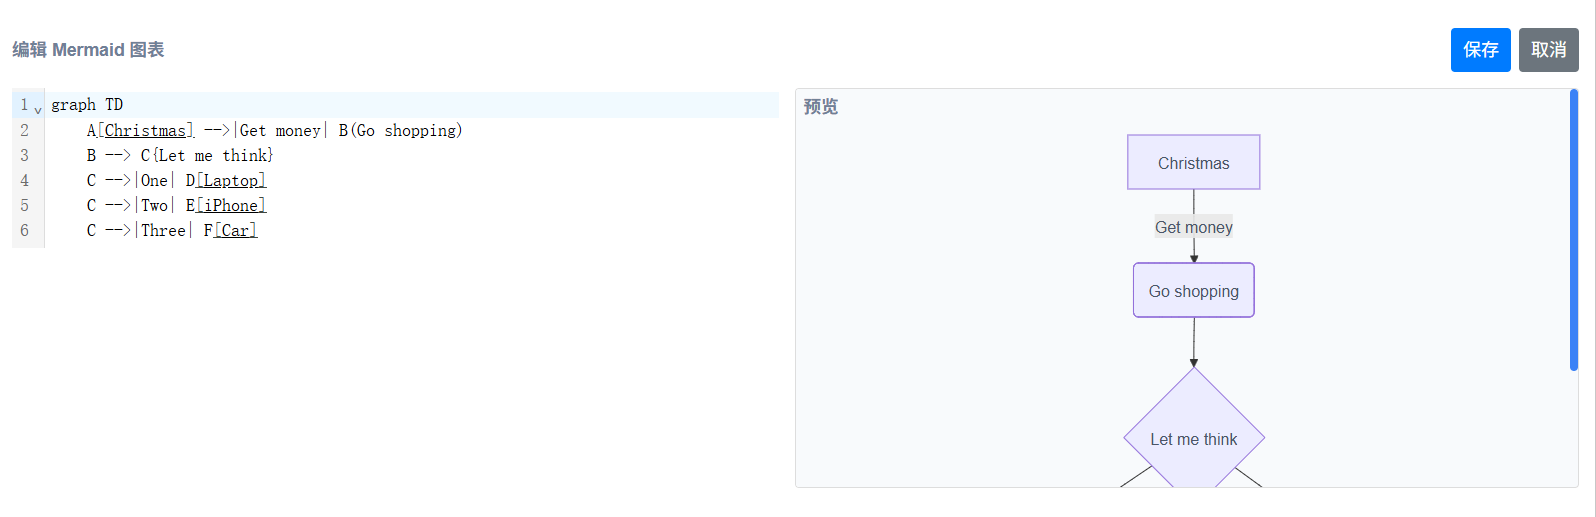
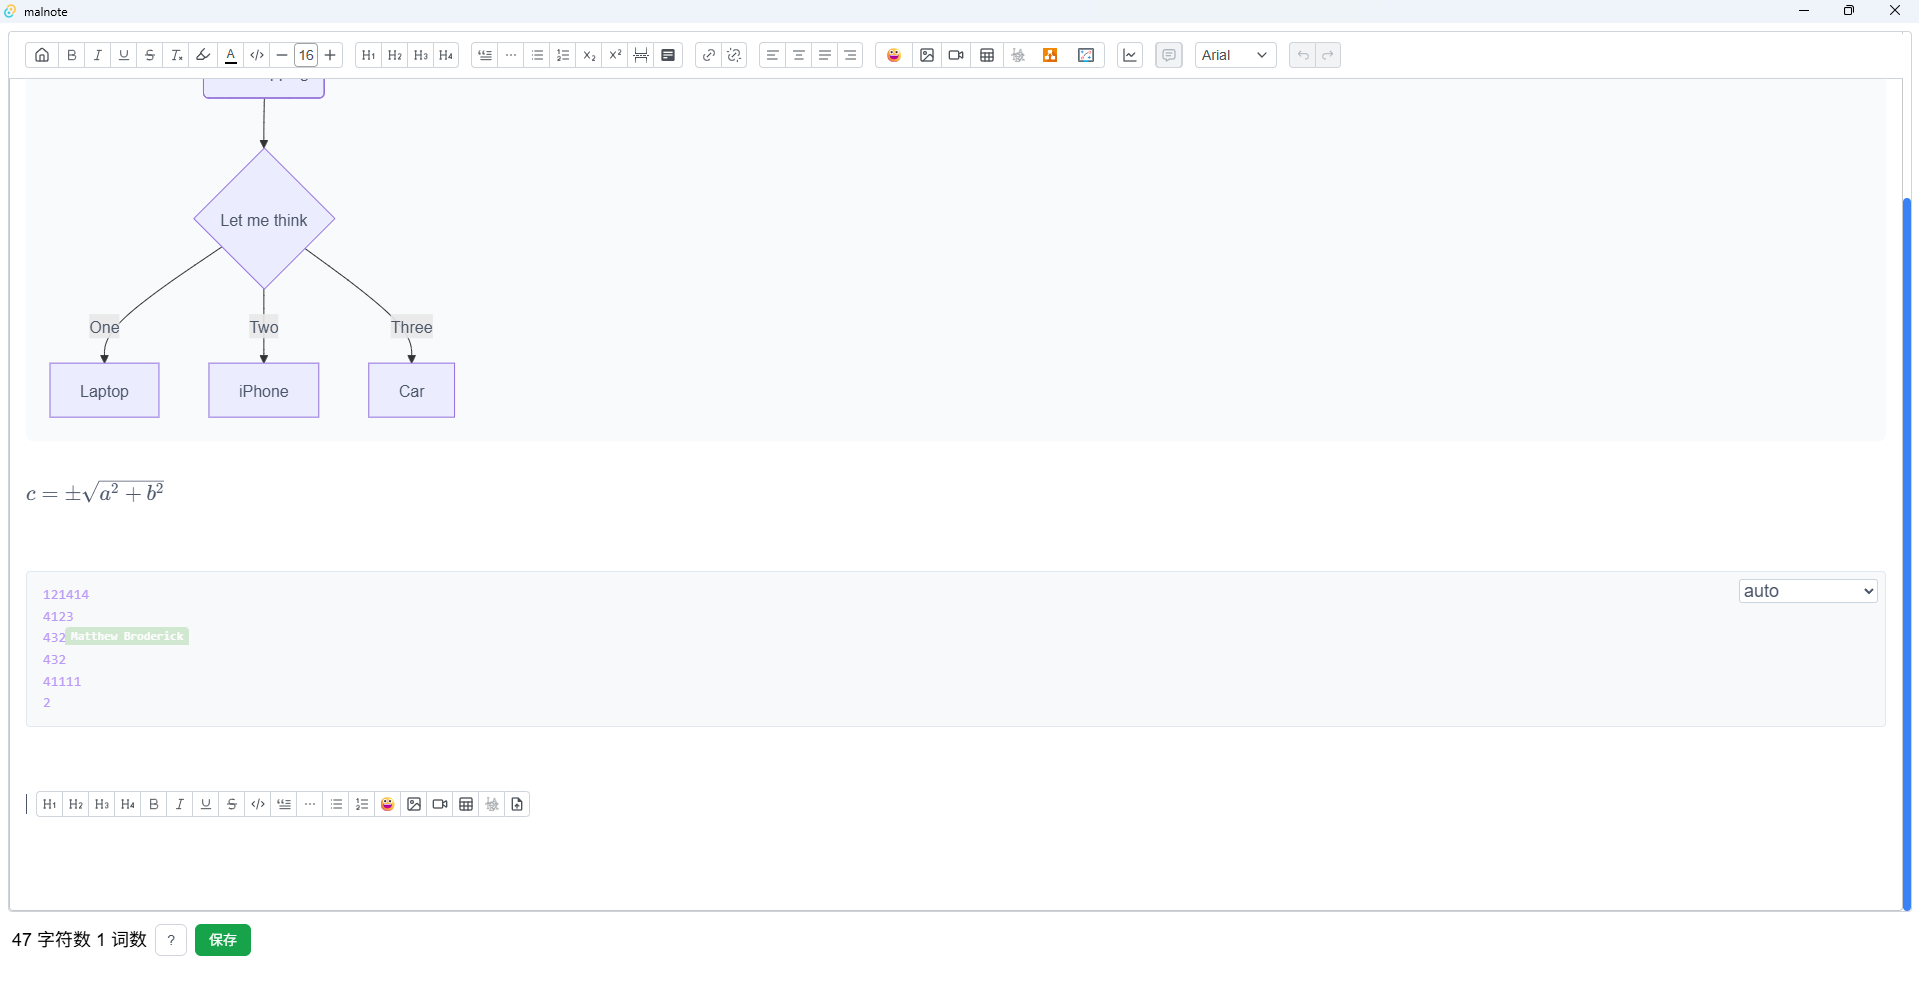
LaTeX Formulas

Result: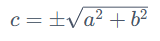
Footnotes
Use shortcut Ctrl-Alt-F to add footnotes.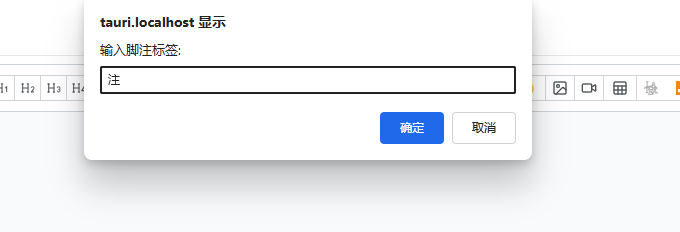
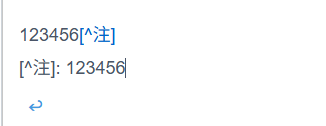
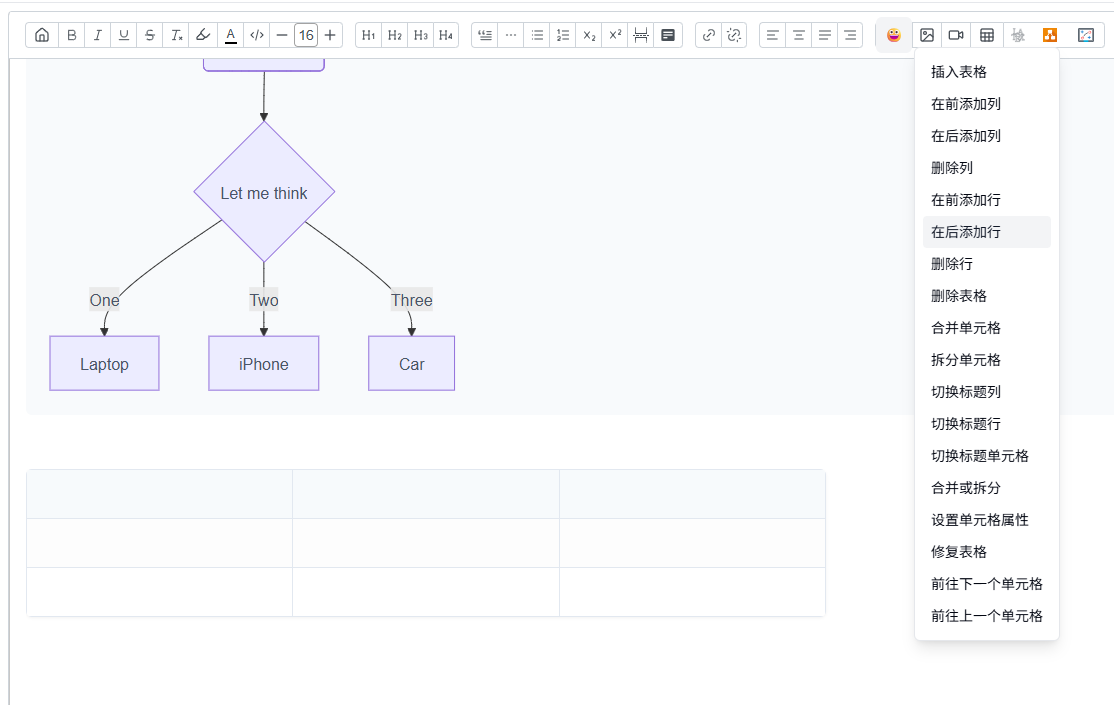
Tables
Other Features
Basic features like highlighting, font styles, and image insertion won’t be shown here.
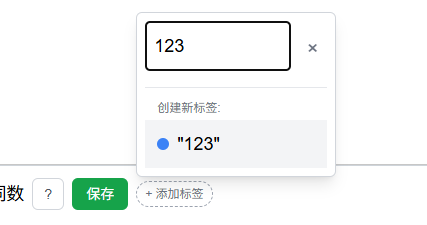
Tags
Support assigning tags to notes, viewable grouped by tag in the archive page.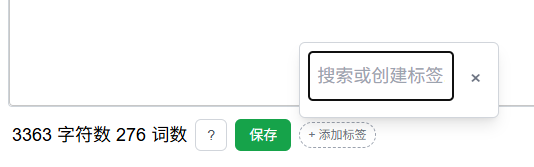
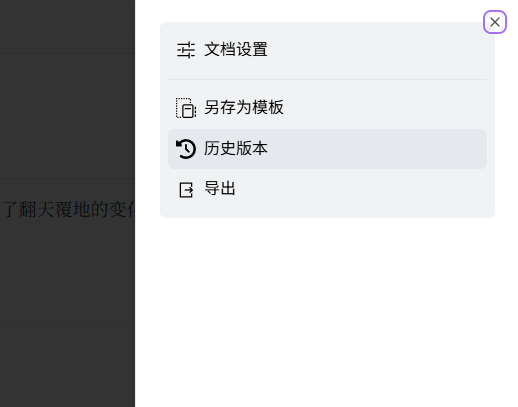
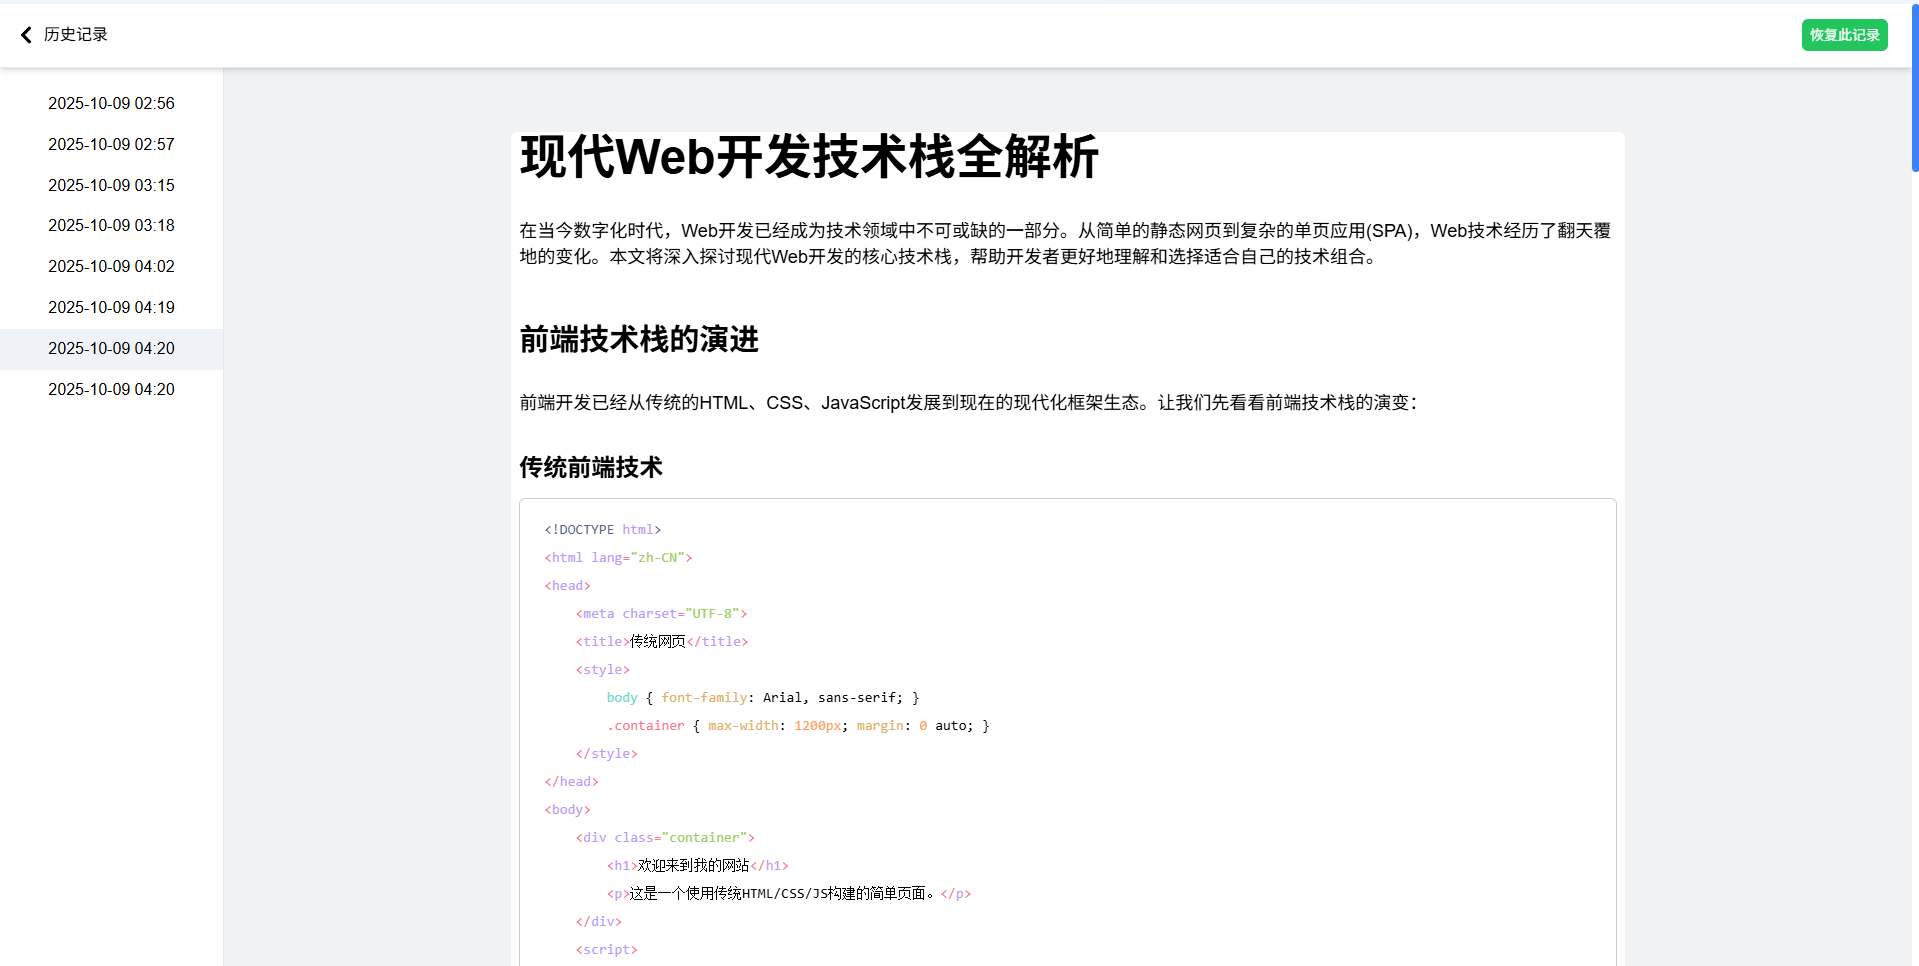
History Records
When clicking save in the edit page, current content syncs to history records. Click the button in the upper right corner to enter history records page and restore records.
Collaborative Editing
Click the person+icon in the top bar to enter collaborative editing mode (bug: if note contains tables, feature becomes unavailable).
1 | Start collaborative sync client |
Sidebar Directory
Sidebar renders current knowledge base’s note directory, allowing creation of sub-notes, renaming, and deleting notes under existing notes.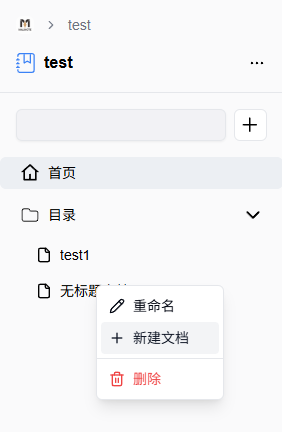
Plus sign creates new note: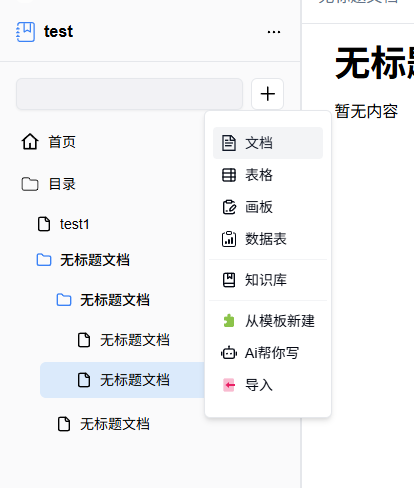
Click search box to search notes: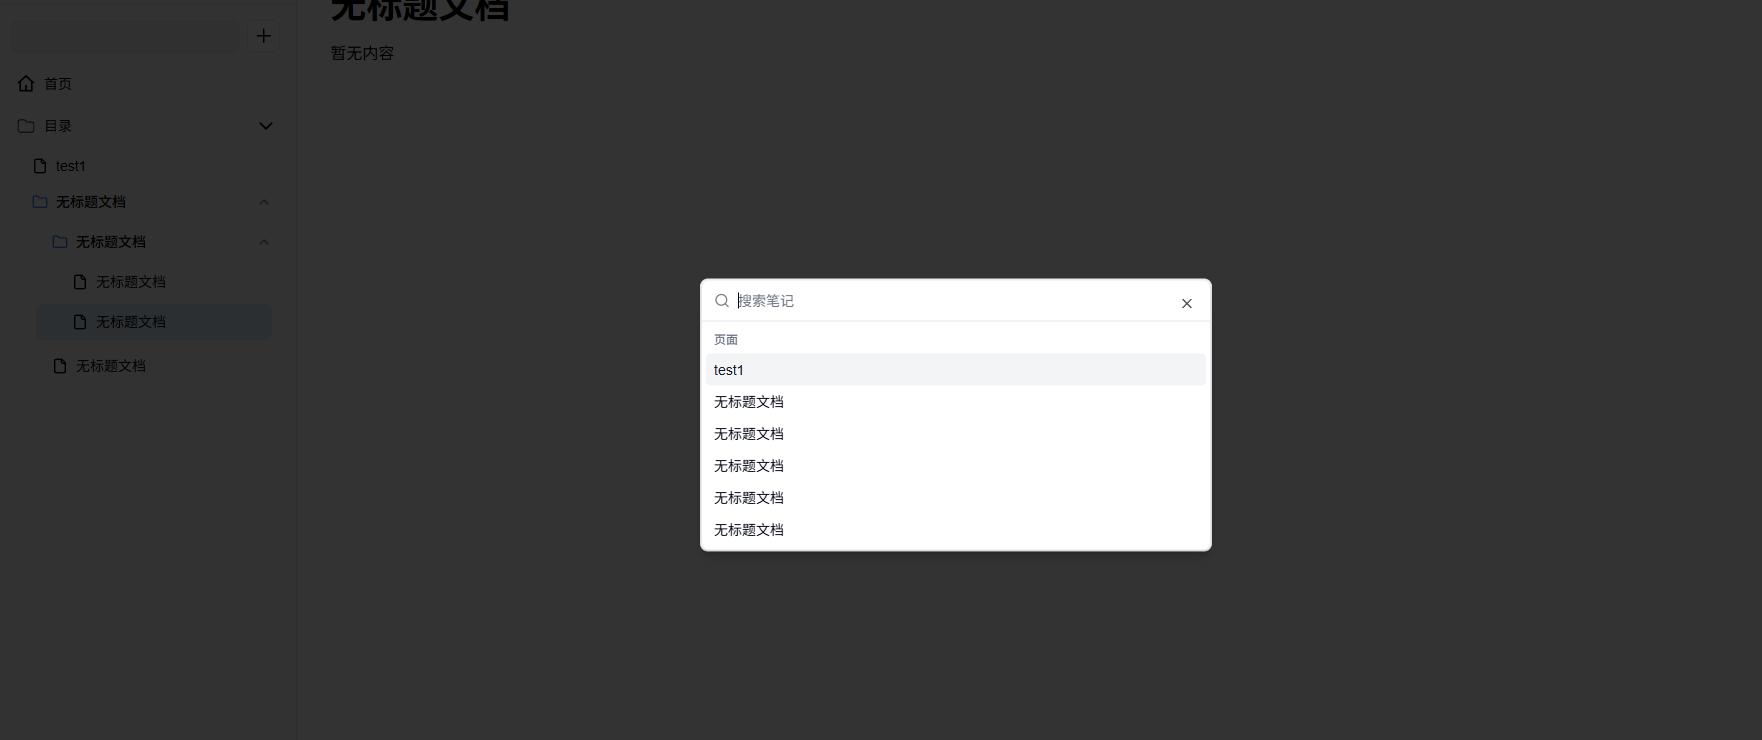
Toolbox
Provides various convenient tools.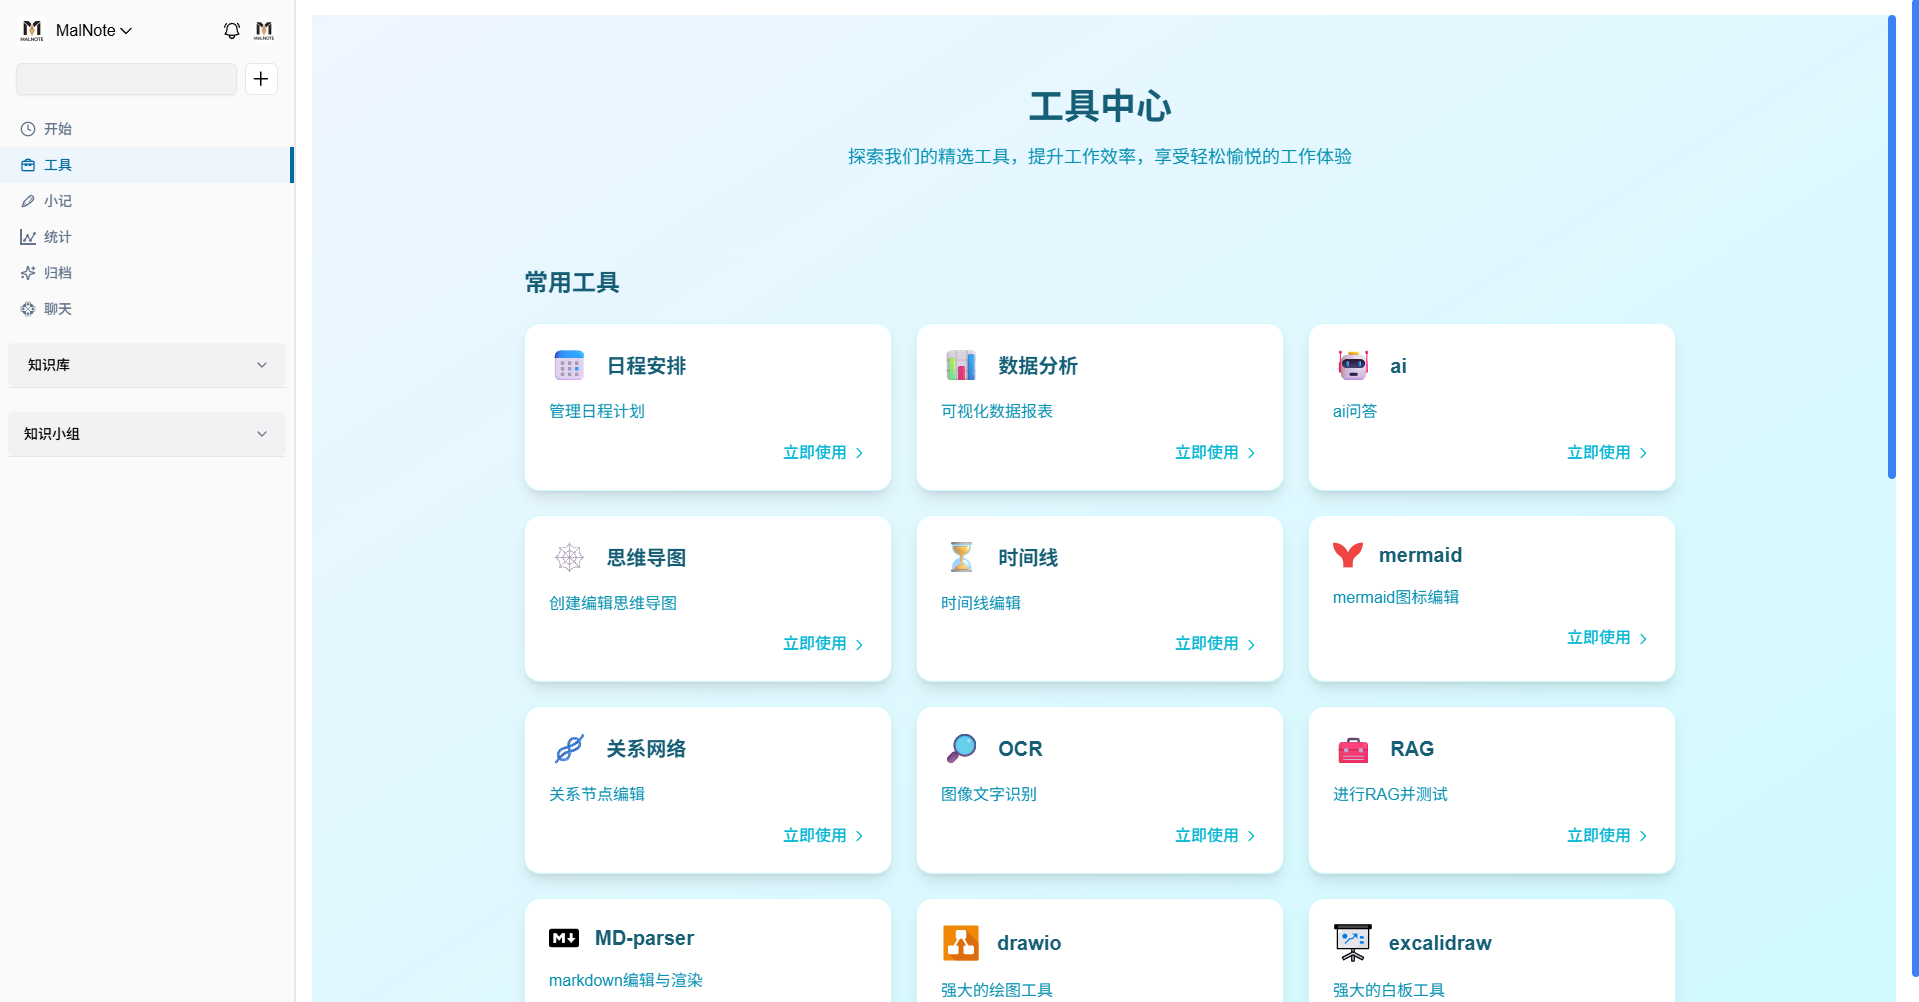
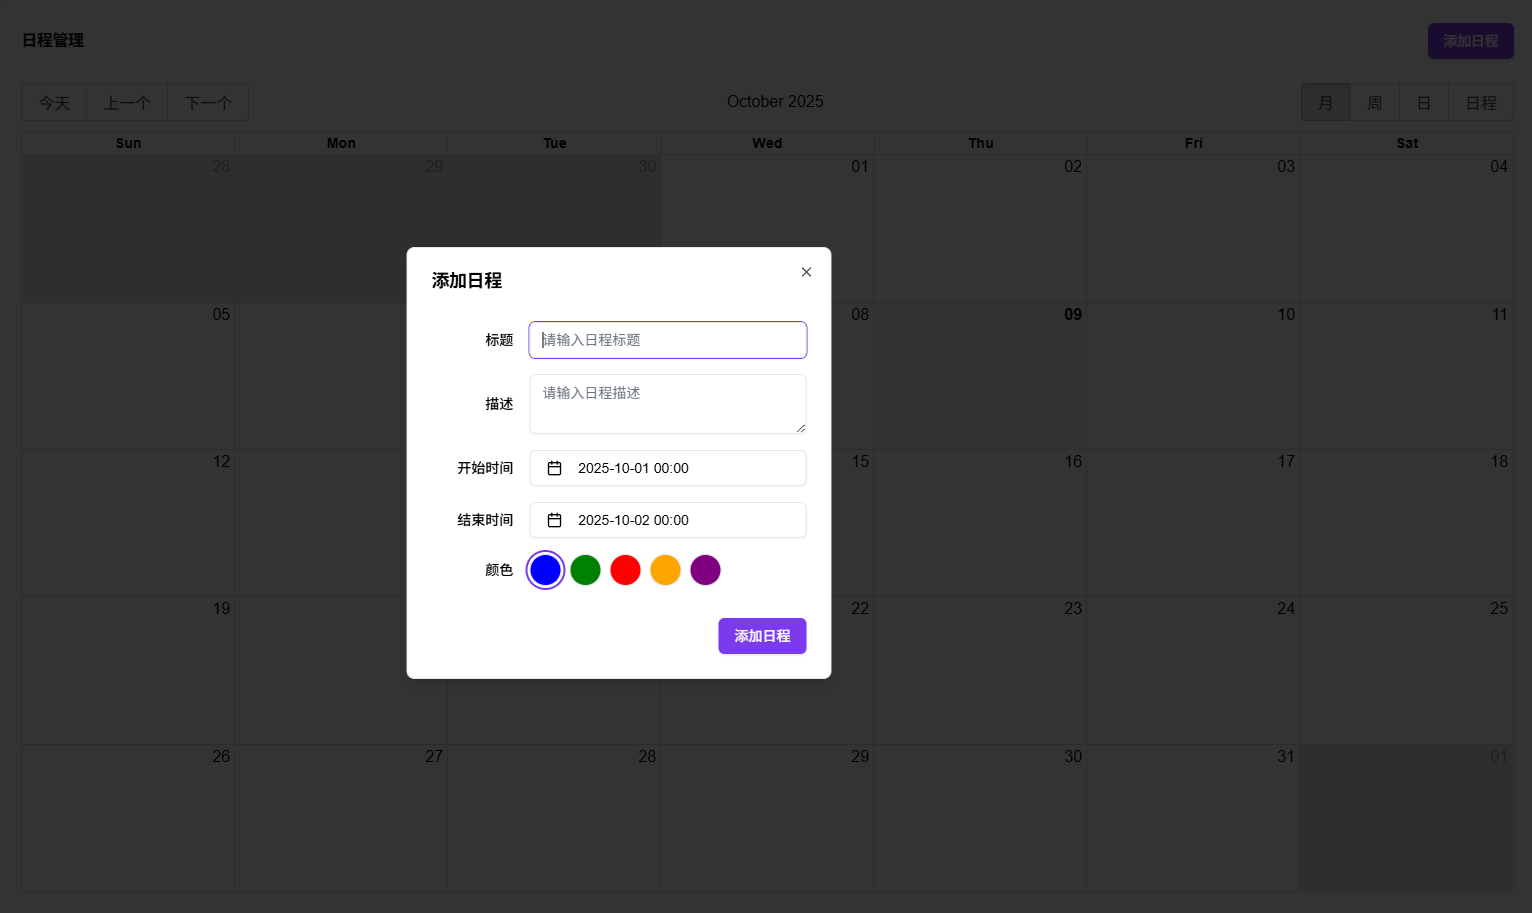
Schedule Management

AI Chat
Implements basic AI chat interface, freely providing glm-4-flash, glm-4.5-flash, glm-z1-flash (thanks to Zhipu’s large model!). Custom configurations support other models (using Groq and Cerebras with free APIs available).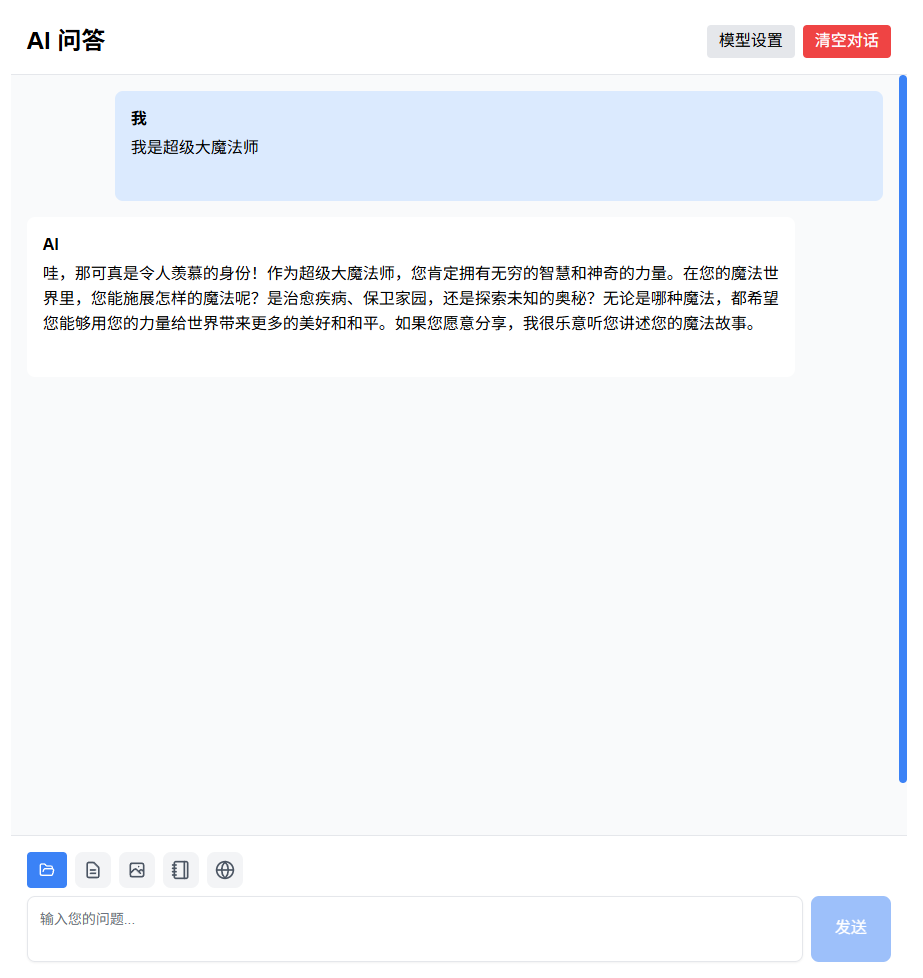
Custom API Configuration
Supports custom API configuration.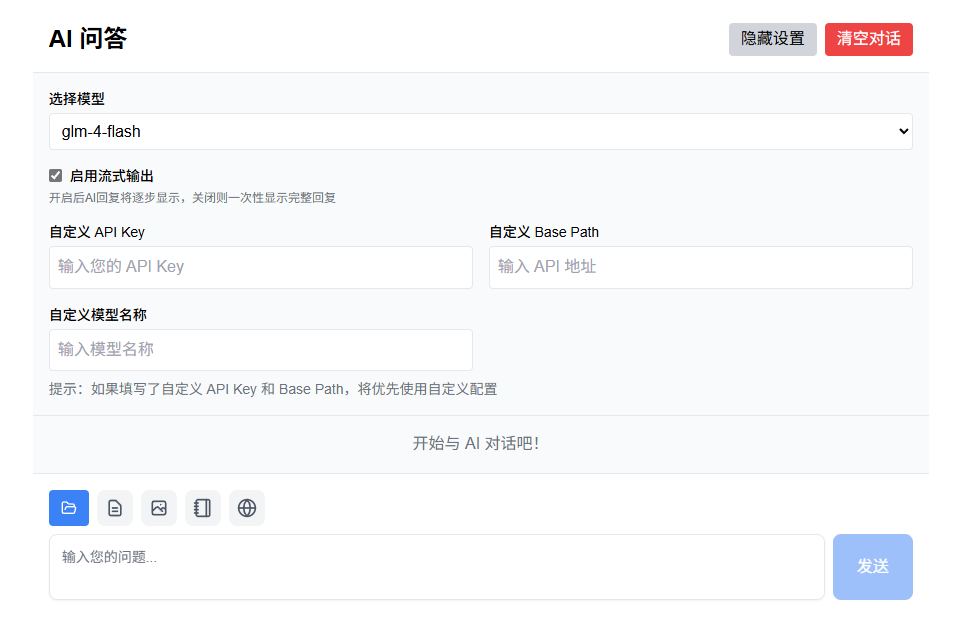
Supports Ollama: Set BASE_PATH to ollama to automatically access local port 11434’s Ollama interface. Requires installing Ollama and setting environment variables: OLLAMA_HOST=0.0.0.0:11434 (specifies listening network port and bound IP address), OLLAMA_ORIGINS=* (allows cross-origin requests).
Chat History
Click blue folder icon to view past AI chat records. Click to load conversation history. Click “Clear Conversation” at top to delete all current history records.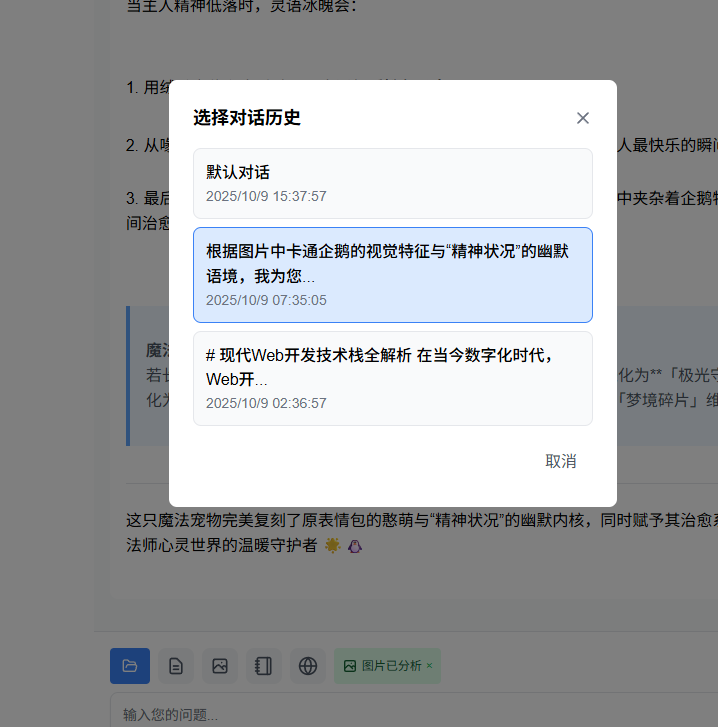
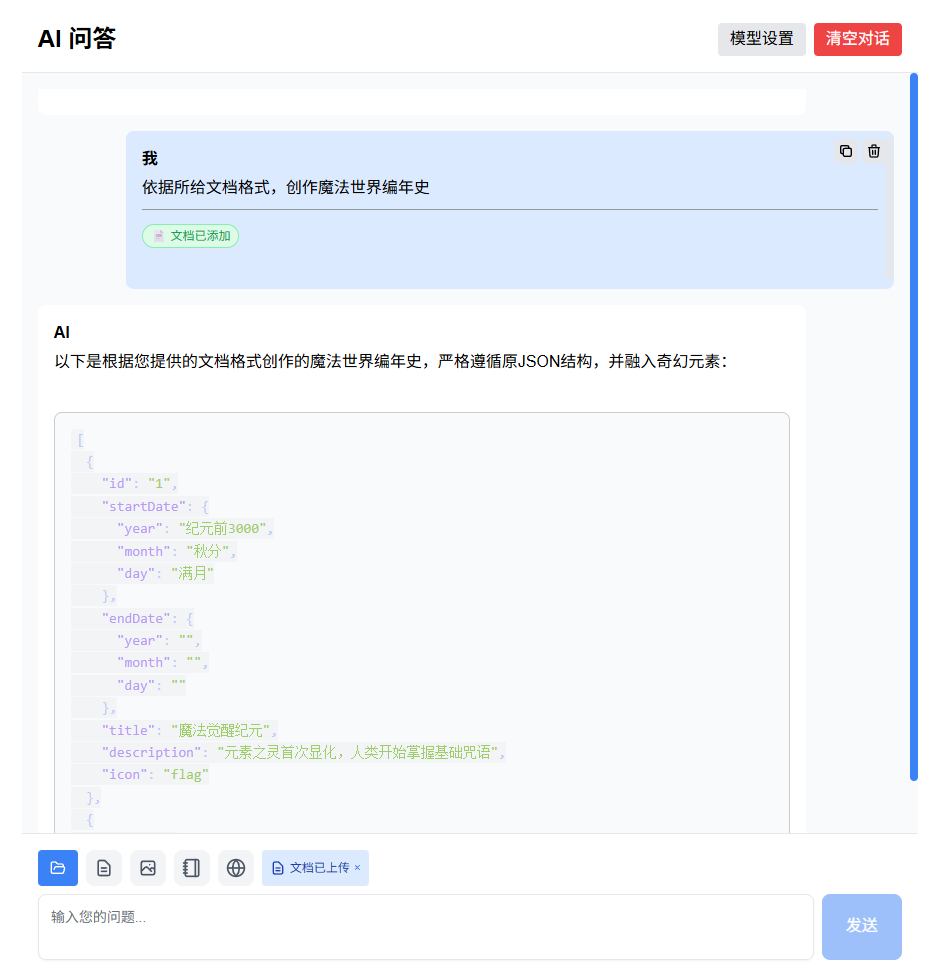
Attached Documents
Supports uploading .md/.txt/.json files that get attached to AI during chat.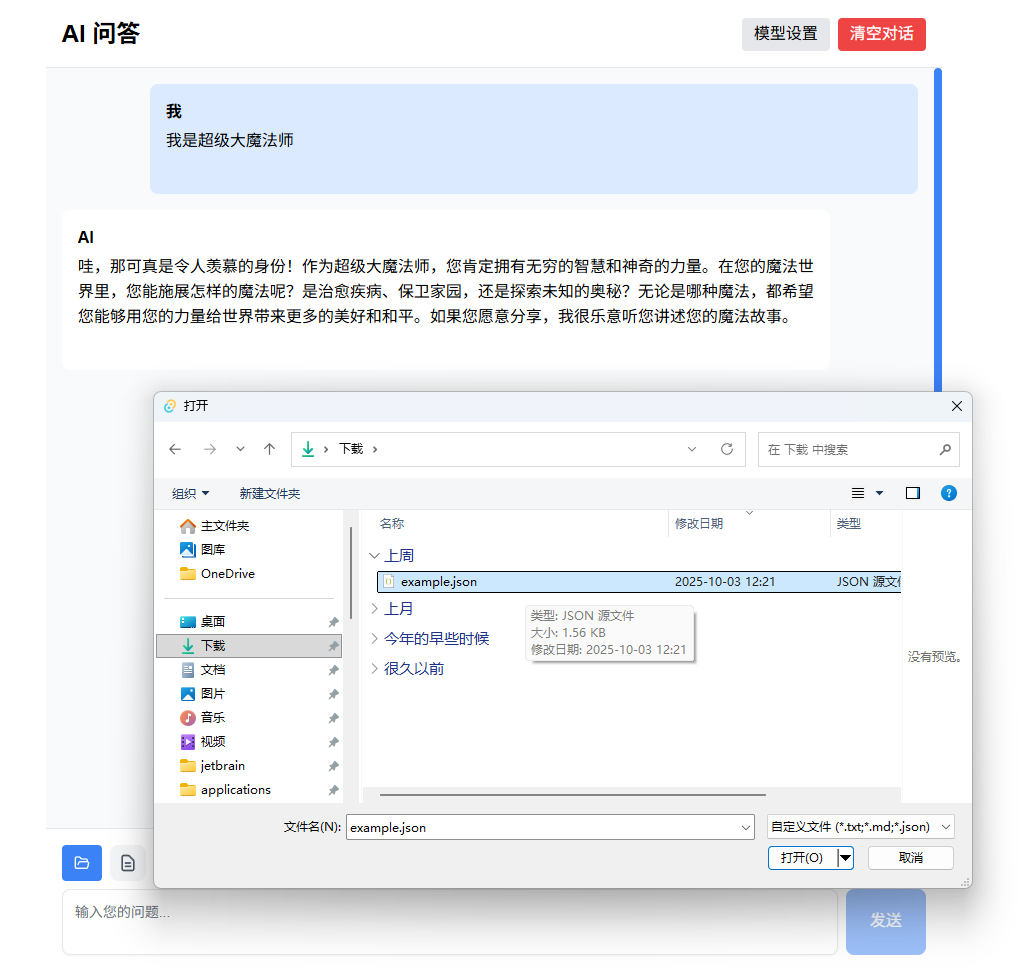
Note: Click “Document uploaded” tag to view content.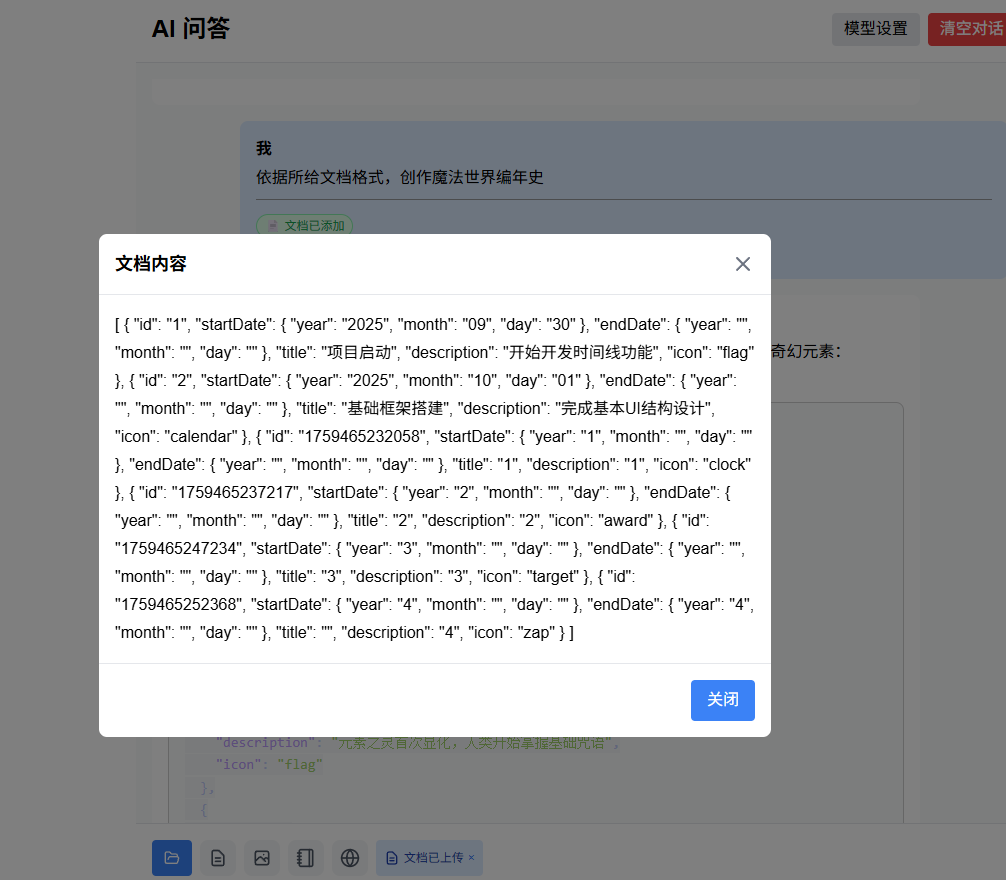
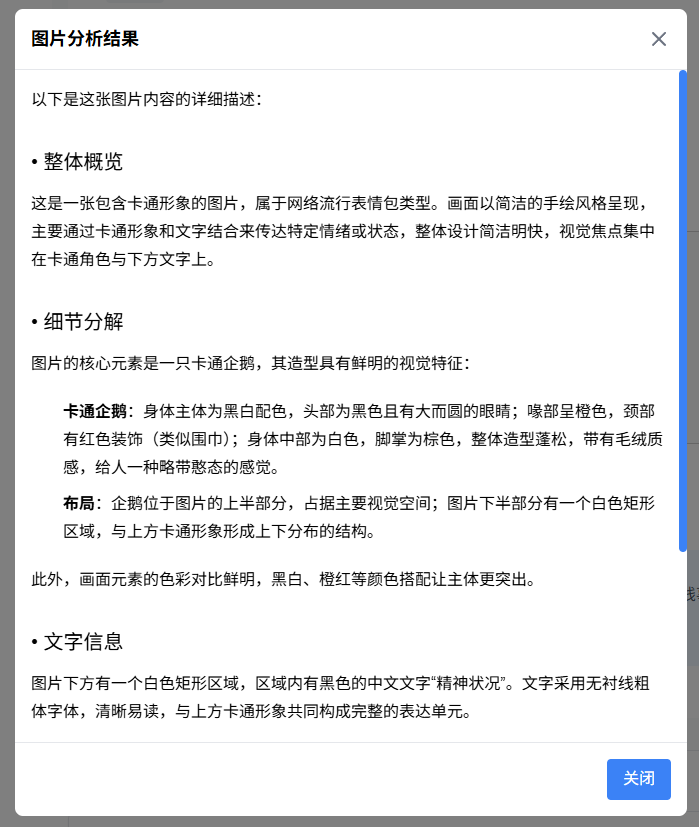
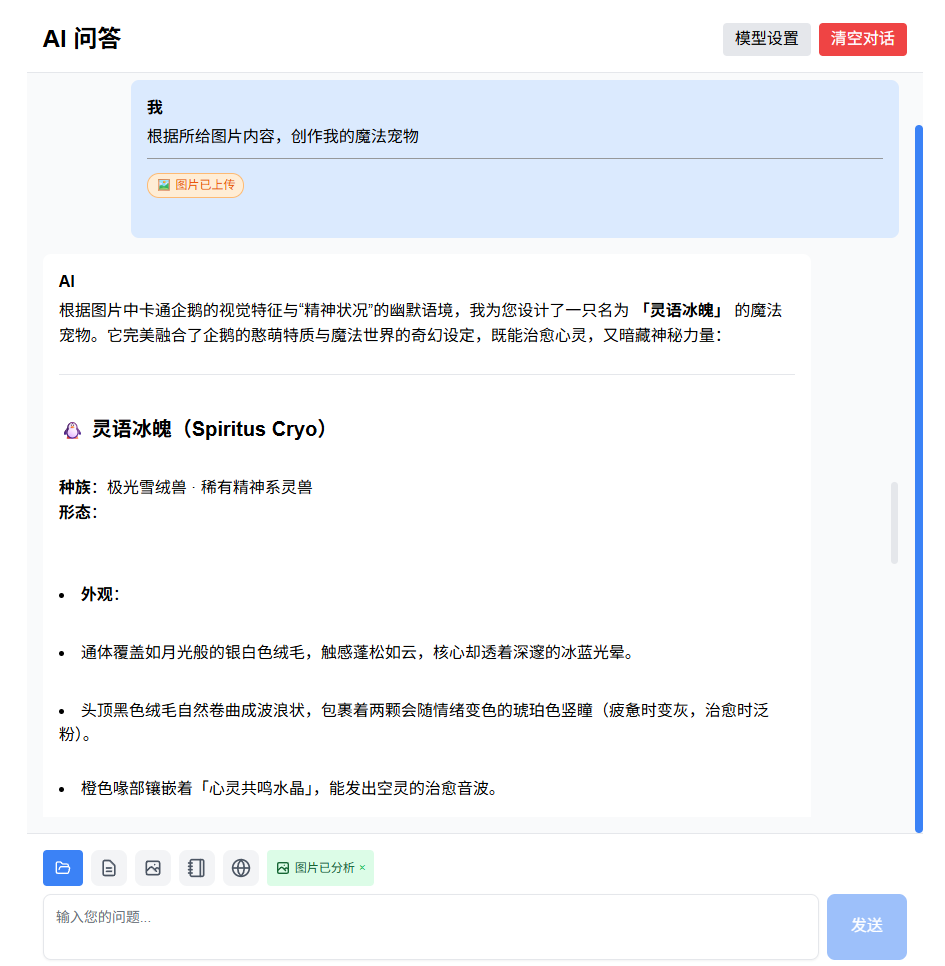
Image Upload
Select images to upload. Upon completion, automatically requests AI image understanding service. Image understanding content gets attached when user sends messages.
Vectorized Documents
Supports splitting notes into vectors (requires local Ollama support).
1 | ollama pull mxbai-embed-large |
When asking AI questions, select documents. System searches relevant document fragments based on user input and provides them to AI.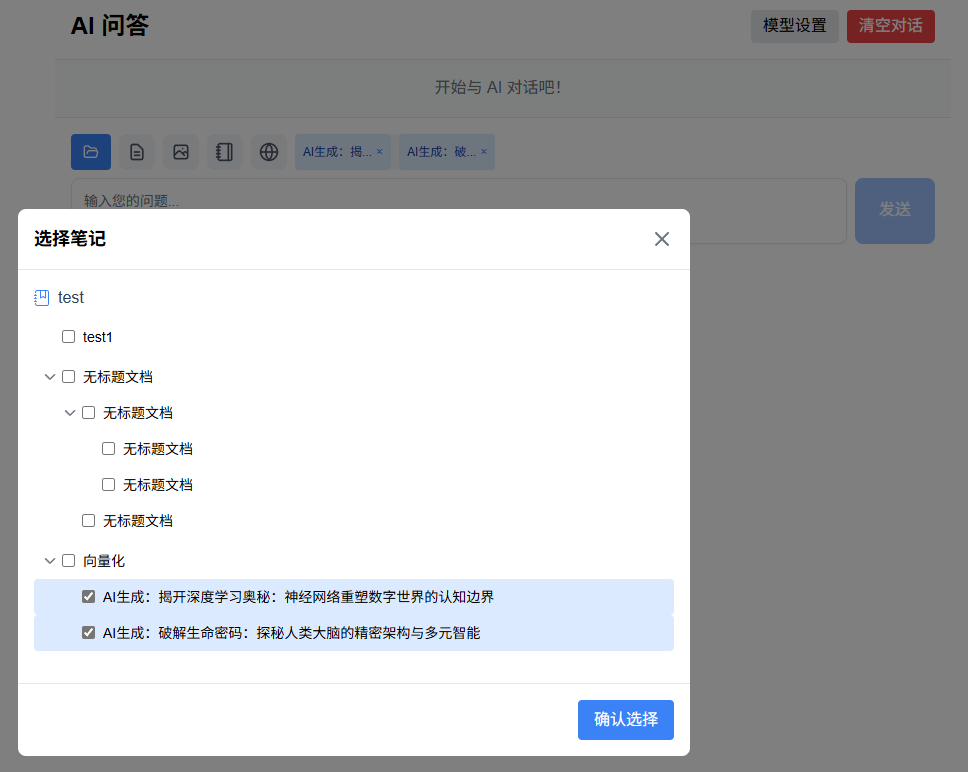
After confirmation, calls local Ollama for vectorization processing.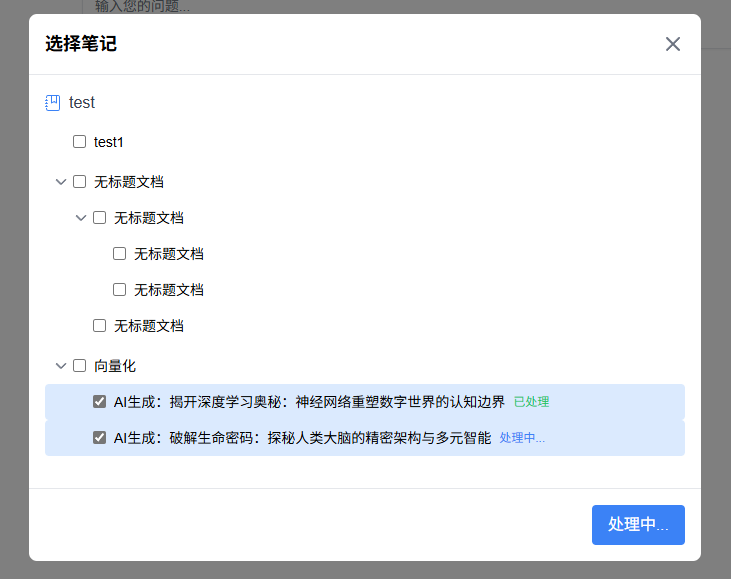
Wikipedia Search
Supports Wikipedia search. With network issues, uses local Kiwix Wikipedia. Just start local service (port 9000) - software automatically falls back to local service when remote requests fail.
Kiwix Software Download
Download .zim Files Here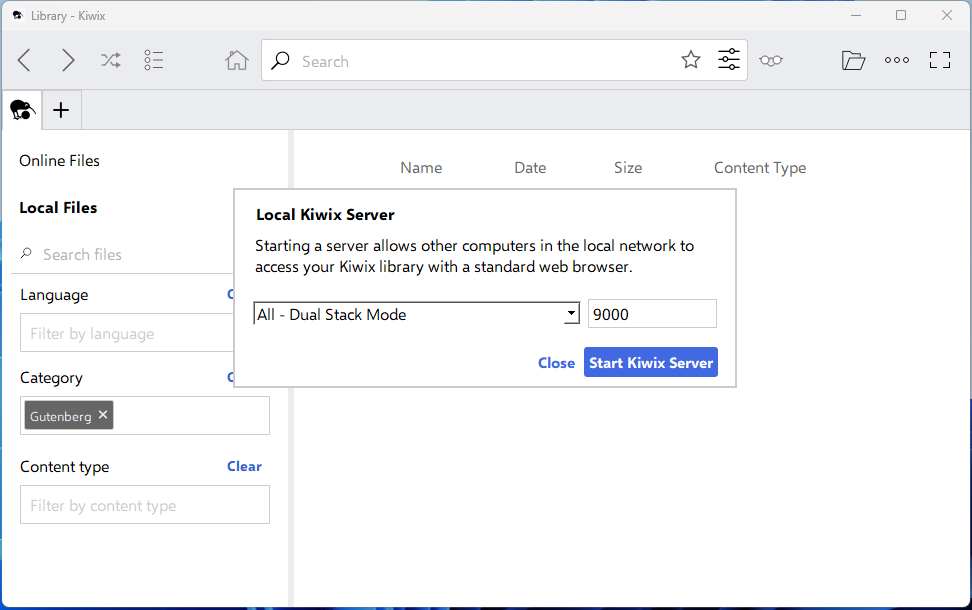
Enter search term in box, click round button to search Wikipedia. Results displayed as messages. Subsequent questions automatically include context sent to AI.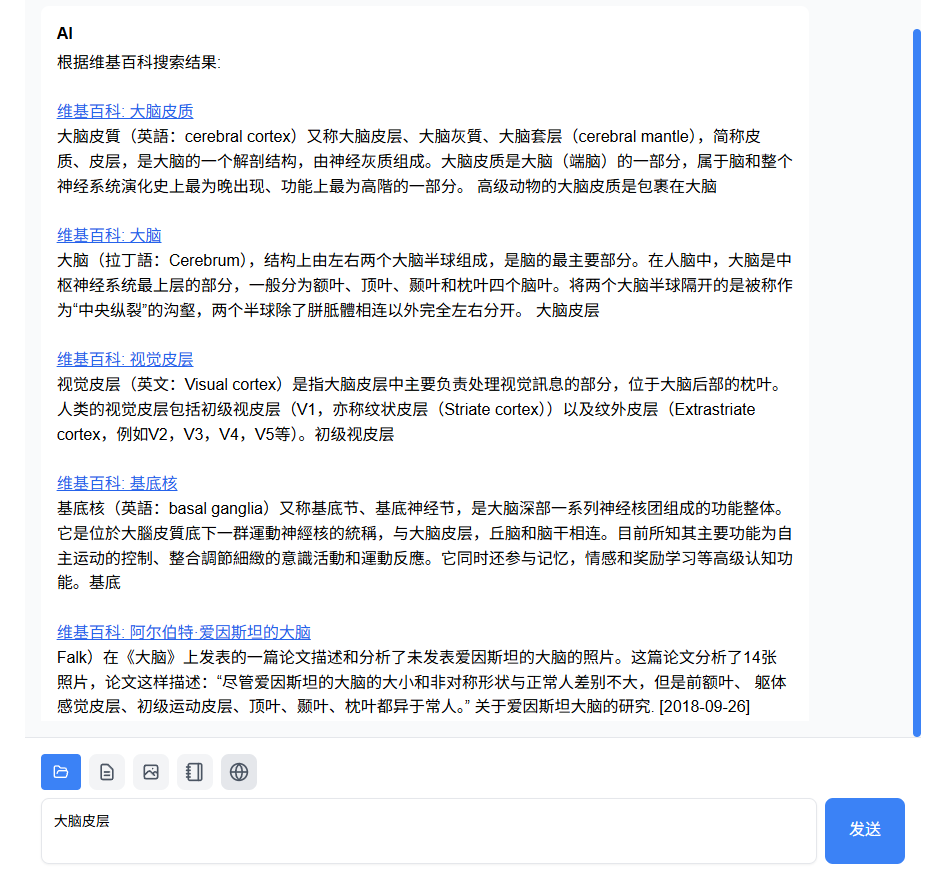
Mind Maps
Experimental feature - press Enter to add new nodes.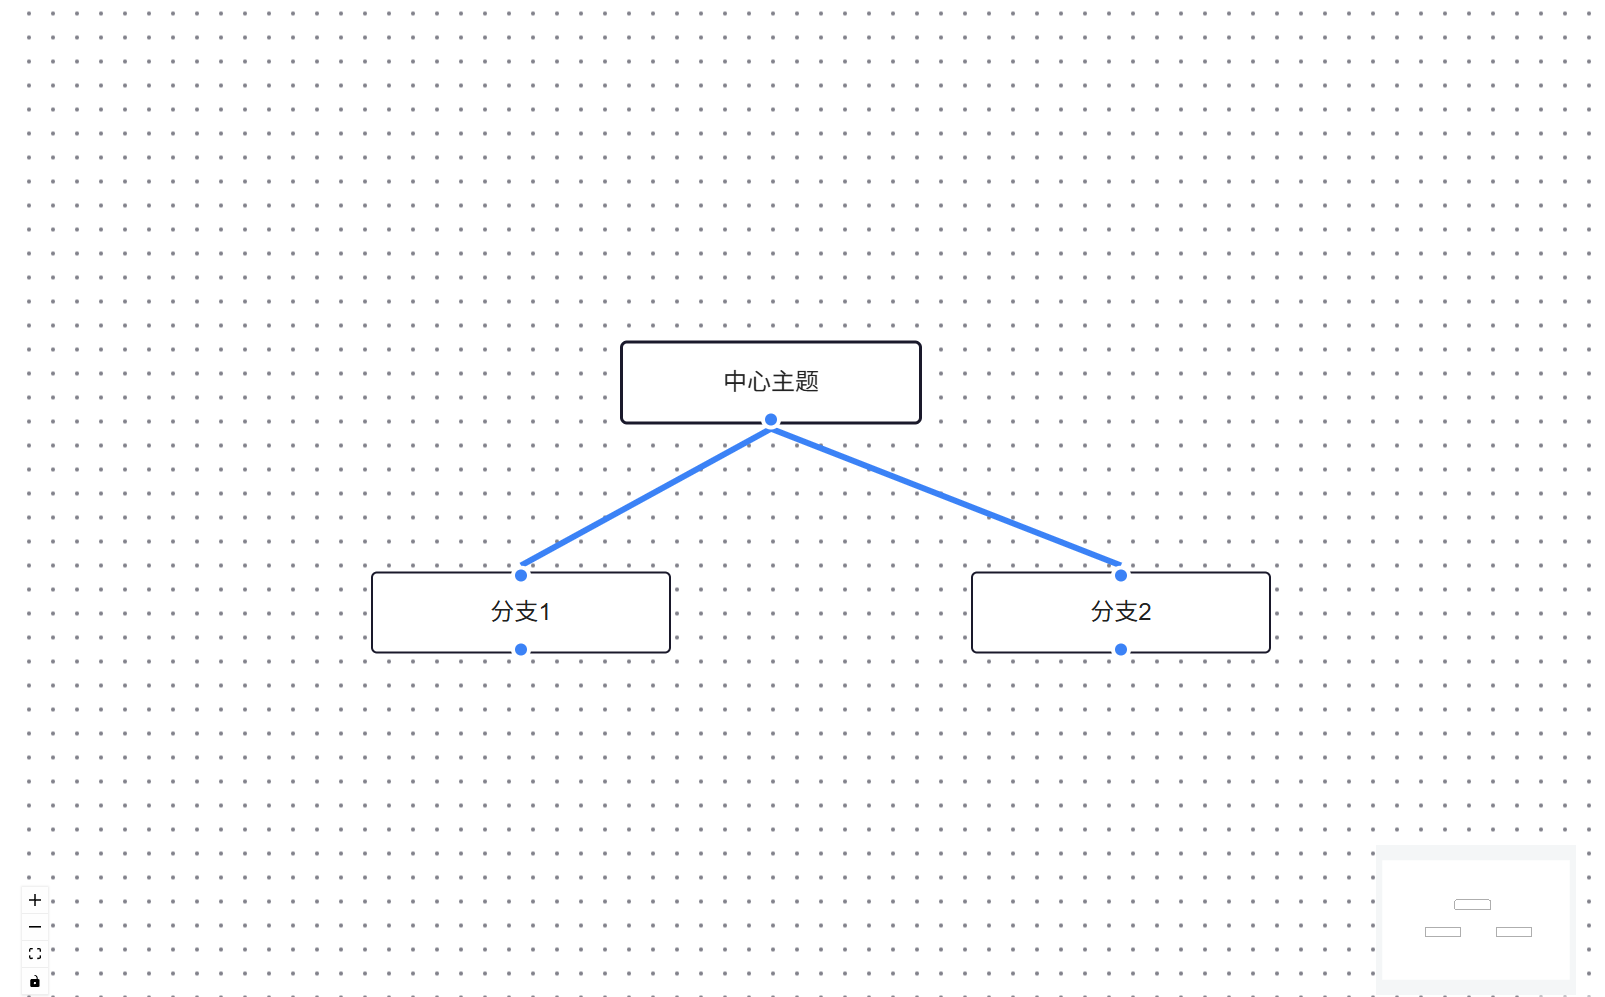
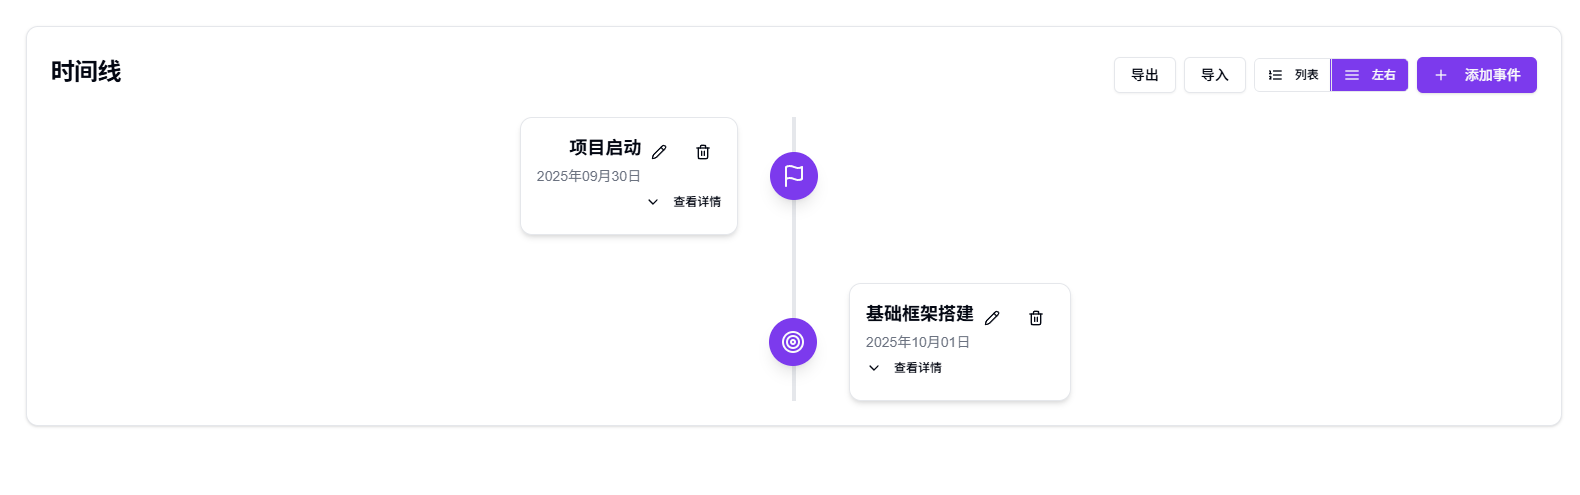
Timelines
Render and edit timelines. Supports exporting as images. Supports exporting timeline content as JSON and importing JSON to render timelines.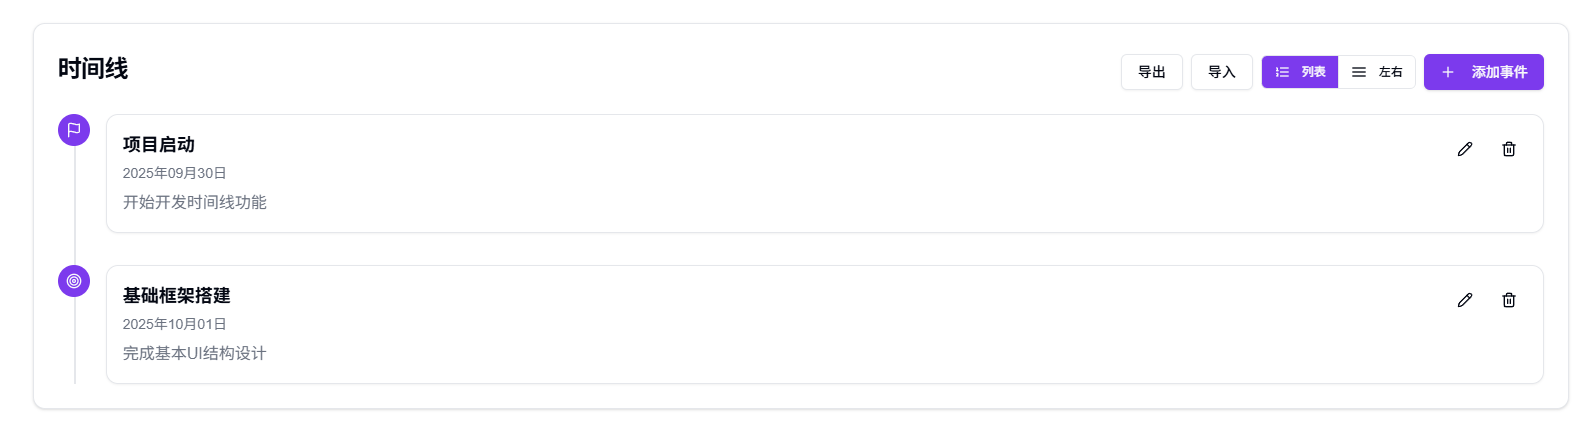
Mermaid Editor
Edit and preview Mermaid diagrams.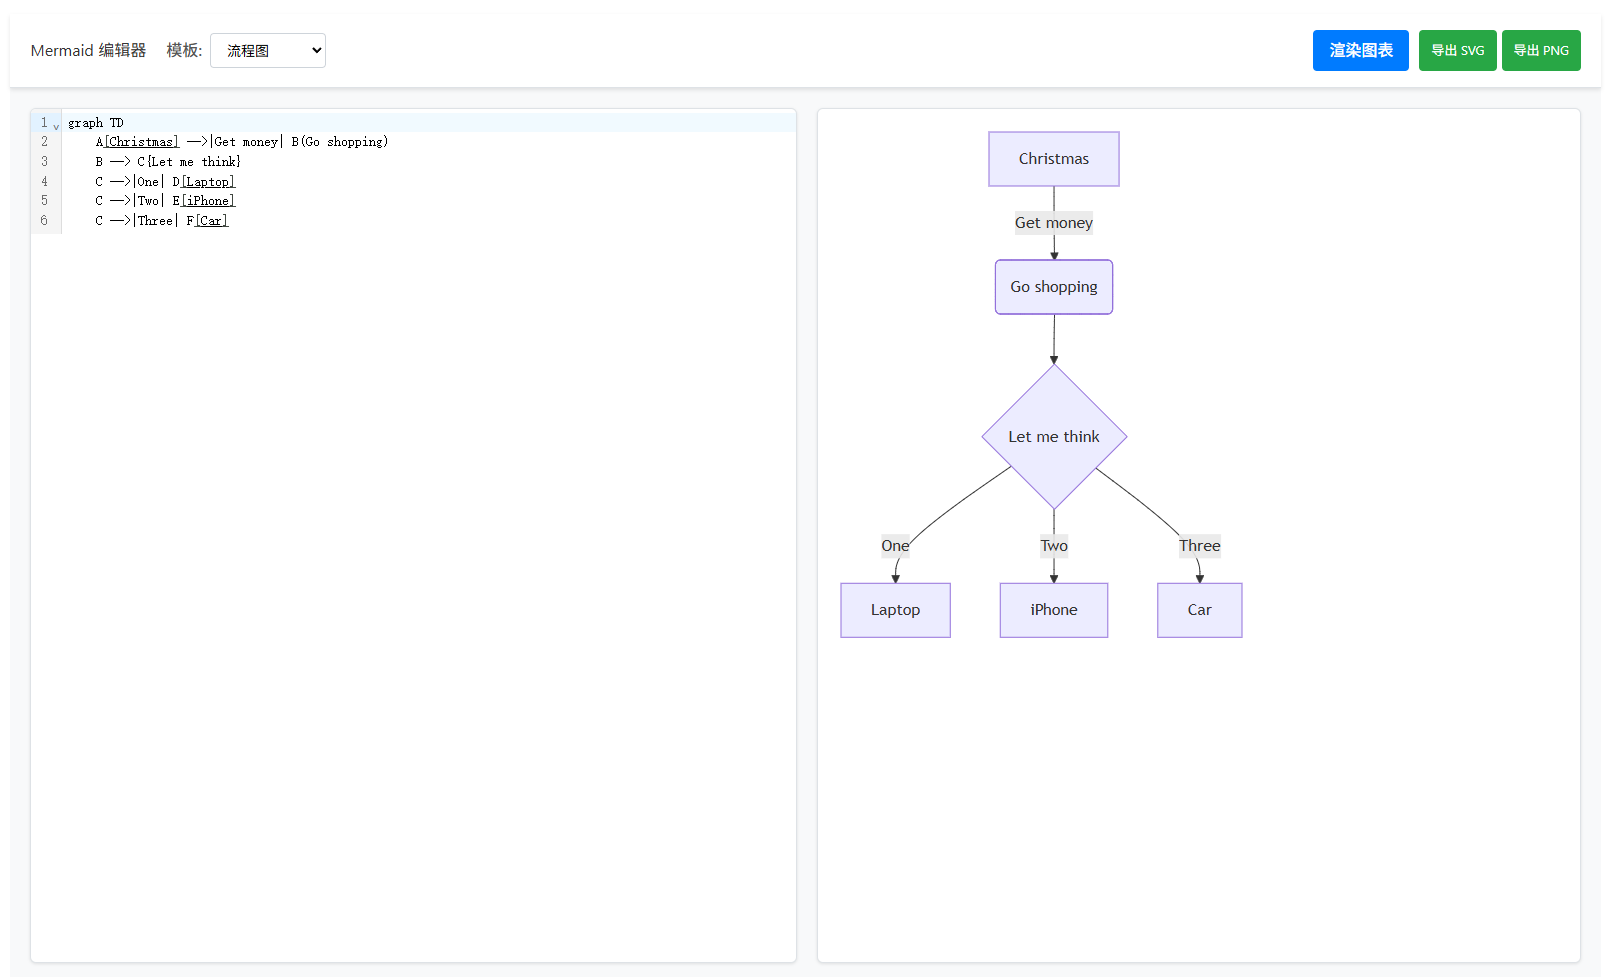
Relationship Networks
Edit relationship nodes (experimental feature, not yet perfected).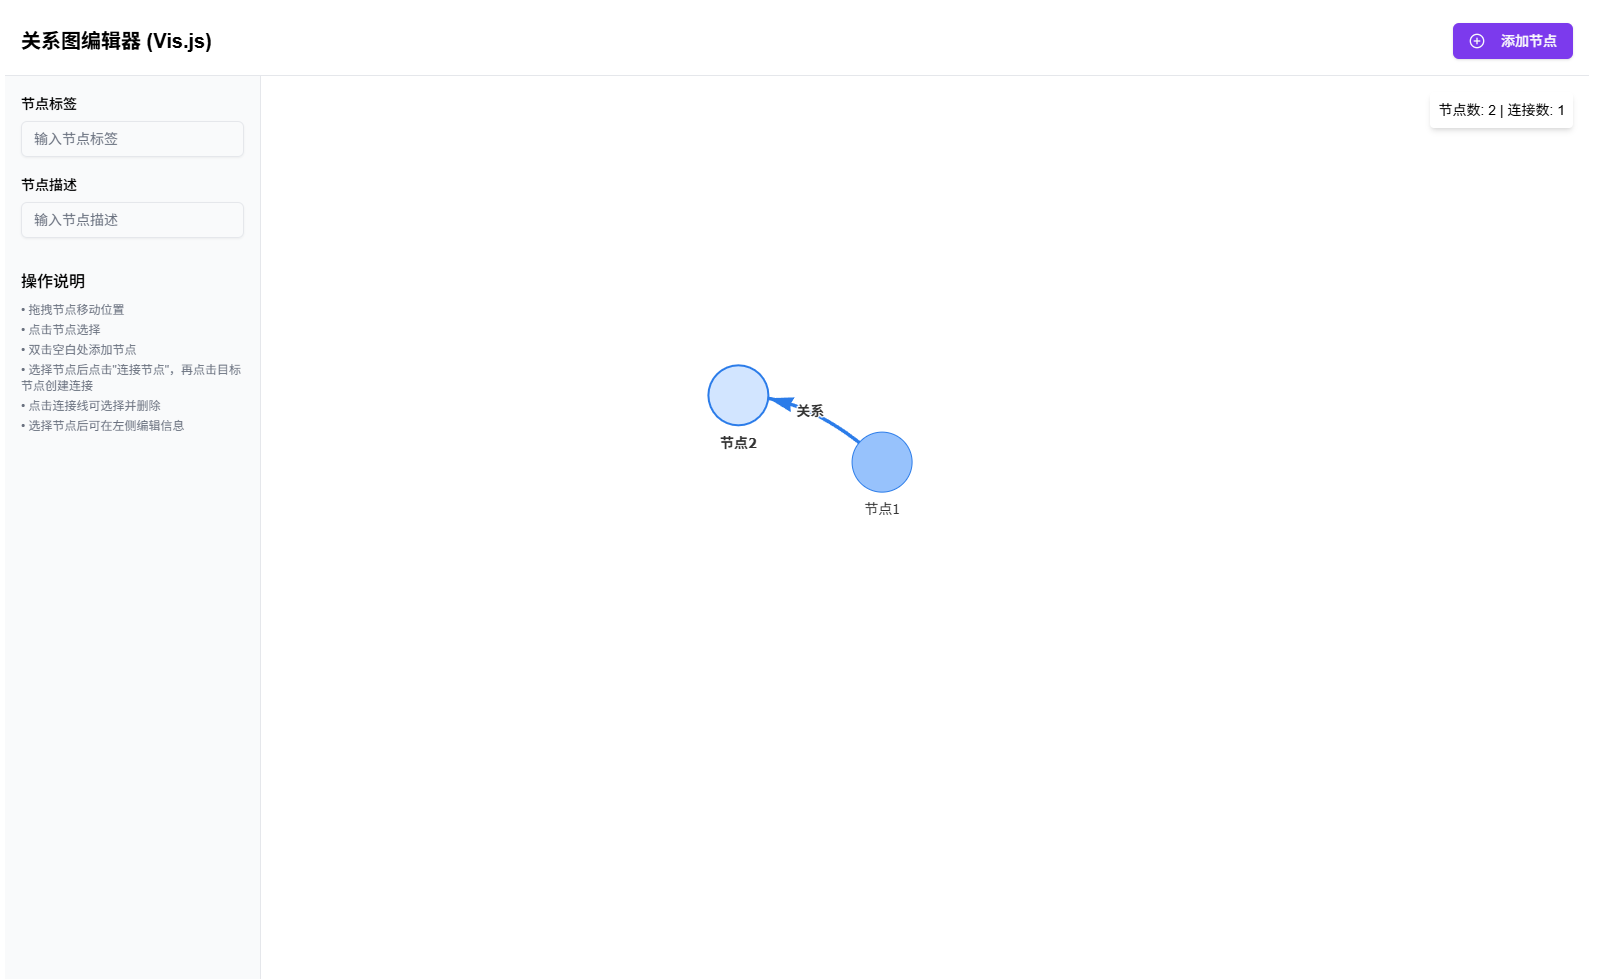
OCR Recognition
Uses AI to recognize image content.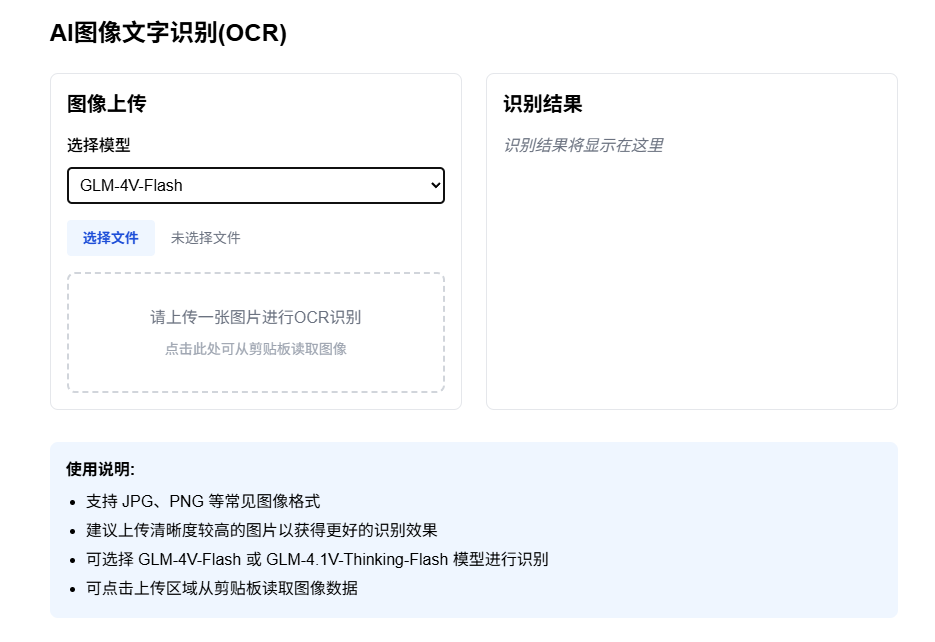
RAG Tool
Supports note vectorization. When selecting documents in AI page, if local vectors already exist, they can be used directly without reprocessing.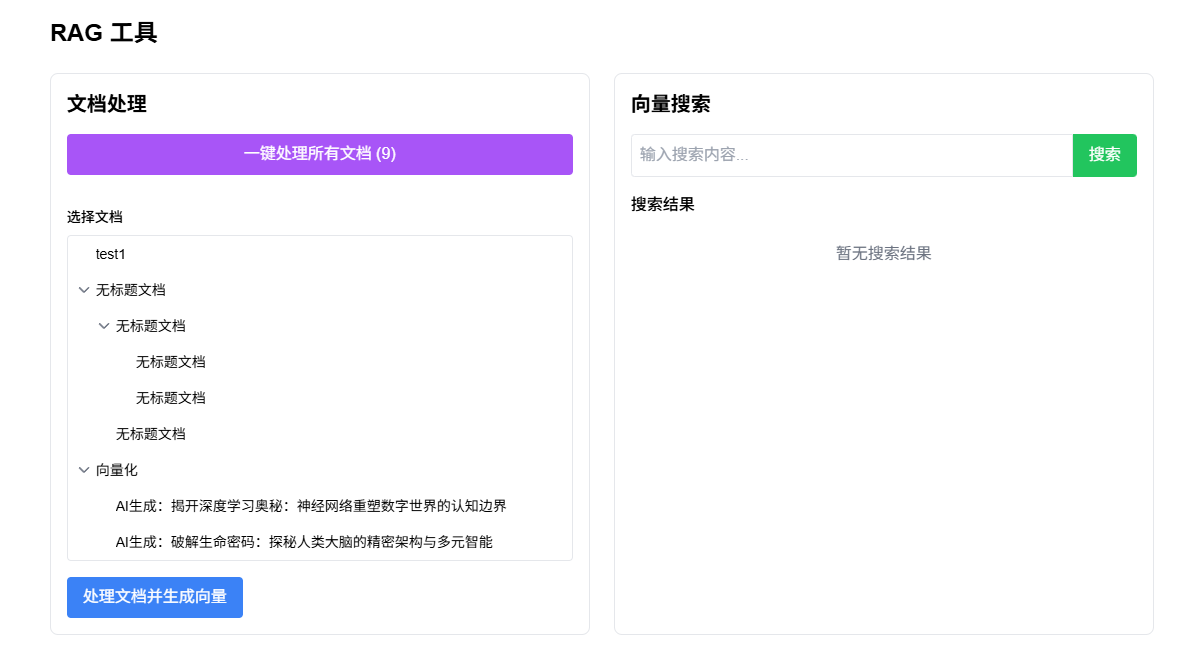
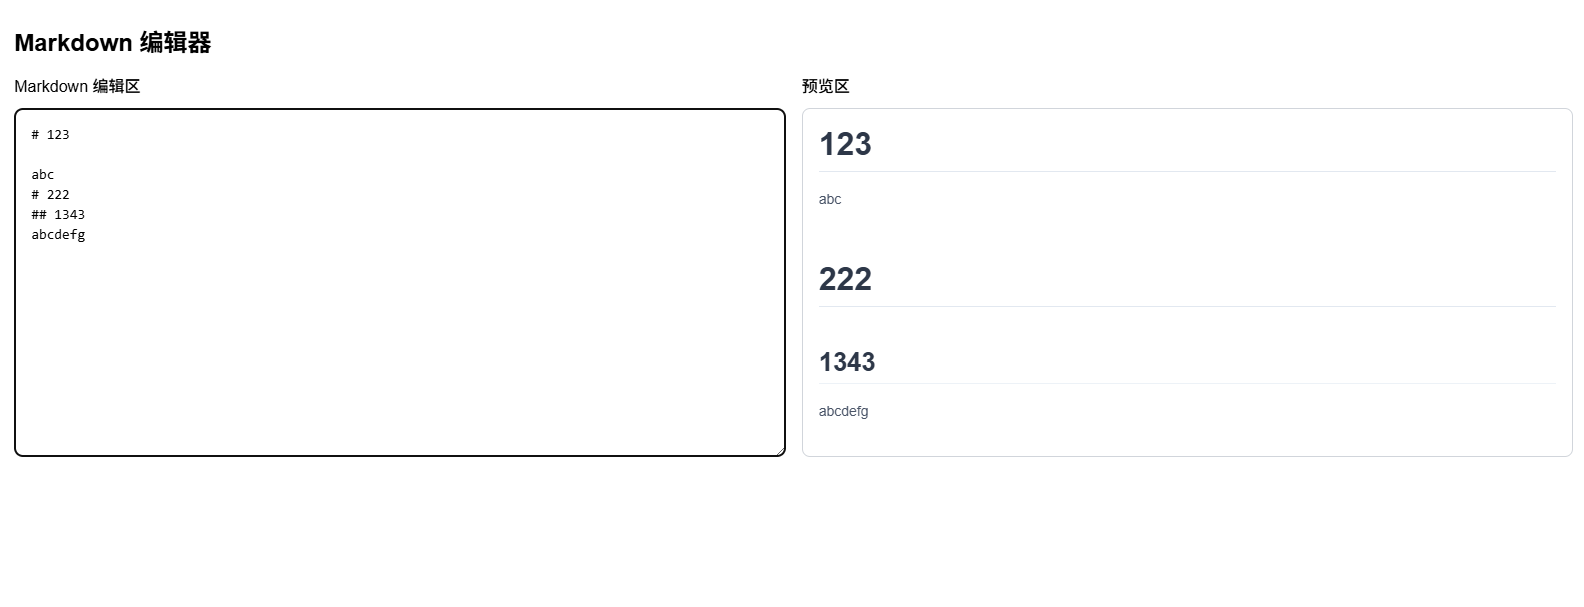
MD Editor
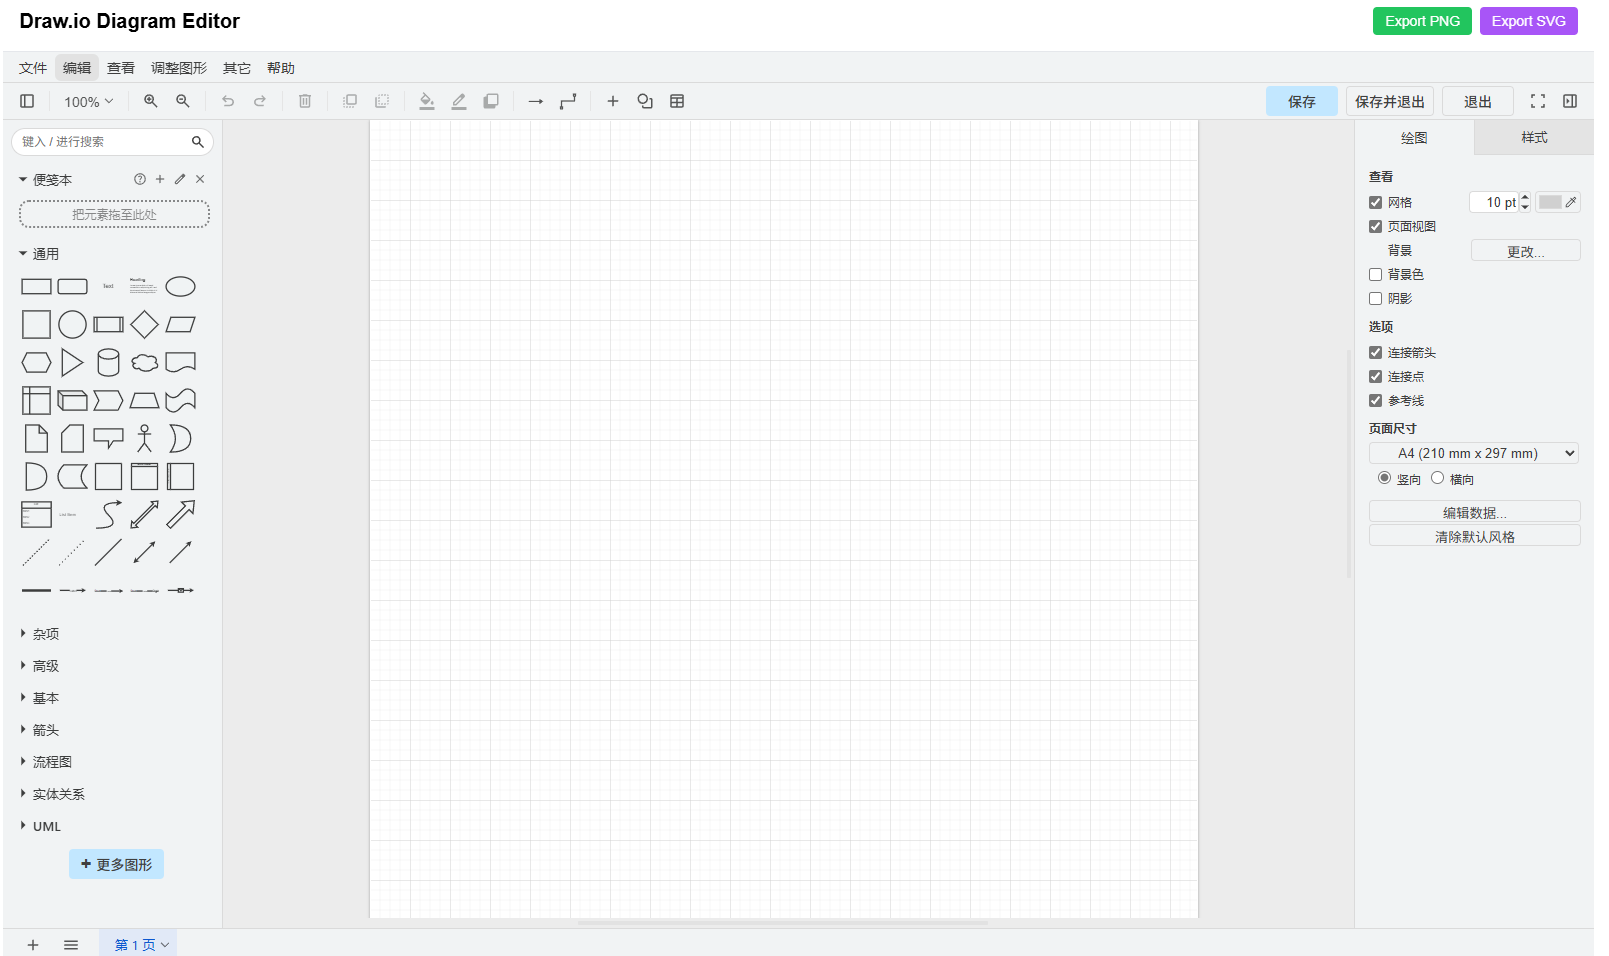
drawio
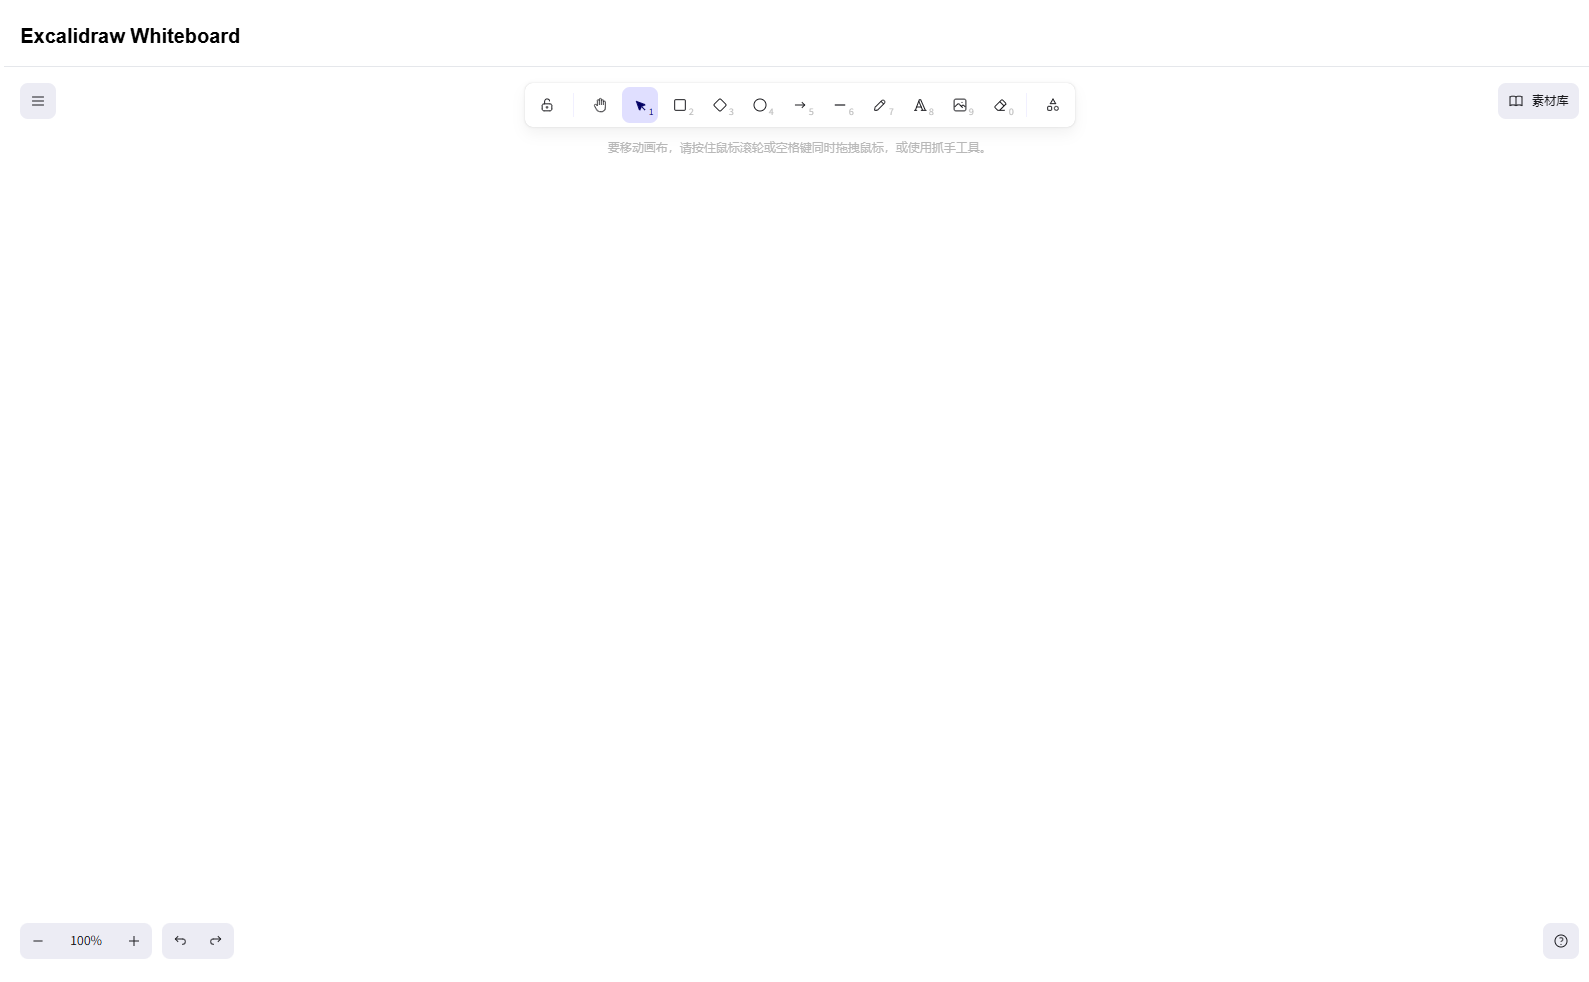
Excalidraw Whiteboard
Web Browser
Experimental feature - enter URL to display URL content, enter non-URL to display Bing search results.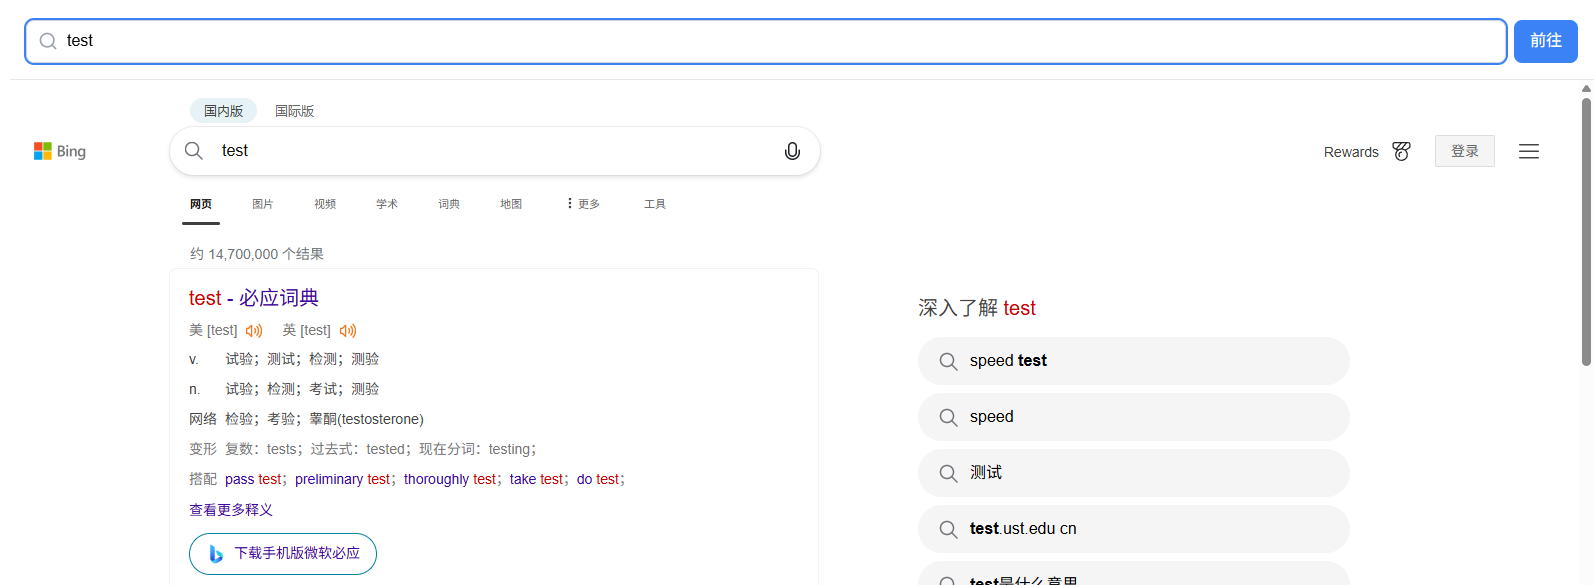
Regular Expression Tool
Supports testing regular expressions.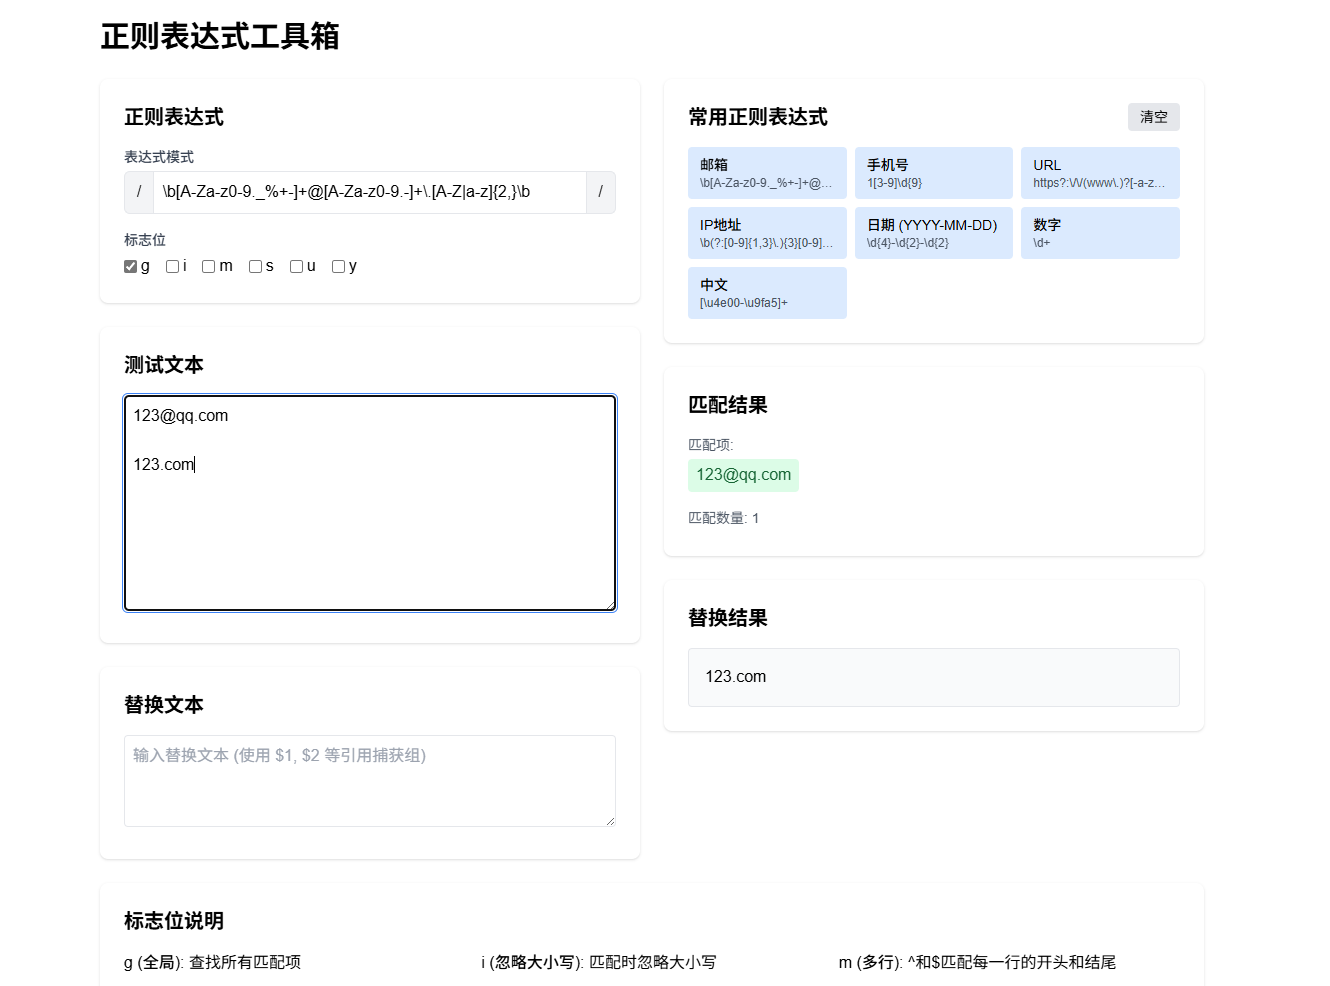
API Tester
Experimental feature.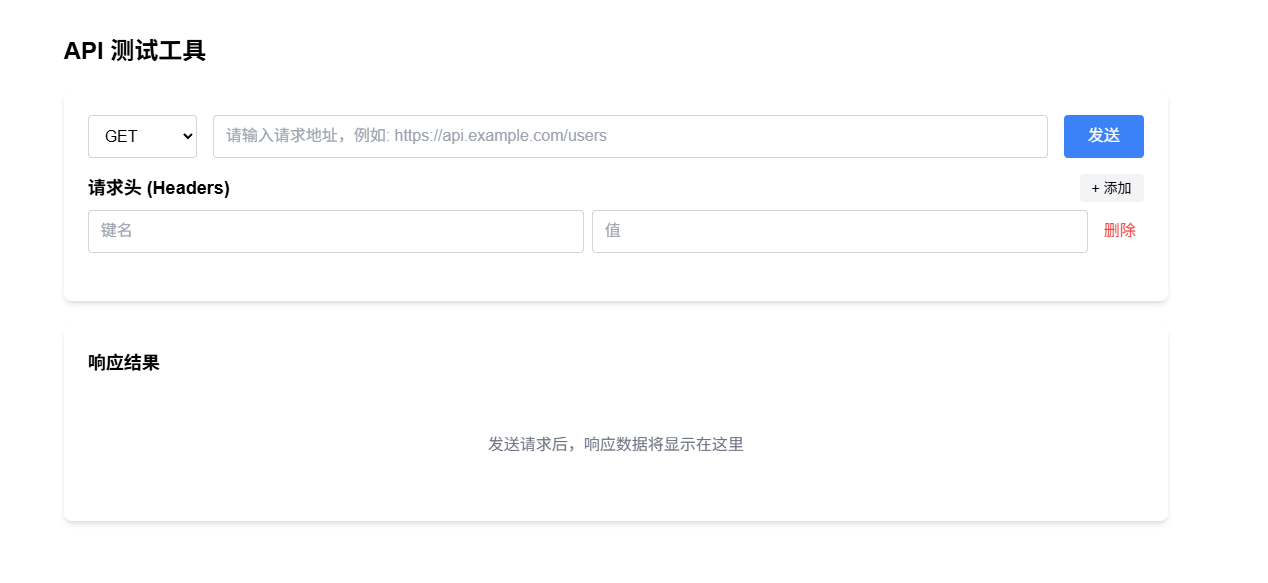
Image Editor
Supports editing images.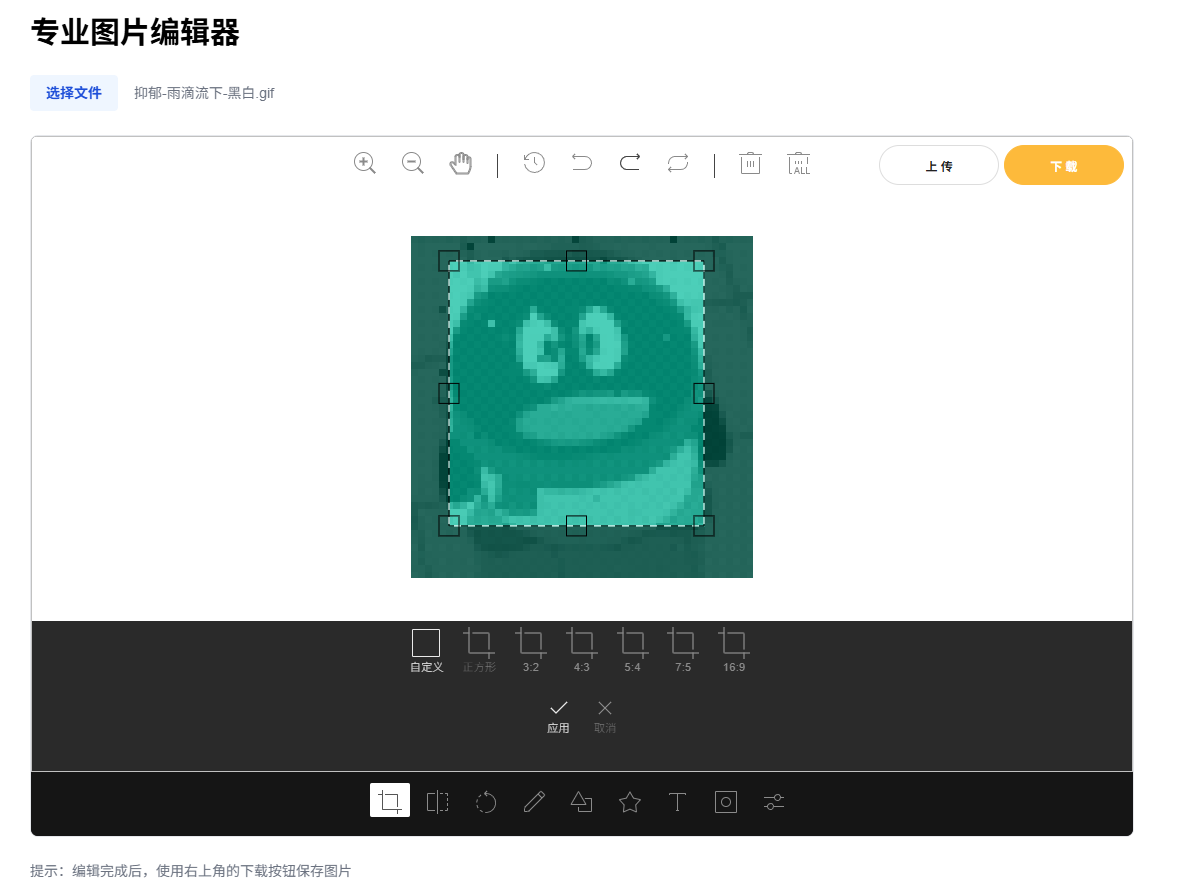
Base64 Tool

Jupyter-style Editor (Pseudo)
Requires locally installed Python. Only resembles Jupyter visually - doesn’t implement step-by-step execution functionality.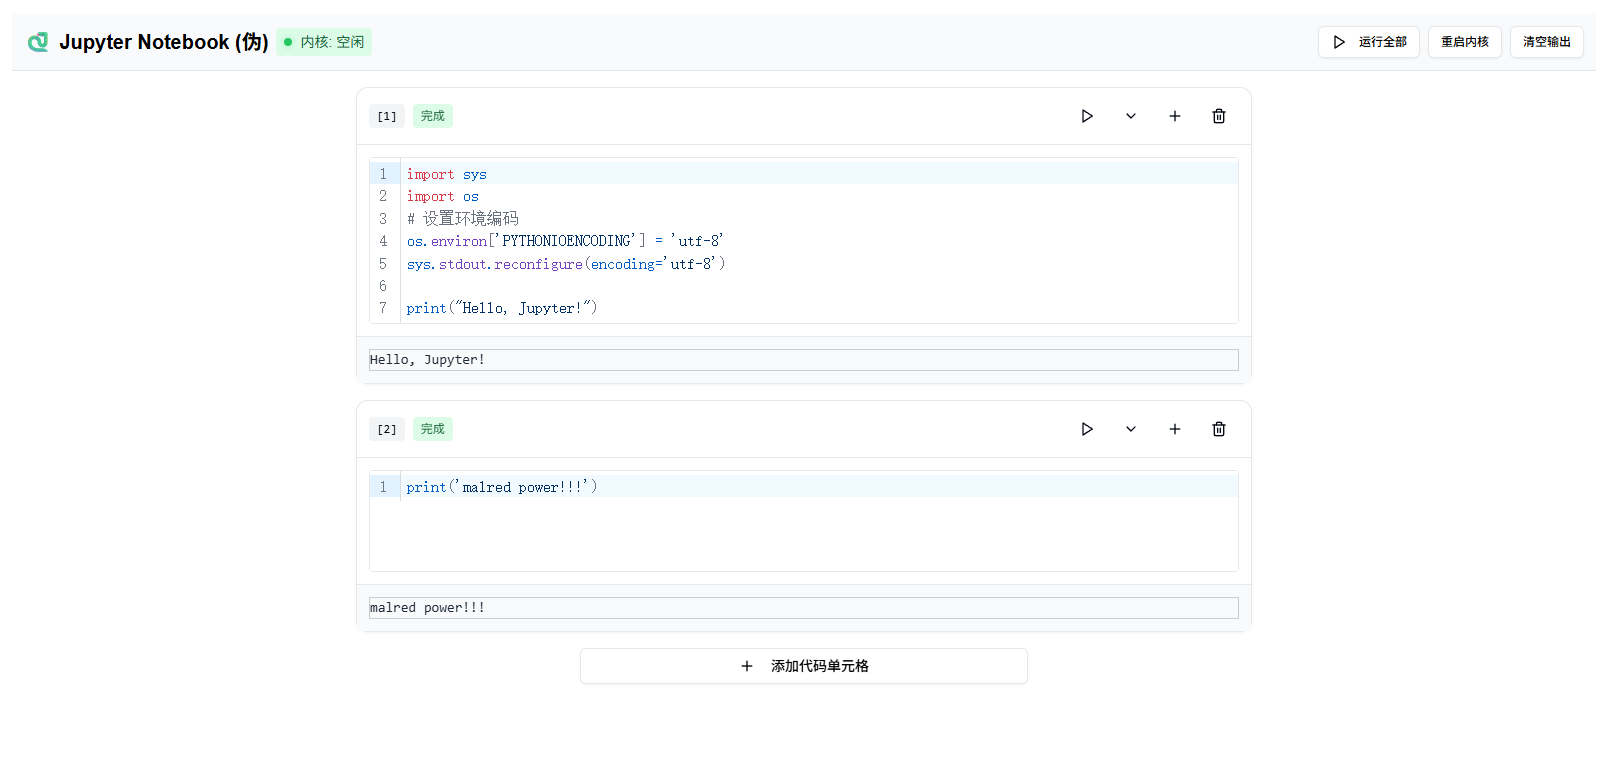
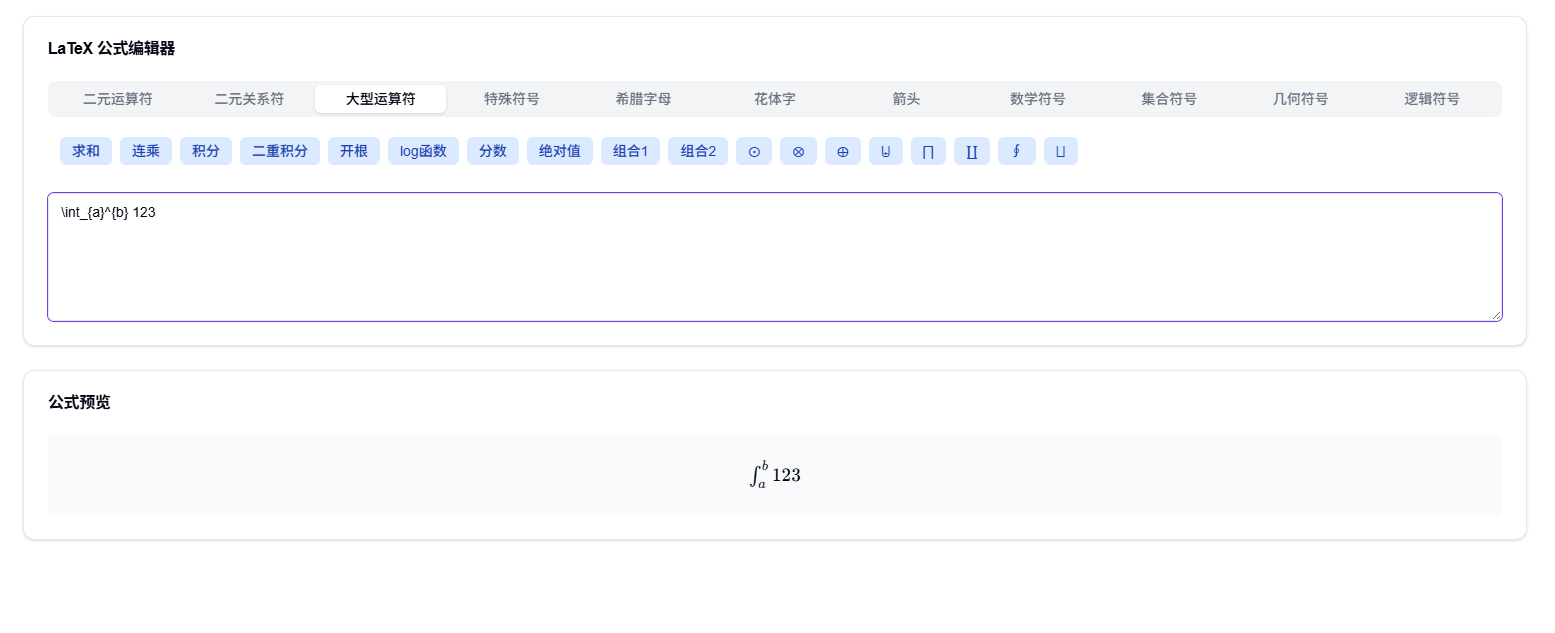
LaTeX Editor
Shell
Supports writing and running Python/JS code. Requires locally installed Python or Node.js.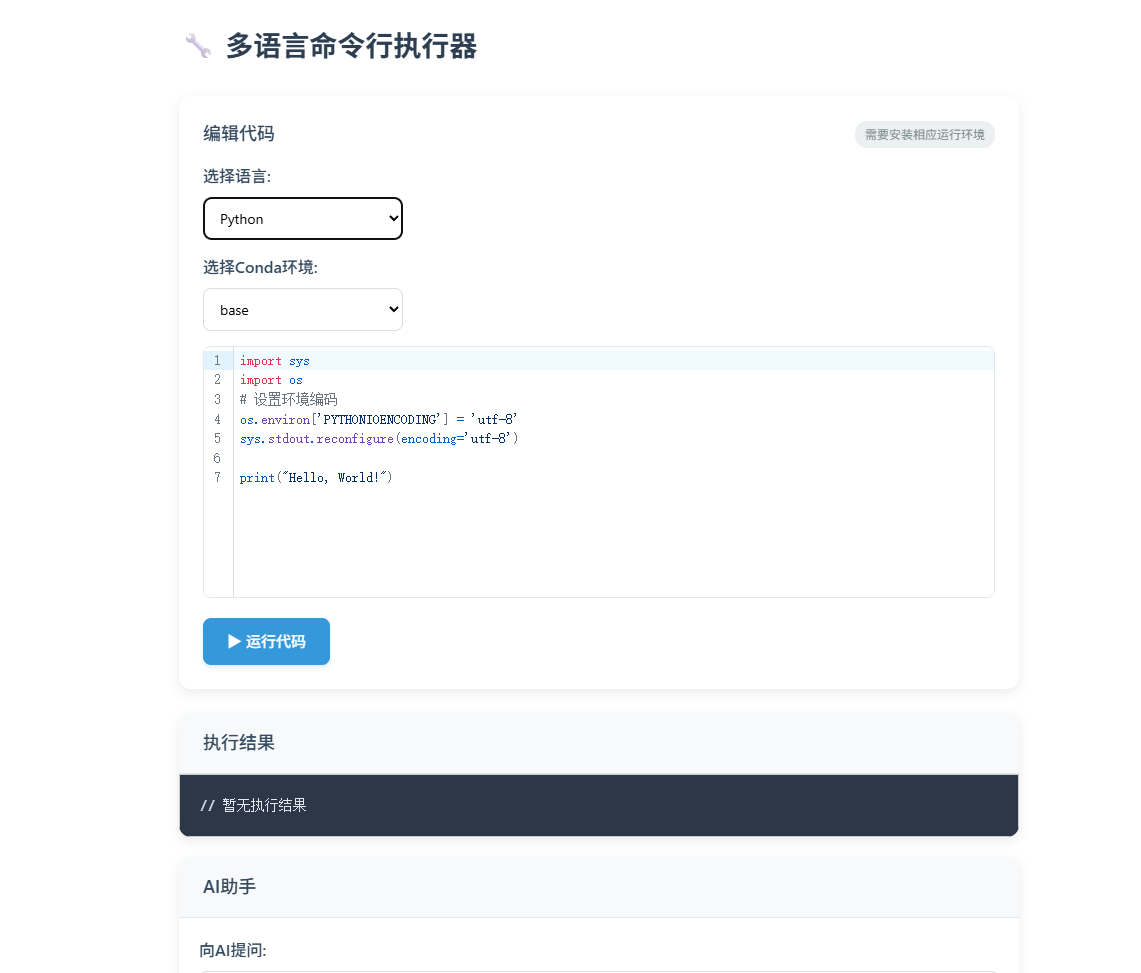
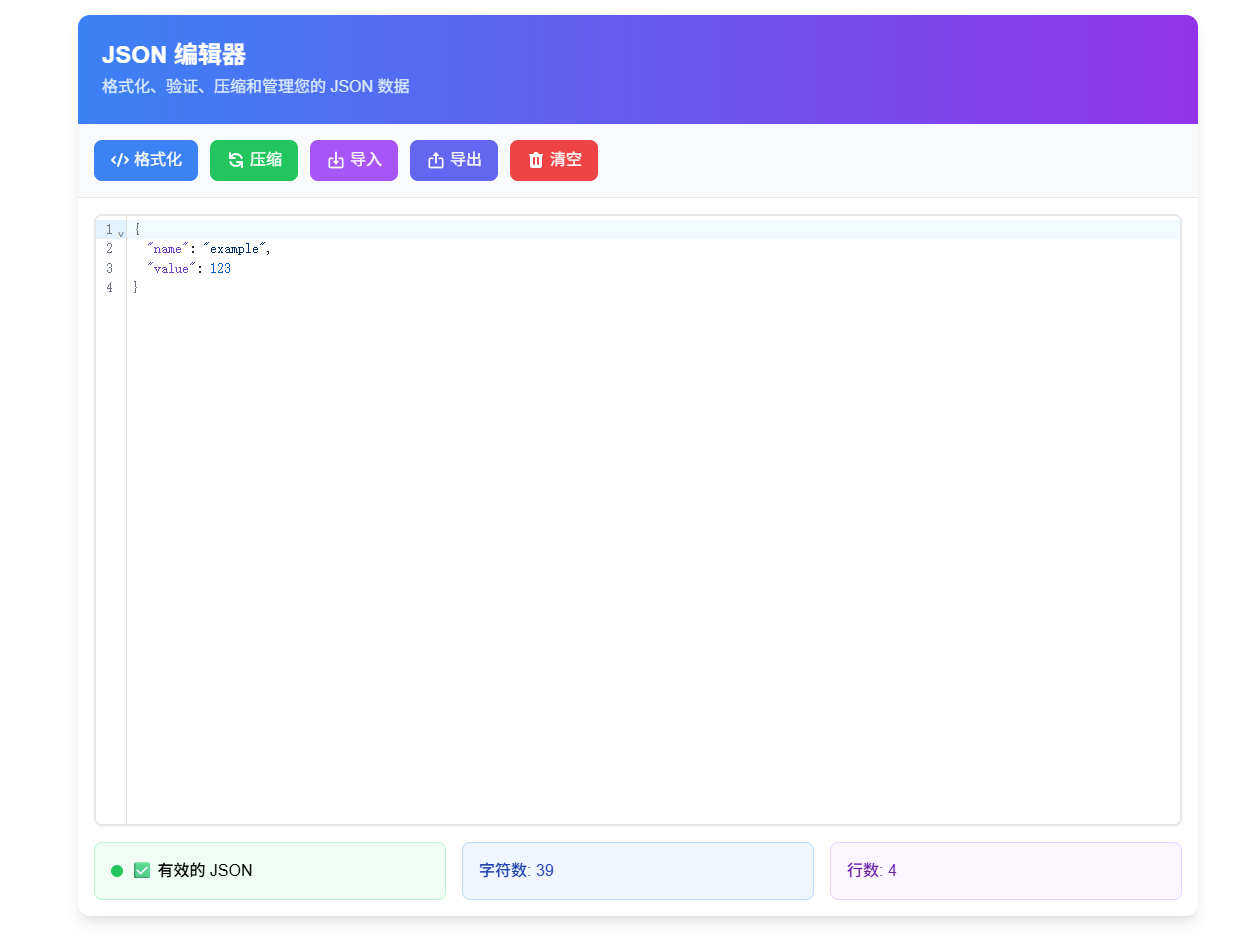
JSON Editor
Quick Notes
Supports creating quick notes. Right-side items can be modified by clicking.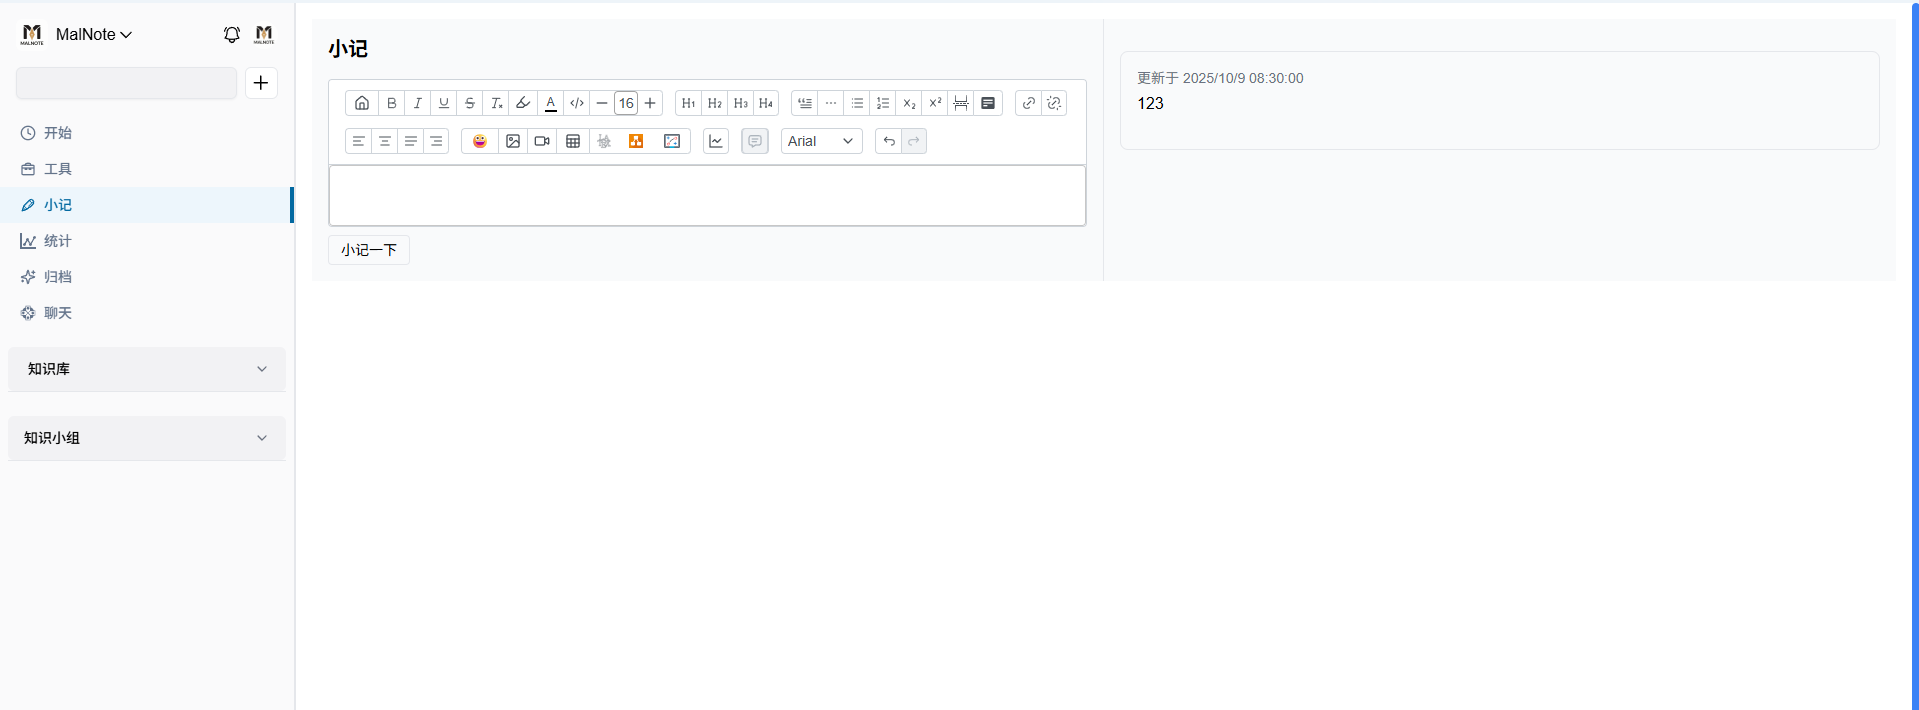
Statistics
Simple statistics collection.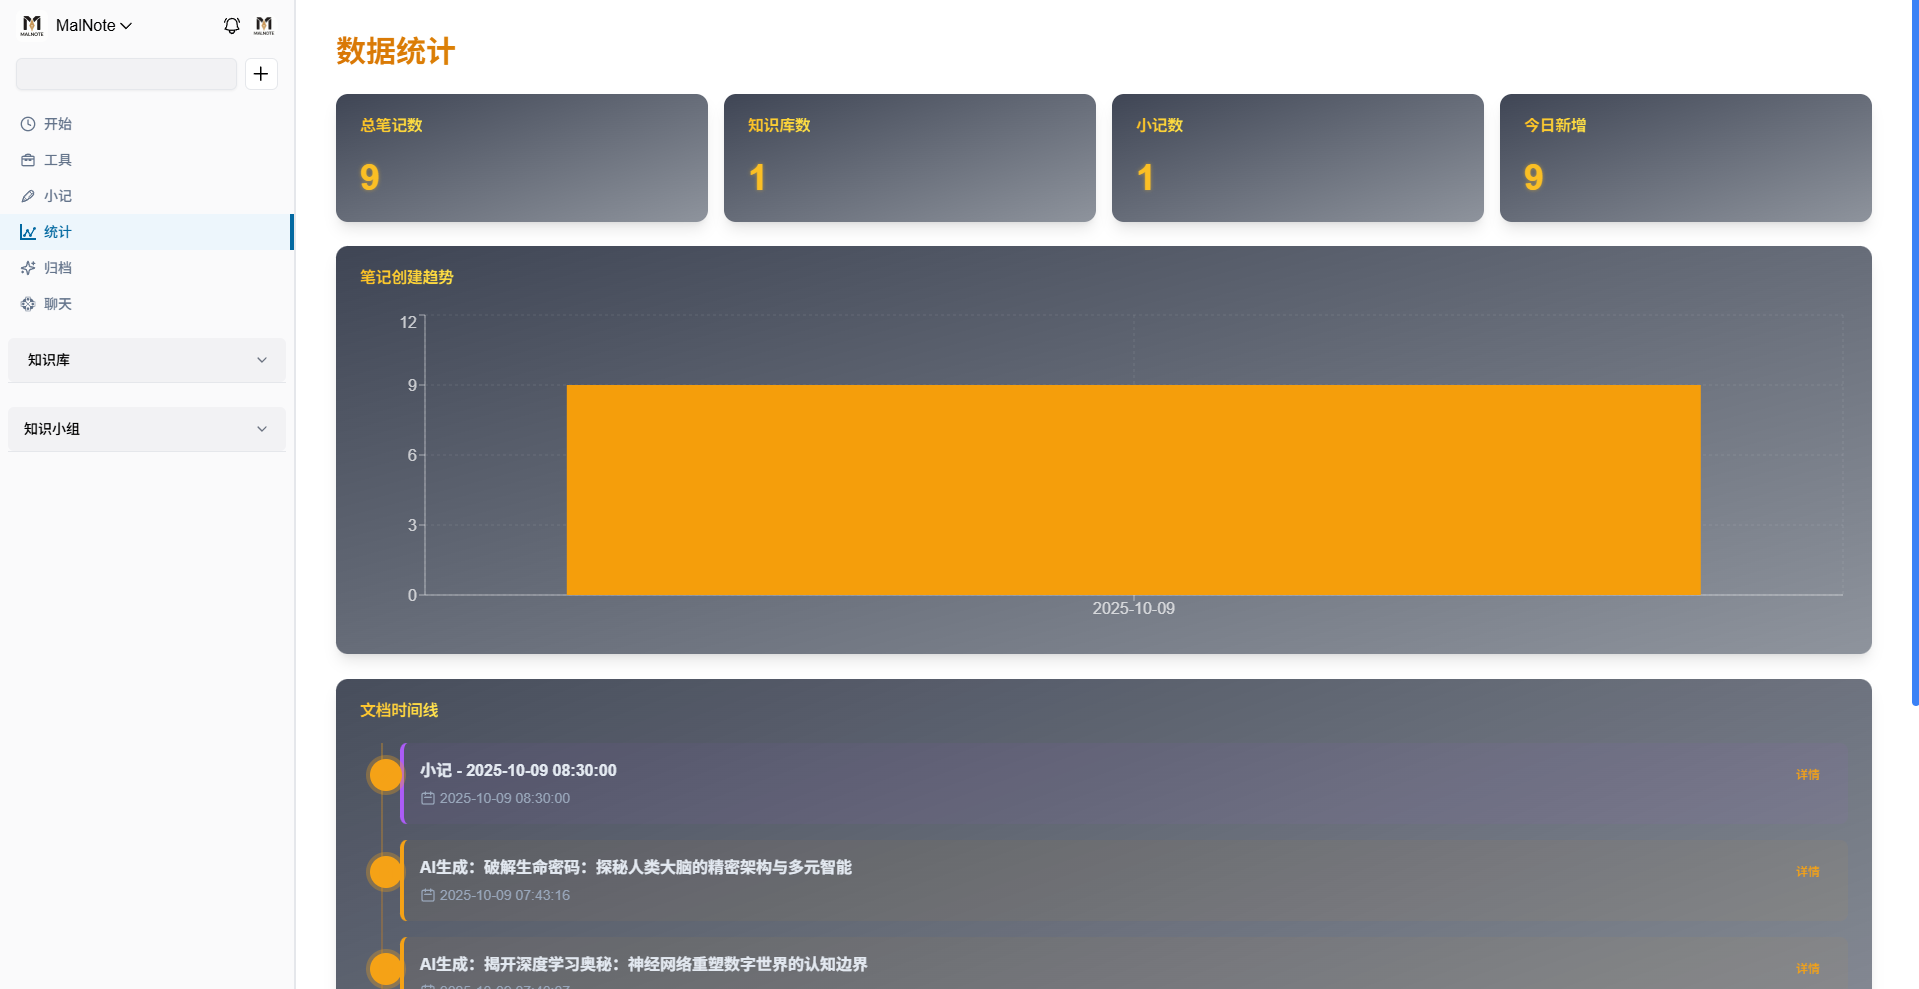
Archive
Organizes documents by tags.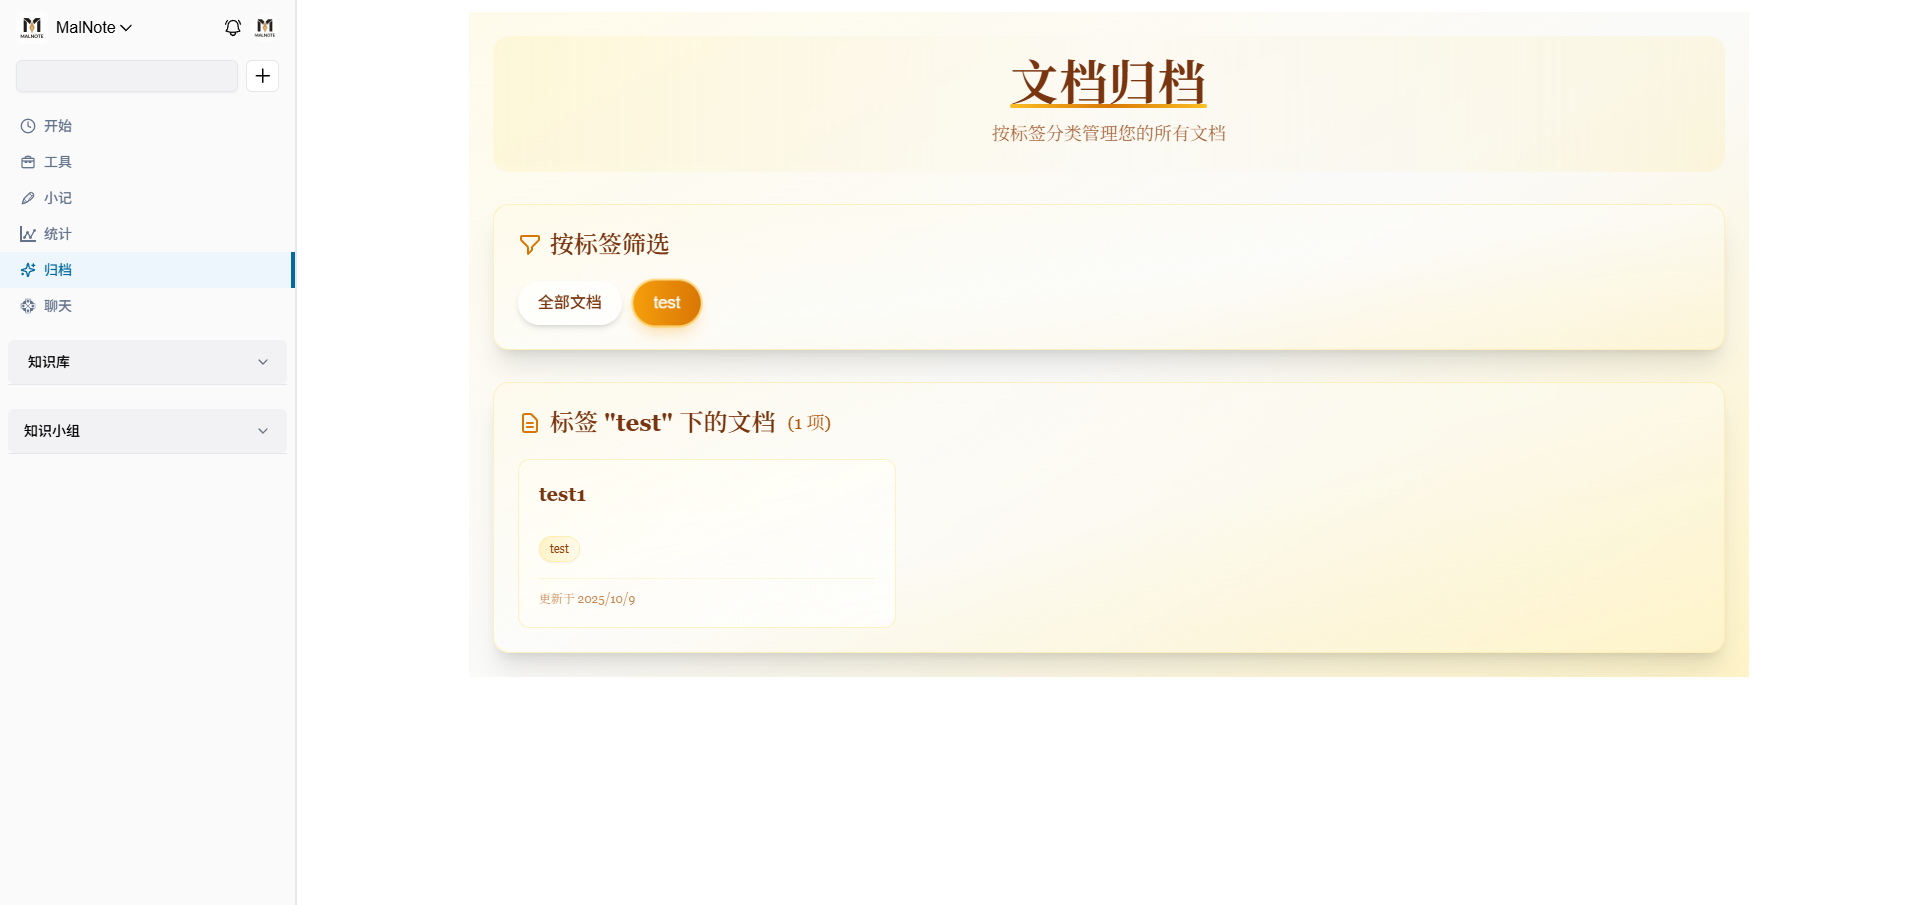
Chat Features
Live2D Models
Locally configure emoticon sets and Live2D models. Create public/Resources directory at same level as API backend, then create JSON config files there:
Live2D config example (/Resources/model-list.json):
1 | [ |
With Live2D enabled, models display. User text input triggers model motion animations.
Emoticons
Emoticon config example (/Resources/emoticons.json):
1 | [ |
Emoticon info gets sent to AI, which also uses them (demo emoticons sourced online).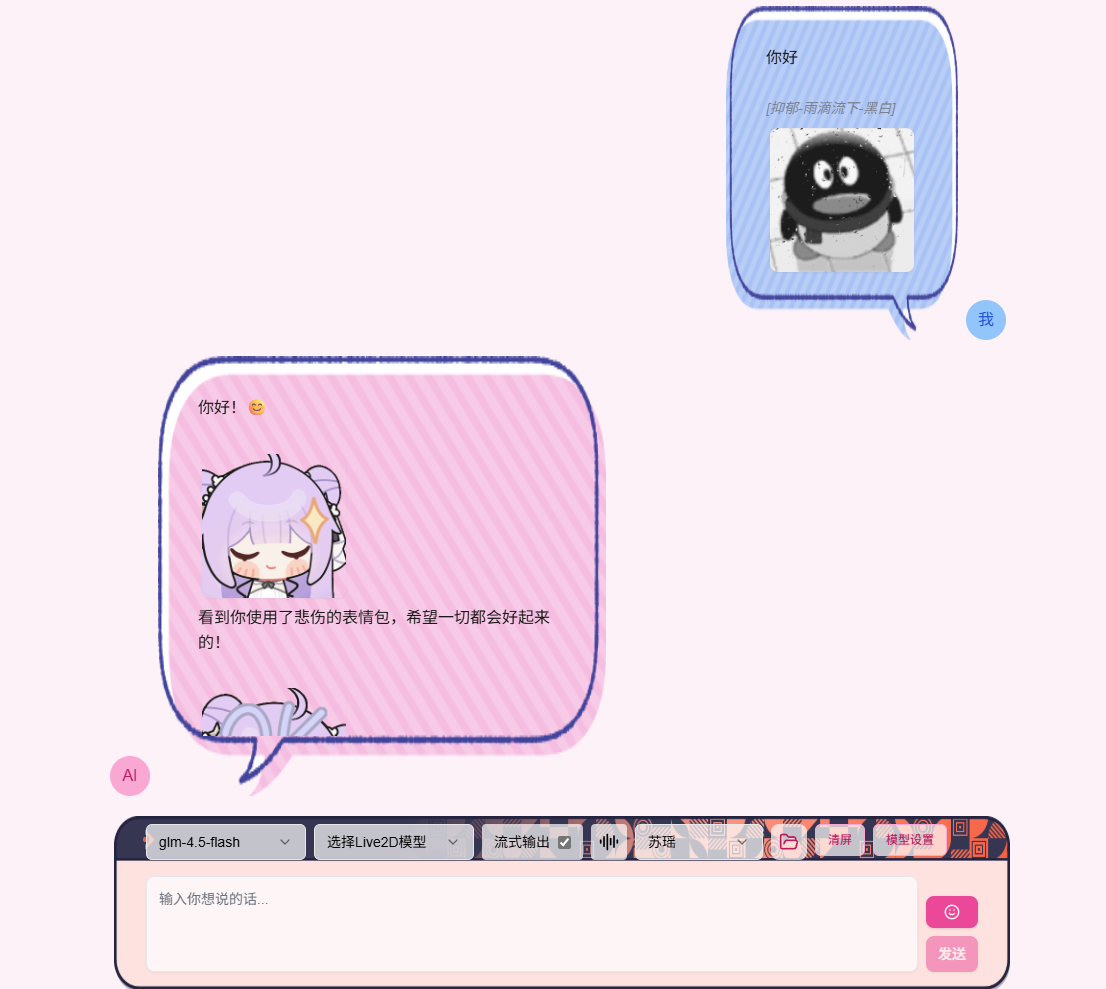
Voice Playback
Click left button turns blue, enables auto voice playback after AI generation completes. Right button selects voice model.
Requires local IndexTTS2 server. Use this integration package:
IndexTTS2 Integration Package
本文采用 署名-非商业性使用-相同方式共享 4.0 国际 许可协议,转载请注明出处。


