ViteとTailwindCSSを使用してコンポーネントライブラリを開発する
前言
デモビデオ
https://www.bilibili.com/video/BV1EST3zPEyP/?spm_id_from=333.1387.homepage.video_card.click
参考
https://juejin.cn/post/7112295067682865166
https://juejin.cn/post/7046187185615142949
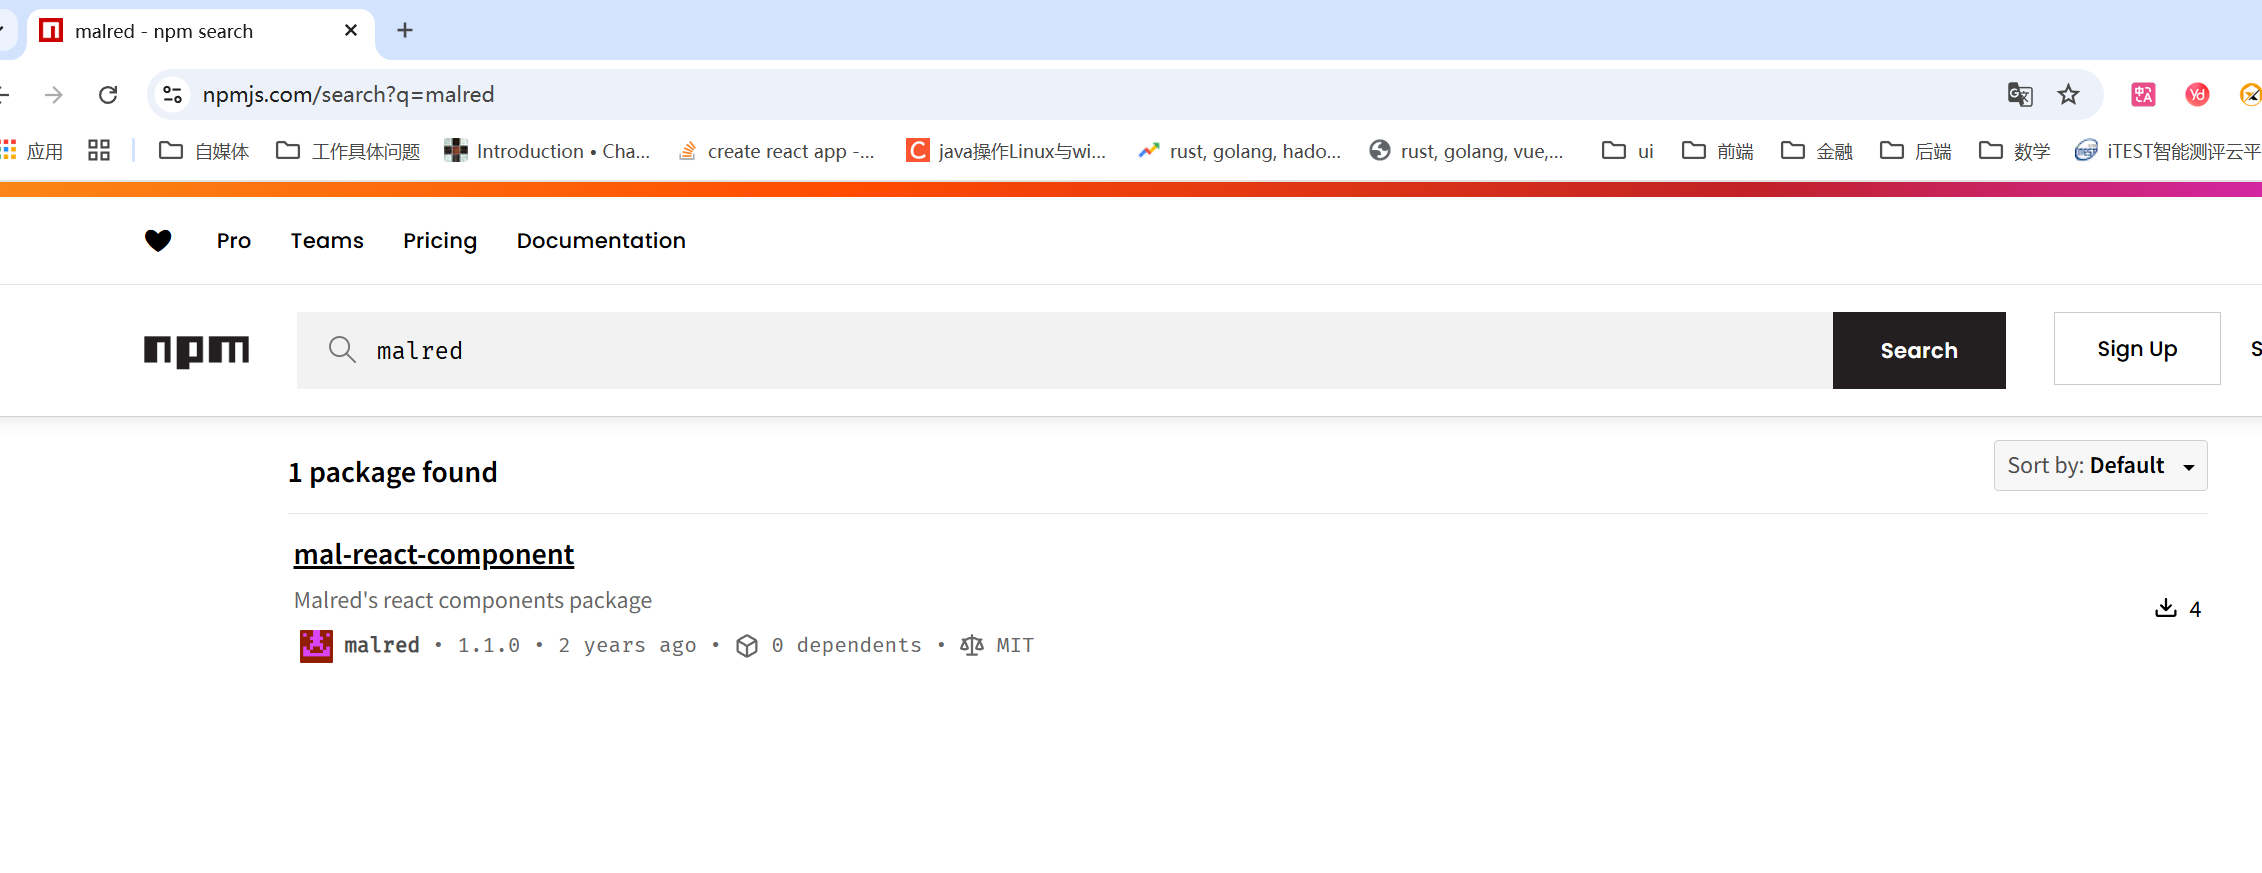
コードリポジトリ
https://gitee.com/malguy/vite-components-lib-tutorial
プロジェクトの初期化
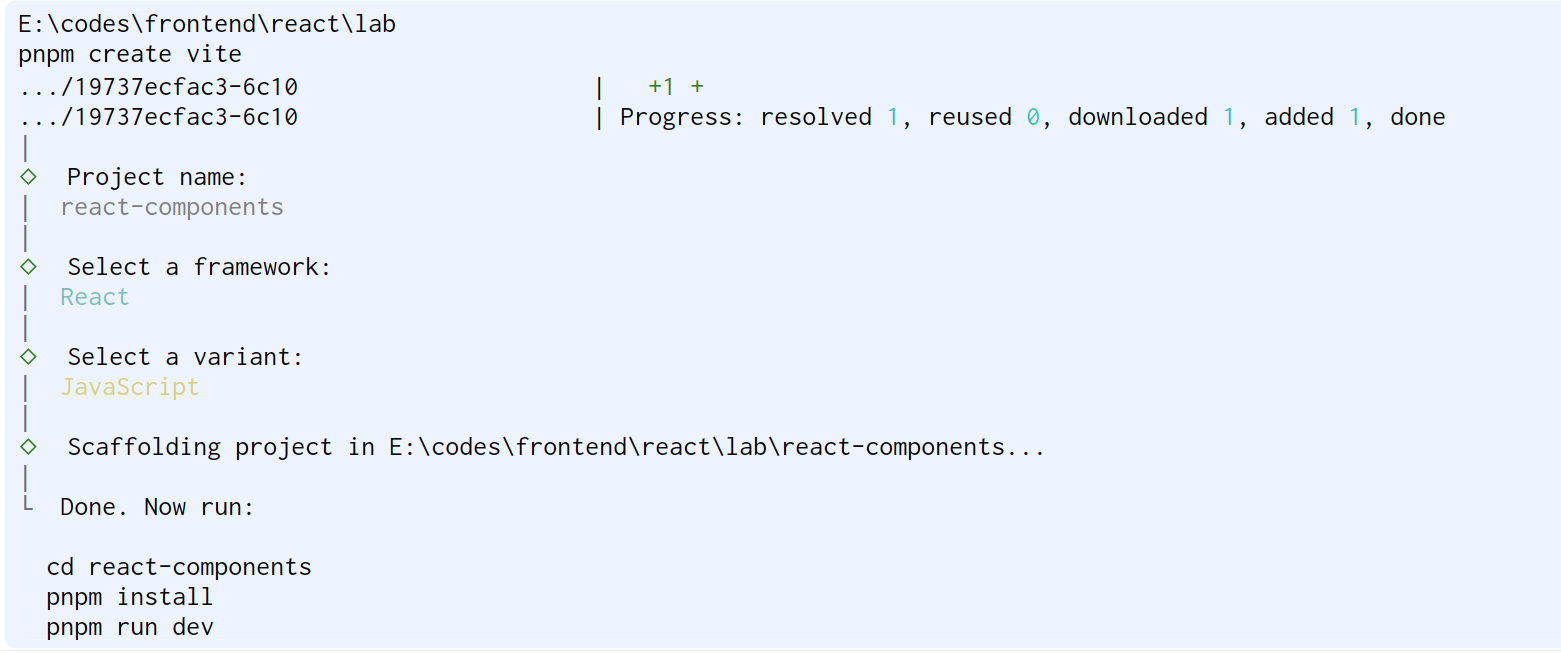
Viteの作成
コマンドラインを使用します。
1 | pnpm create vite react-components |
あなたも私のスキャフォールディングパネルを使用できます(宣伝させていただきます😁🤓)

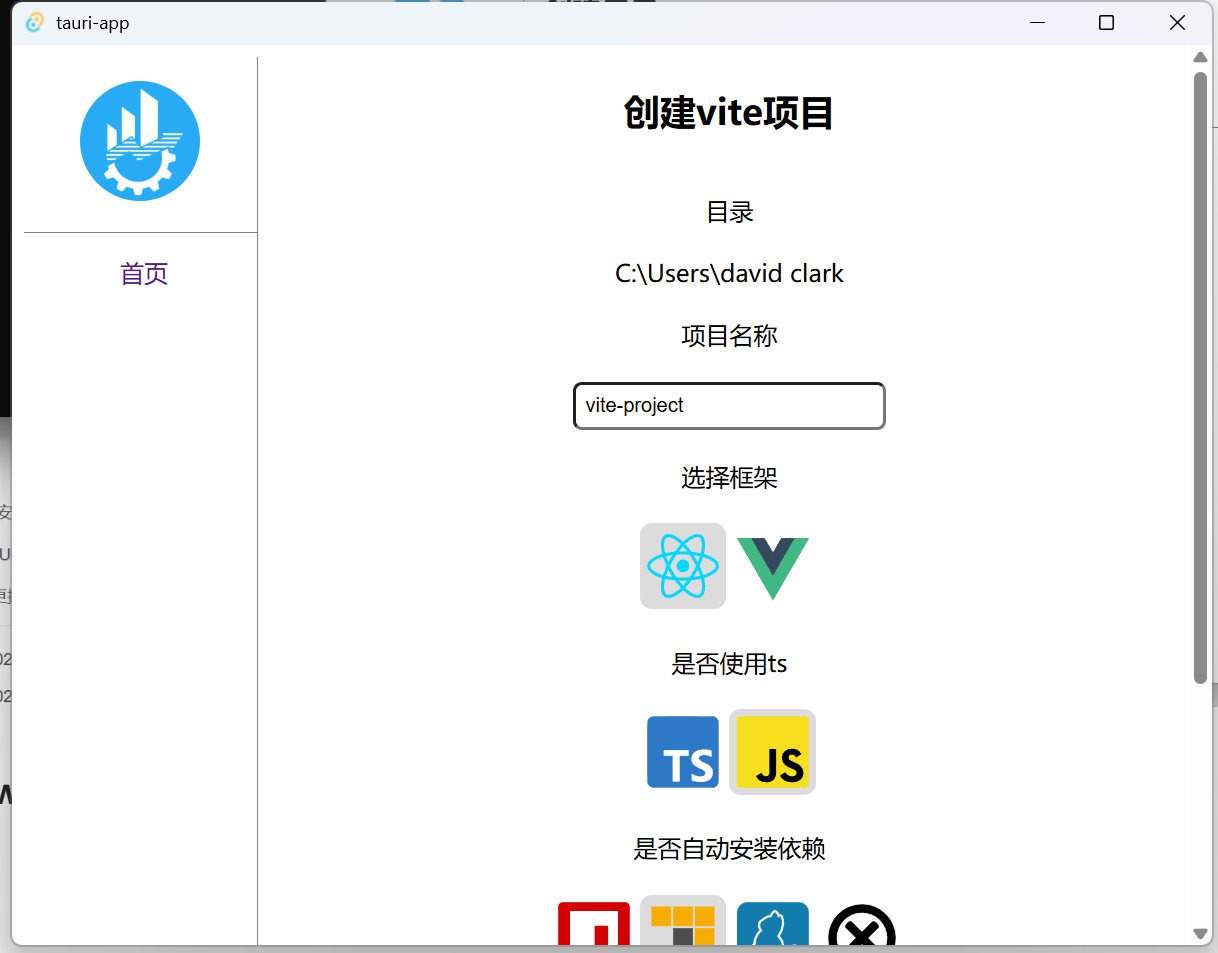
インターネット接続は不要です。ファイルコピーを使用して作成されるためです。
Tailwindのインストール
Tailwind v3を使用します。
1 | pnpm install -D tailwindcss@3 postcss autoprefixer |
将路径添加到 **<font style="color:rgb(15, 23, 42);">tailwind.config.js</font>**
ファイル中のすべてテンプレートファイルに。
1 | /** @type {import('tailwindcss').Config} */ |
将Tailwind每个層の **<font style="color:rgb(15, 23, 42);">@tailwind</font>** 指令を追加します。
``css
@tailwind base;
@tailwind components;
@tailwind utilities;
1 |
|
もしTailwindのスタイルが長すぎると、CSSファイルを作成します。
``css
button {
&.base {
@apply text-white bg-blue-500 rounded-md
}
&.sm {
    @apply text-xs p-2
}

&.md {
    @apply text-sm p-4
}

&.lg {
    @apply text-lg p-8
}
}
1 |
|
// !!! 重要 包含@tailwindのcssをエクスポートしないと、新プロジェクトで変数が失われます !!!
import ‘./index.css’
import ‘./App.css’
import Button from “./components/button/index.jsx”;
export {
Button as MalButton
}
1 |
|
import {defineConfig} from ‘vite’
import react from ‘@vitejs/plugin-react’
import path from ‘path’
// const path = require(“path”);
const resolvePath = (str) => path.resolve(__dirname, str);
// https://vitejs.dev/config/
export default defineConfig({
plugins: [react()],
// 防止 vite 将 rgba() 風格の色を #RGBA 十六進数に変換
cssTarget: ‘chrome61’,
resolve: {
alias: {
“@”: path.resolve(__dirname, “./src”),
},
},
// 打包コンパイル設定
build: {
rollupOptions: {
// あなたのライブラリで不要な依存関係を外部化してください
external: [“react”, “react-dom”],
output: {
// UMD ビルドモードではこれらの外部化された依存関係にグローバル変数を提供します
globals: {
react: “react”,
“react-dom”: “react-dom”,
},
},
},
lib: {
// パッケージングのエントリーファイル、使用時に依存関係を検索します
entry: resolvePath(“src/index.js”),
name: “mal-react-components”,
// パッケージング後のファイル名 formatは異なる規格(commonjsなど)を表します
// UMD 形式の場合、ファイル名は mal-vue3-components.umd.js になる可能性があります。
// ES Module 形式の場合、ファイル名は mal-vue3-components.es.js になる可能性があります
fileName: format => mal-react-components.${format}.js,
},
}
})
1 |
import {defineConfig} from ‘vite’
import vue from ‘@vitejs/plugin-vue’
// import tailwindcss from ‘tailwindcss’;
// https://vitejs.dev/config/
export default defineConfig({
plugins: [vue()],
// css: {
// postcss: {
// plugins: [tailwindcss],
// }
// },
// 打包コンパイル設定
build: {
rollupOptions: {
// あなたのライブラリで不要な依存関係を外部化してください
external: [‘vue’],
output: {
// UMD ビルドモードではこれらの外部化された依存関係にグローバル変数を提供します
globals: {
vue: ‘Vue’,
},
},
},
lib: {
// パッケージングのエントリーファイル、使用時に依存関係を検索します
entry: ‘./src/index.js’,
// 名称
name: ‘mal-vue-components’,
// パッケージング後のファイル名 formatは異なる規格(commonjsなど)を表します
// UMD 形式の場合、ファイル名は mal-vue3-components.umd.js になる可能性があります。
// ES Module 形式の場合、ファイル名は mal-vue3-components.es.js になる可能性があります
fileName: (format) => mal-vue3-components.${format}.js,
},
}
})
1 |
|
1 | import {defineConfig} from 'vite' |
パッケージングと公開
1 | pnpm build |
使用
ローカルでテストしたい場合は
1 | # ライブラリのディレクトリで実行 |
しかし、以前試したところ失敗することが多く、私の解決策はパッケージング後のファイルをプロジェクトに直接コピーし、そこから依存関係をインポートすることです。
本文采用 署名-非商业性使用-相同方式共享 4.0 国际 许可协议,转载请注明出处。


