Regarding subcommands, they can generally be used with types such as structs and enumerations.
1 2 3 4 5 6 7 8 9 10 11
/// Comments found in the source code. /// Parse a sub-command into a user-defined enum. /// /// Implementing this trait lets a parent container delegate subcommand behavior to `Self`. /// with: /// - `#[command(subcommand)] field: SubCmd`: Attribute can be used with either struct fields or enum /// variants that impl `Subcommand`. /// - `#[command(flatten)] Variant(SubCmd)`: Attribute can only be used with enum variants that impl /// `Subcommand`. /// /// **NOTE:** Deriving requires the `derive` feature flag
Commands Struct
We implement the Commands struct, and its attributes will correspond to commands.
1 2 3 4 5 6
// Clap can read comments through reflection macros and print them out when help is requested. #[derive(Subcommand)] enumCommands { /// create-vite CreateVite }
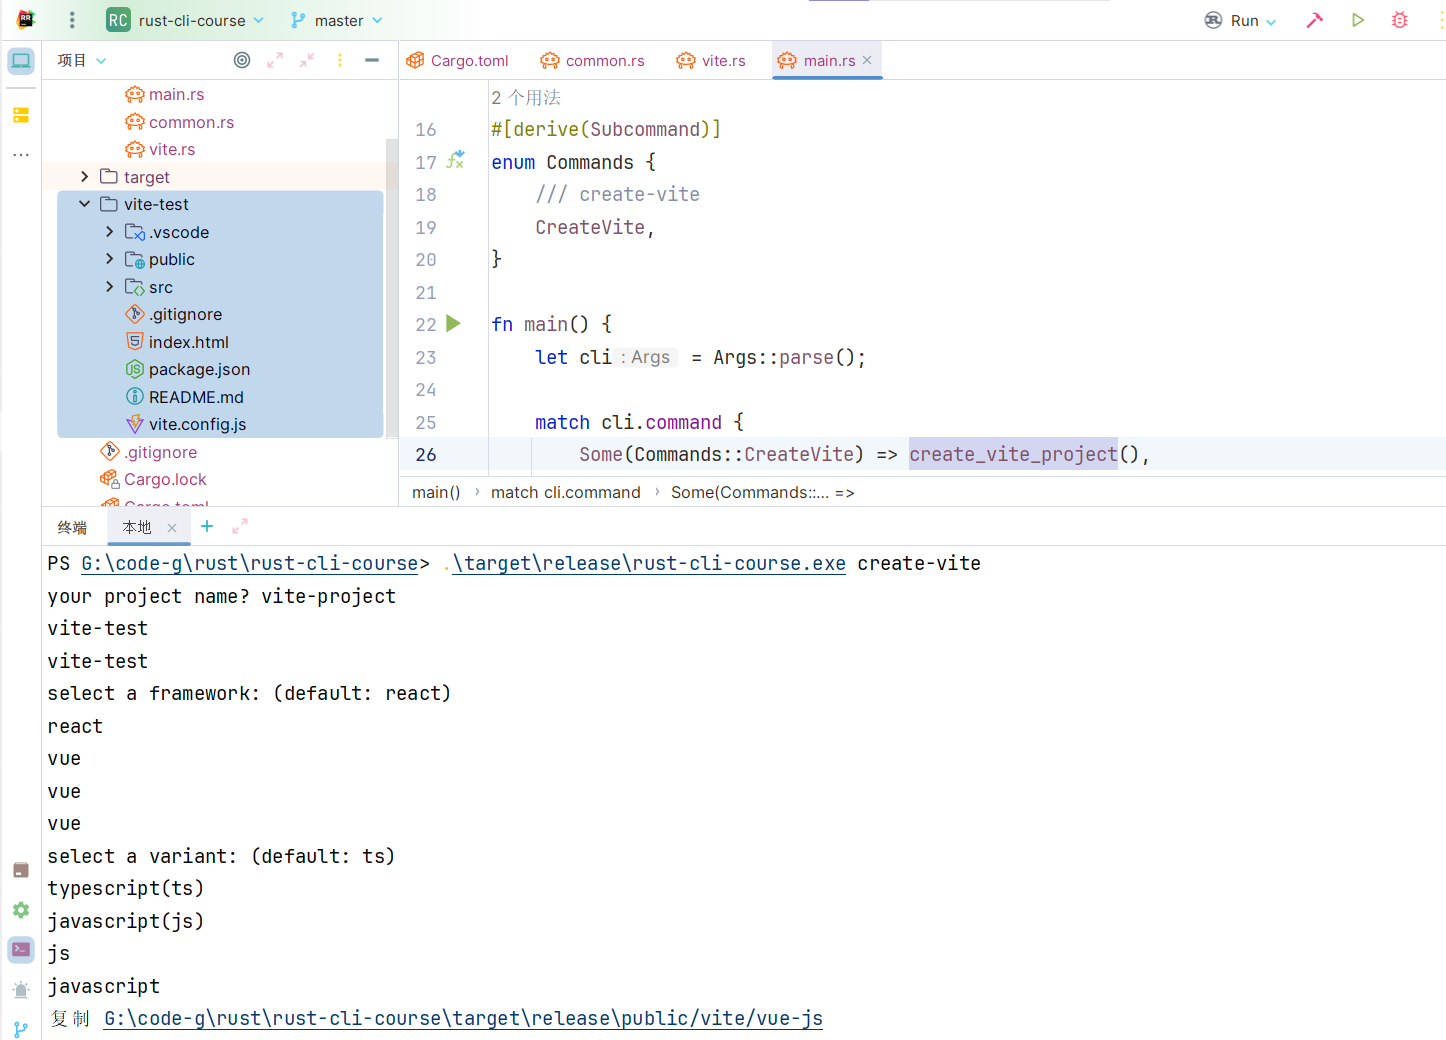
Next, read in the main function.
1 2 3 4 5 6 7 8 9 10
fnmain() { letcli = Args::parse(); match cli.command { Some(Commands::CreateVite) => println!("create vite!"), None => { println!("Run with --help to see instructions.") } } }
Run it!
1 2 3
cargo run -- create-vite # or cargo run --release create-vite
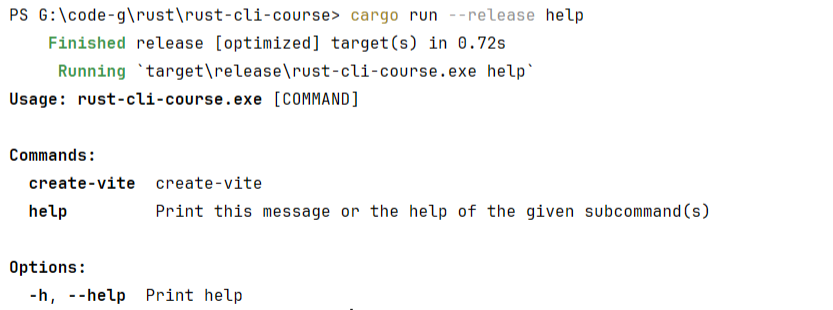
If you run the help command
Step Three: Copying the Project Template from Vite Scaffold
Rather than retrieving front-end project templates from the internet, we opt to save the front-end project template in a directory and copy it to the target directory when creating a new project. This method has its downsides, such as increasing the size of the project and requiring manual placement of the directory into the build folder. However, the advantage is that it is relatively simple and convenient to implement.
Creating a Project with Vite Scaffold
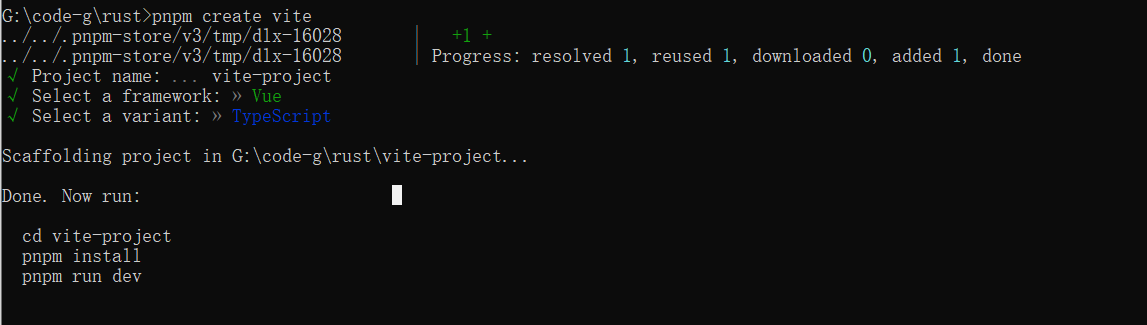
First, we create a project using the Vite scaffold, and then copy the project into our project’s public folder.
1
pnpm create vite
We will only create these four types of projects: Vue+JS, Vue+TS, React+JS, and React+TS.
example
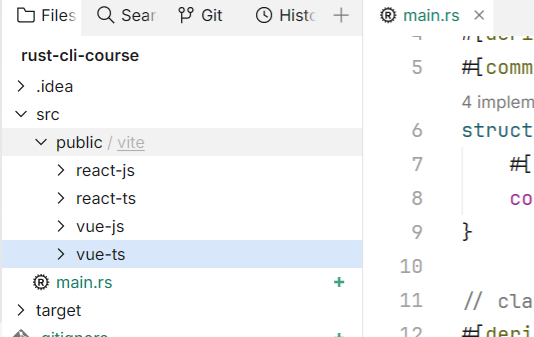
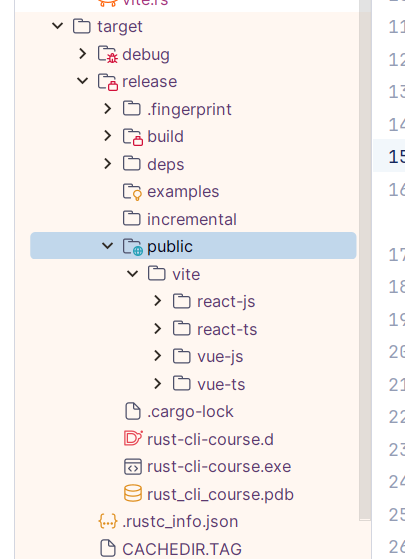
After creation, copy them to the public folder of the project.
Directory structure as shown in Figure
Step Four: Writing the Methods Needed
Create common.rs, where we will store commonly used utility class methods.
1 2 3
src/ common.rs main.rs
Incorporate the common module into main.rs.
1 2
// main.rs mod common;
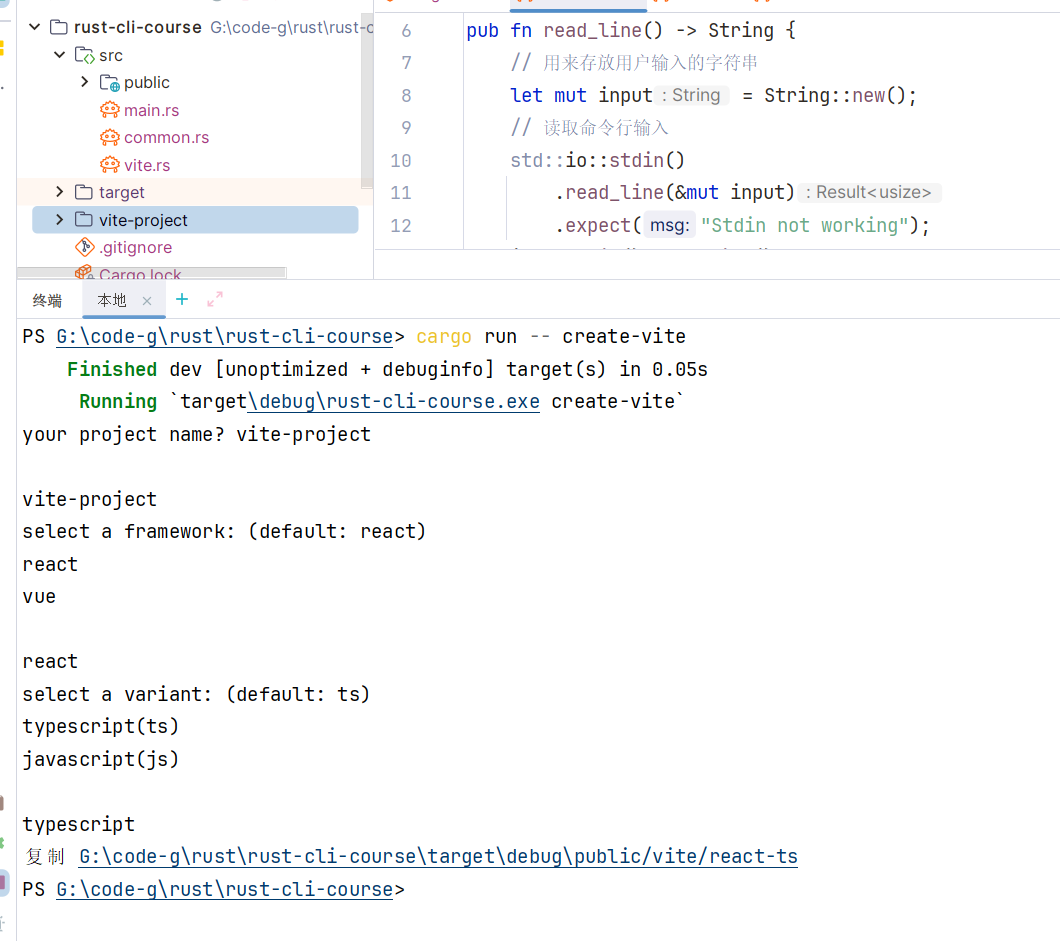
Method for reading command line input.
1 2 3 4 5 6 7 8 9 10 11 12
// common.rs
// read inputs pubfnread_line() ->String { // Used to store the string input by the user. letmut input = String::new(); // Reading command line input. std::io::stdin() .read_line(&mut input) .expect("Stdin not working"); input.trim().to_string() }
Method for copying files to a specified directory.
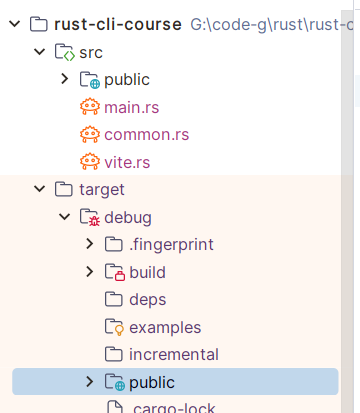
Method for obtaining the runtime directory location.
I initially hoped to enable the program to locate the public folder under src at runtime, but found that it was not feasible. Later, I discovered a method to obtain the runtime directory. This allows the public files to be copied into the target’s debug or release directories, ensuring that the program can locate the files in the public folder regardless of where it is running and begin the copying process.
After completing the preliminary preparations, we can finally begin to write the logic for creating projects. This step involves content that is all placed within vite.rs.
1
2
3
src/ main.rs vite.rs
1
2
// main.rs
mod vite;
Struct for Storing User Input
In order to save user input for subsequent creation of different projects based on the input options, we need a struct to store this data.
Next, you can copy the files in the release directory to any directory on your system, then configure it into the system environment variables, and you can run rust-vite-cli create-vite to create front-end projects anytime and anywhere.